 FREE 1 to 3-Day Delivery on Orders $149+ Details
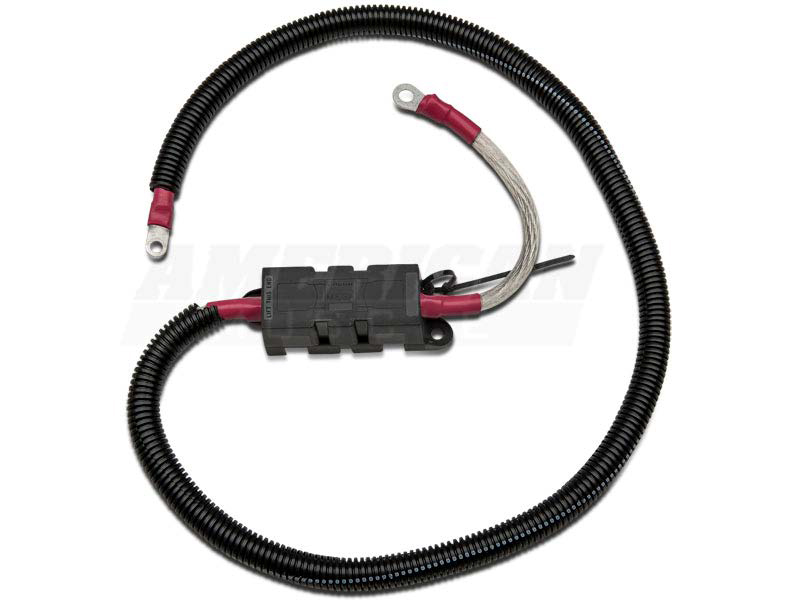
How To Install A PA Performance Premium Power Wire Kit On Your 2005-2014 Mustang
Installation Time
2 hours
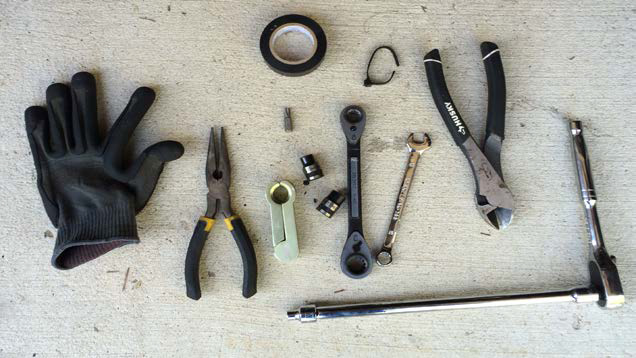
Tools Required
- gloves
- insulating tape
- ratchet
- 10mm wrench
- zip ties
- wrench extension
- pliers
- t-30 hex key, 1/4inch socket to hold hex key
- fuel line disconnect tool 5/8
- Wire Crimping Tool or scissors to cut old zip ties
- 8mm socket
- 10mm socket
- magnet suggested

Shop Parts in this Guide
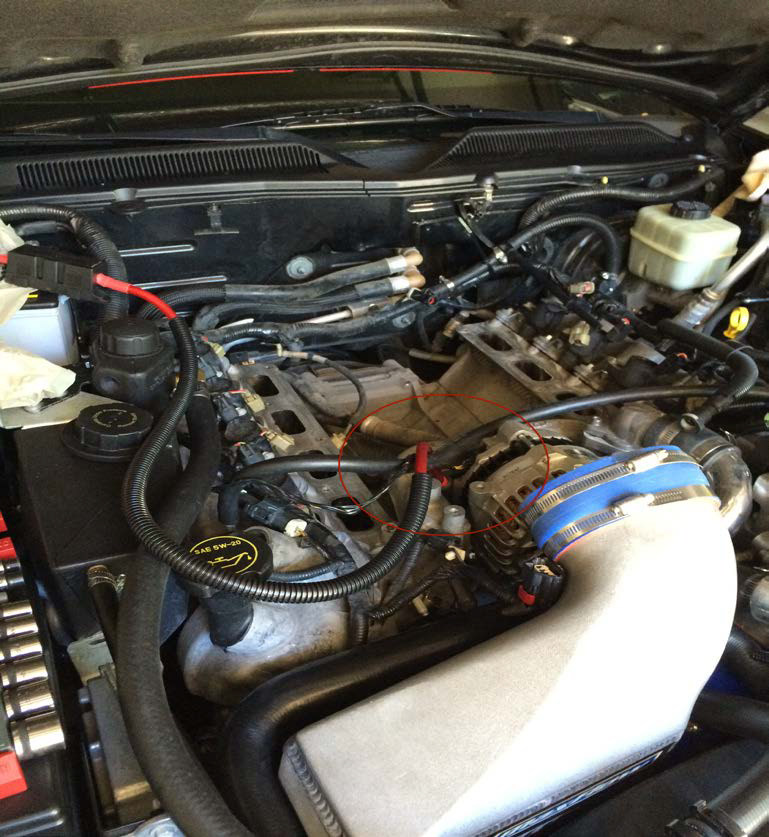
This method is to get to alternator without removing the belt, or but you can get to the alternator by removing the belt and then removing the the bolts holding the alternator. In my case I have a vortech supercharger, making it harder to get to the alternator by removing the belt and alternator.
In this method we will remove the intake manifold, to get to the back of the alternator and change the stock wire for the PA Performance Premium Power Wire Kit.
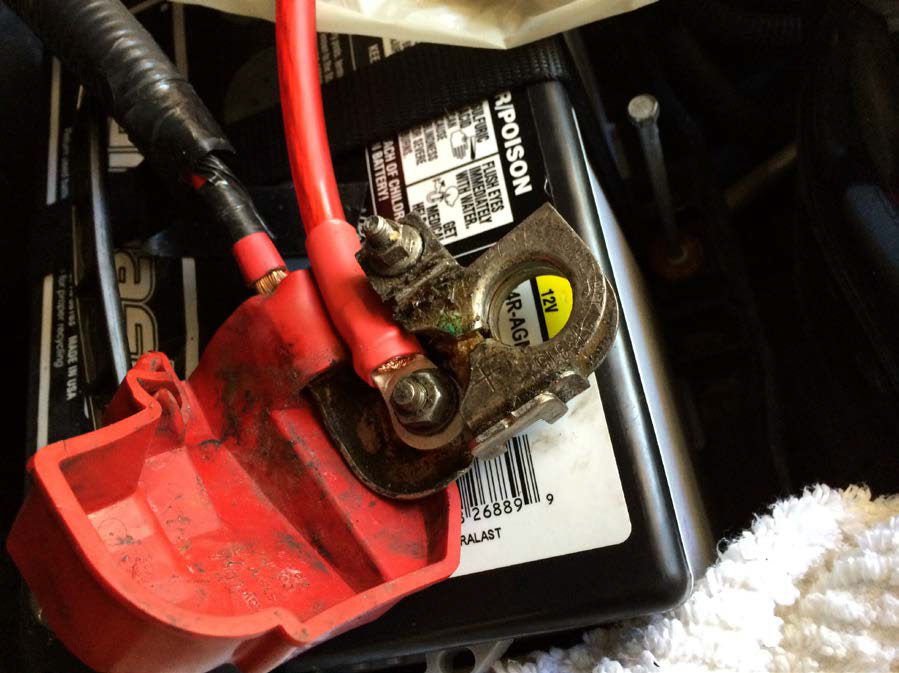
- First disconnect the positive connection from the battery, ensuring that the connector doesn’t make contact to any metal, cover the connector with a plastic bag, proceed to disconnect the negative cable and cover it .
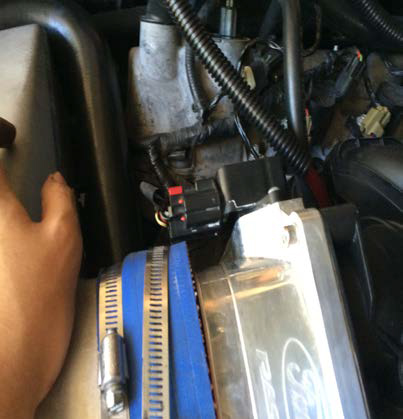
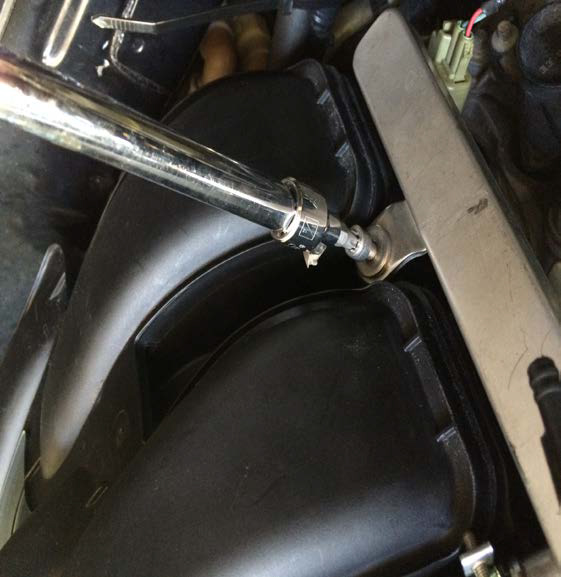
- First remove throttle body clamp and remove cold air intake.
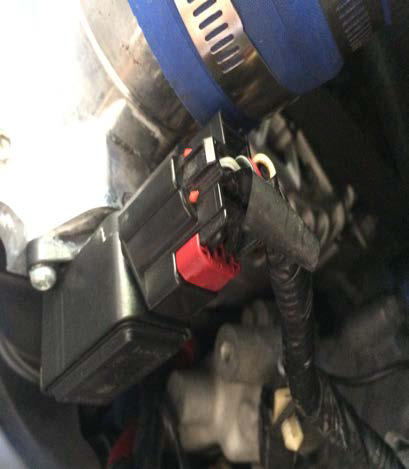
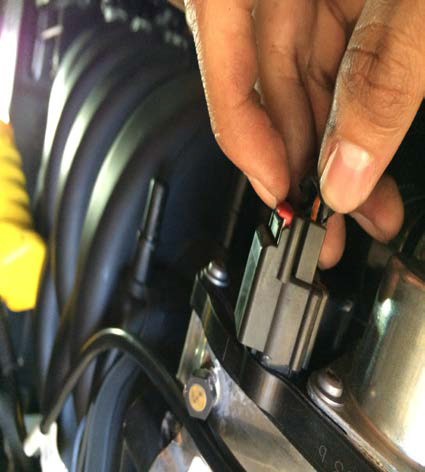
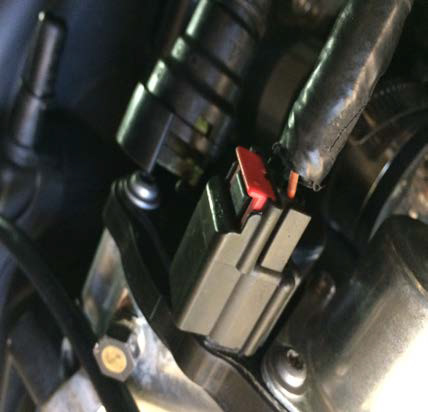
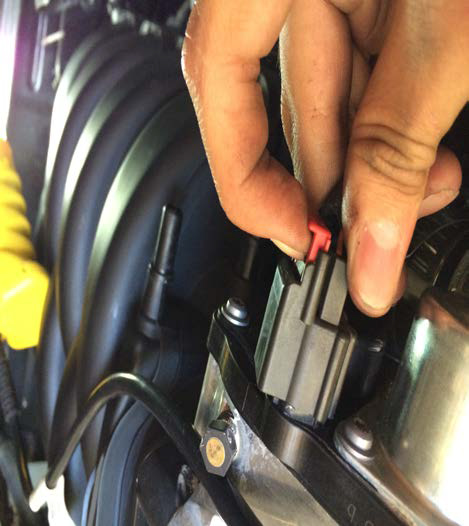
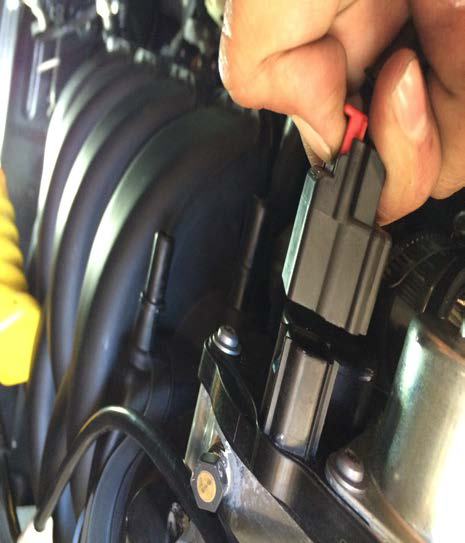
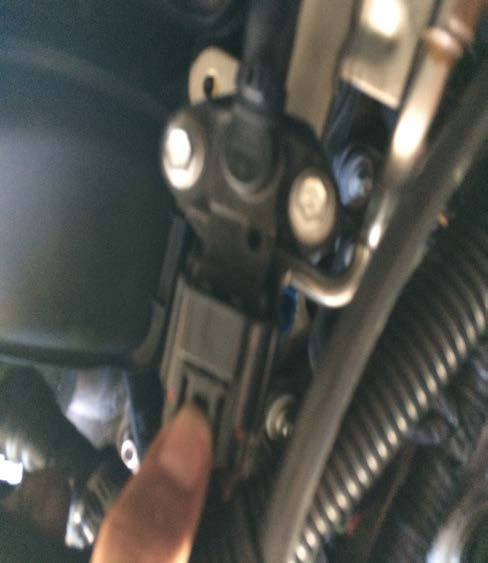
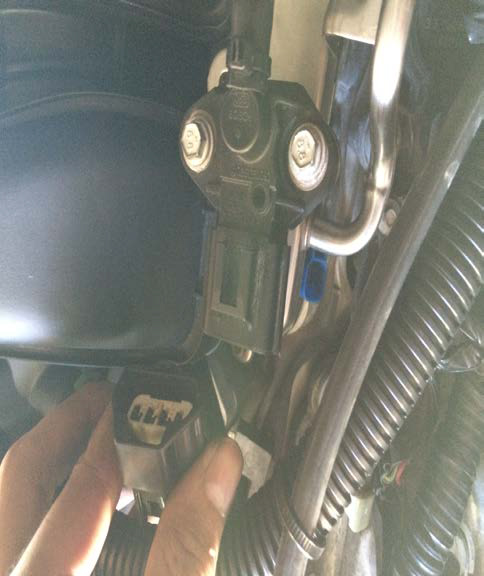
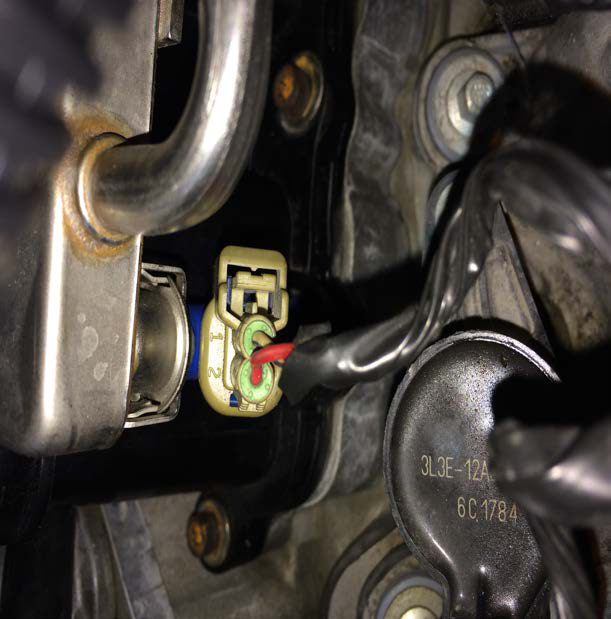
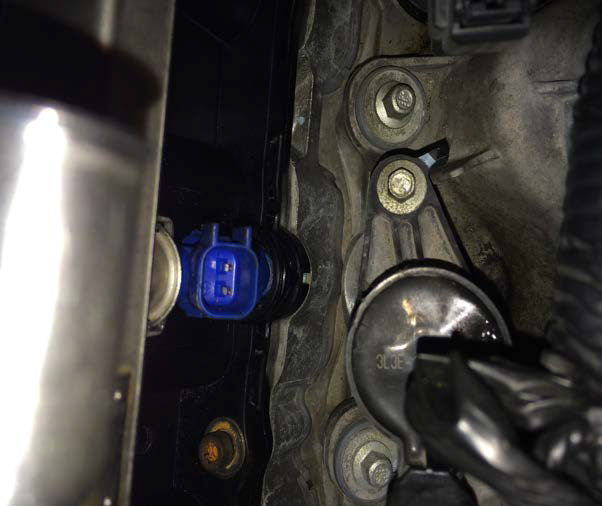
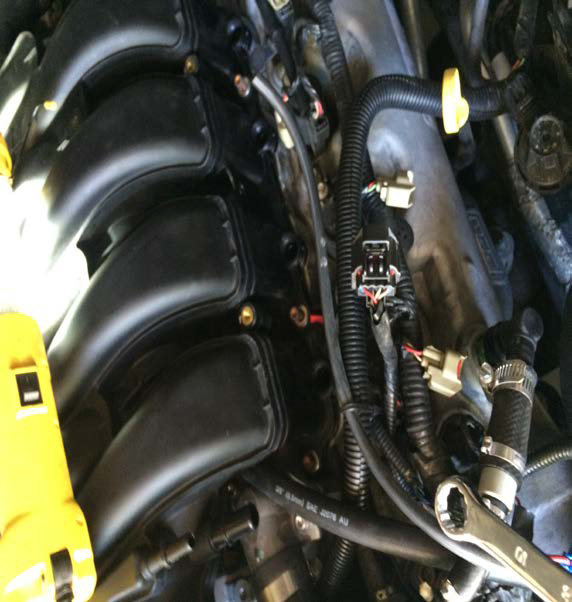
- Unplug the wire connector from both sides of throttle body. (Remove connectors by pulling red tab and then pushing black tab as shown below.)
4. Remove the fuel rail wire connector
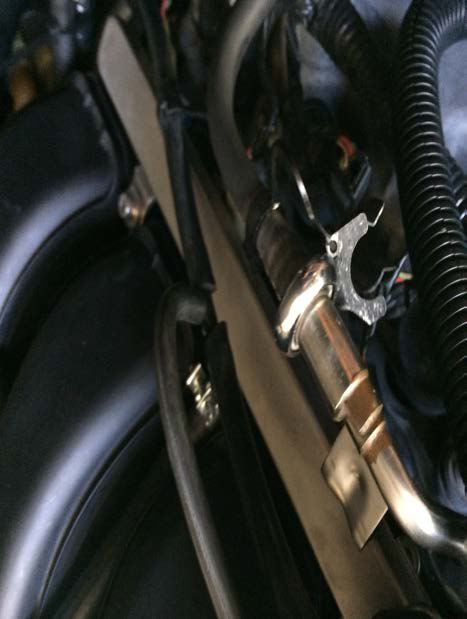
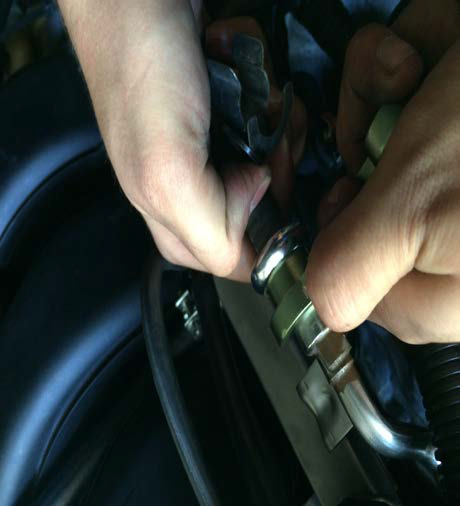
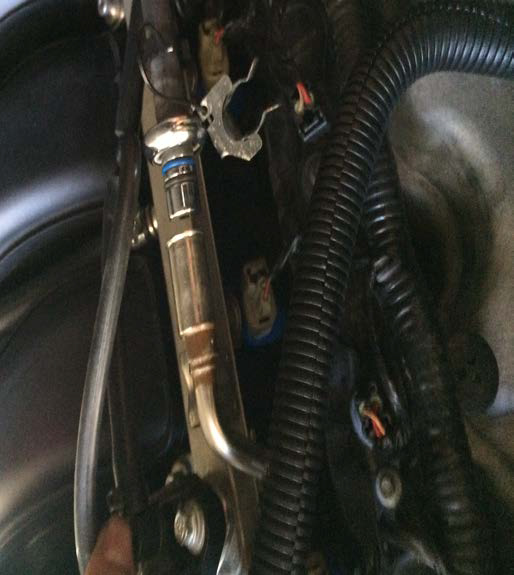
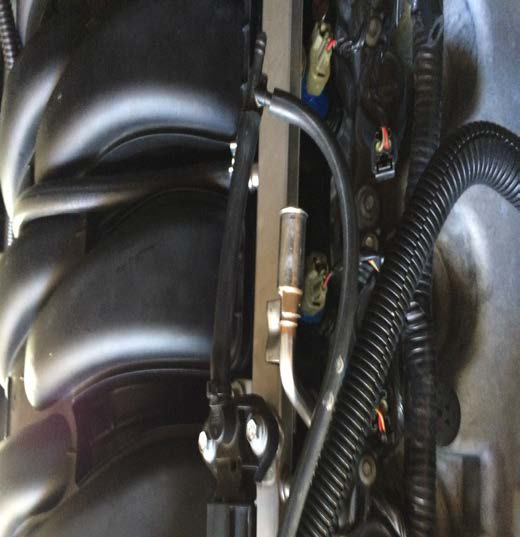
5. Remove fuel line to fuel rails first remove the metal holder then use the fuel line disconnect tool 5/8 . Be prepared fuel can come out with pressure.
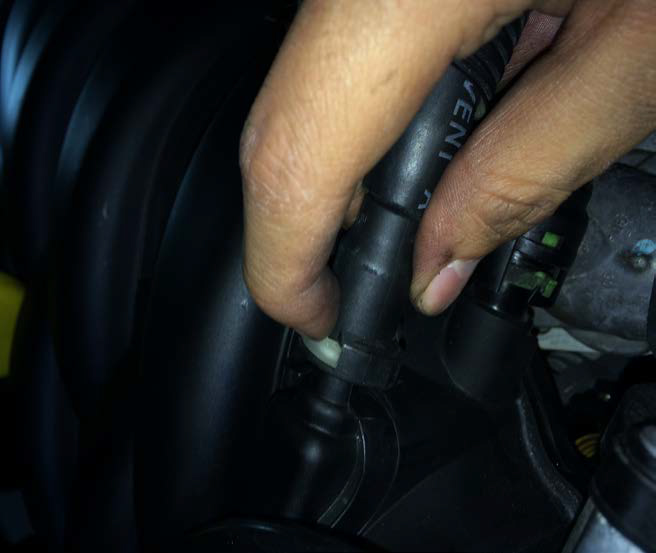
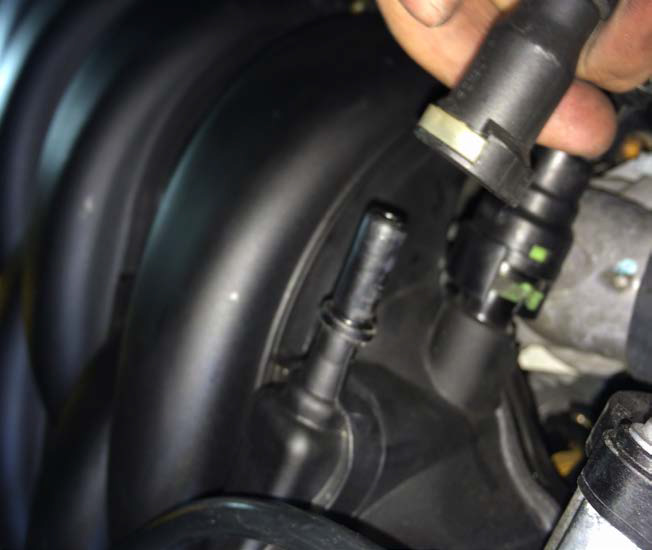
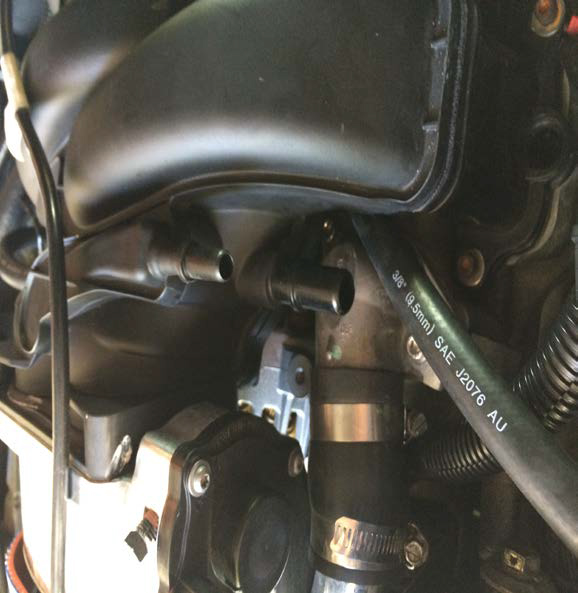
6. Disconnect the hoses from side of manifold by pushing down the plastic clips and pulling
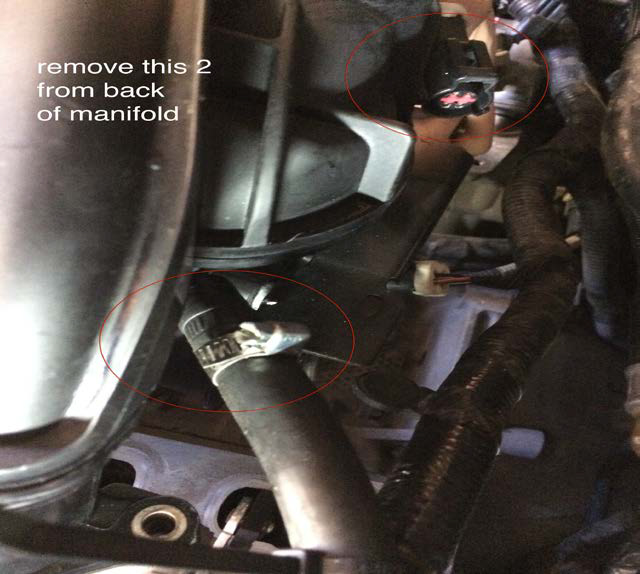
7. Unplug the wire connectors from each of the eight injectors. Remove all of the vacuum hoses and connectors located at the front and rear of the intake manifold. Remove the connector attached to the intake manifold runner control (IMRC) unit located at the rear of the manifold on the passenger’s side.
Do not remove the small clips that retain the injectors to the fuel rails
8. Use t-30 hex key, to remove the 4 bolts that hold the fuel rail down. There are two each side
9. Gently pull each fuel injector, pull entire fuel rail it should come out with injectors attached.

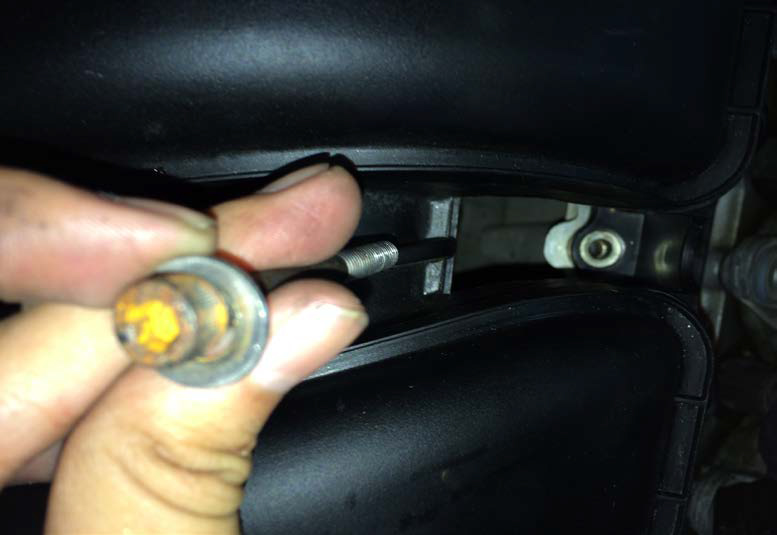
10. Use the t-30 hex to remove the 4 bolts of manifold from each side
11. And one inside in the middle
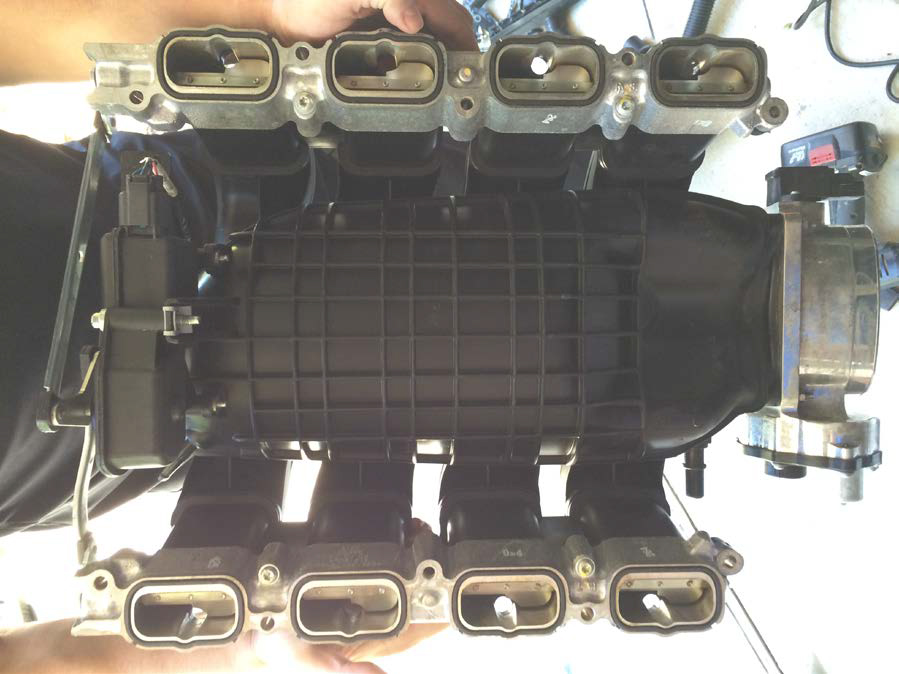
12. Lift and remove intake manifold place it upside down with the gaskets facing up
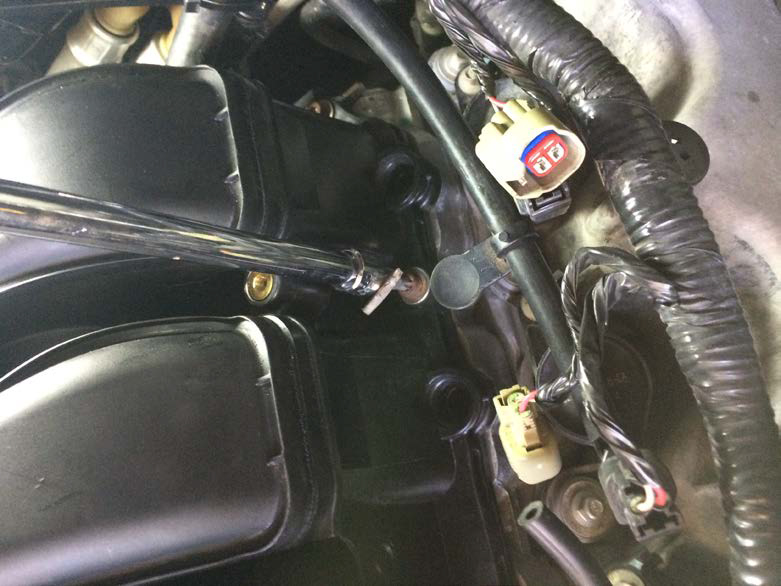
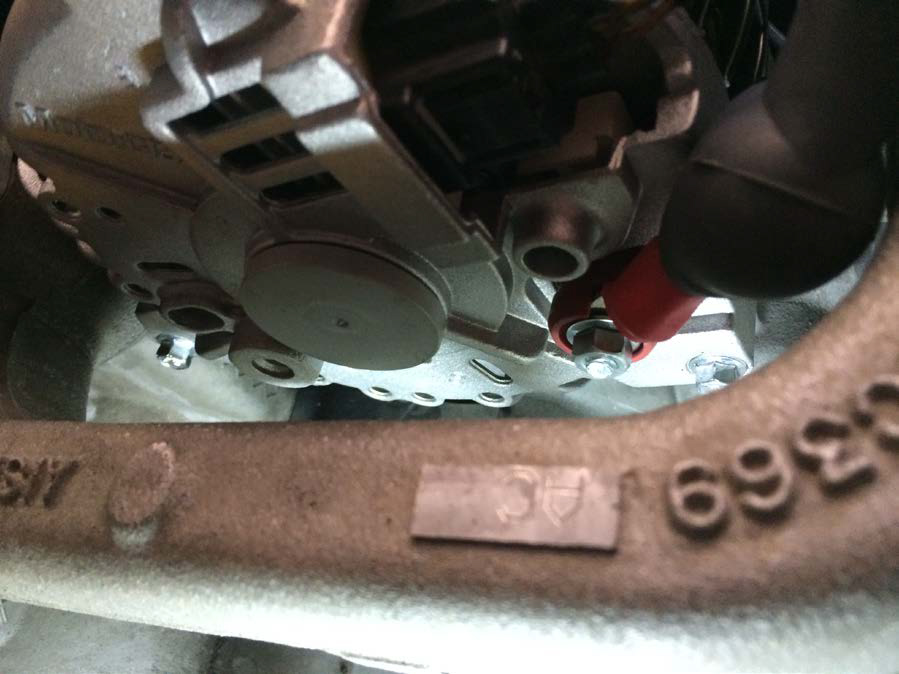
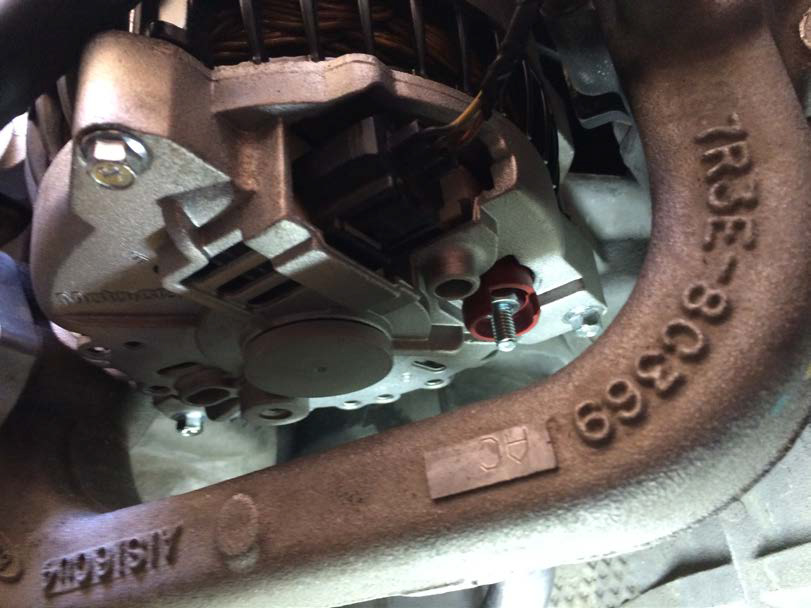
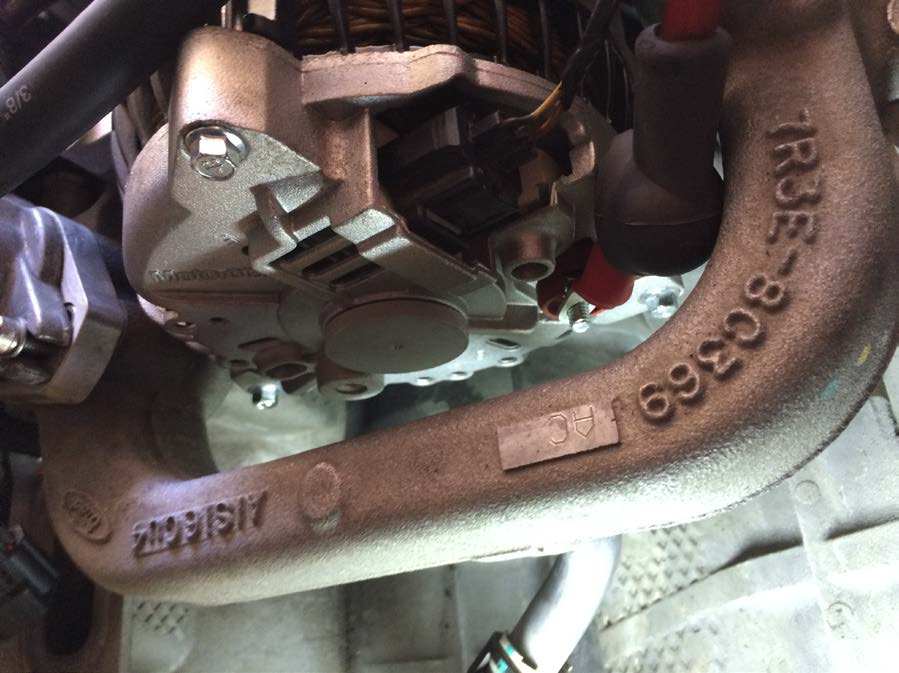
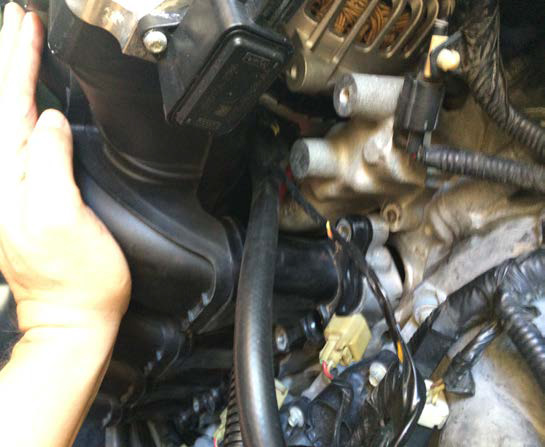
13. Reach the back of your alternator
14. Lift the black rubber cover from the back of the alternator to see the bolt that holds the cable use 10mm socket to remove bolt then remove the cable
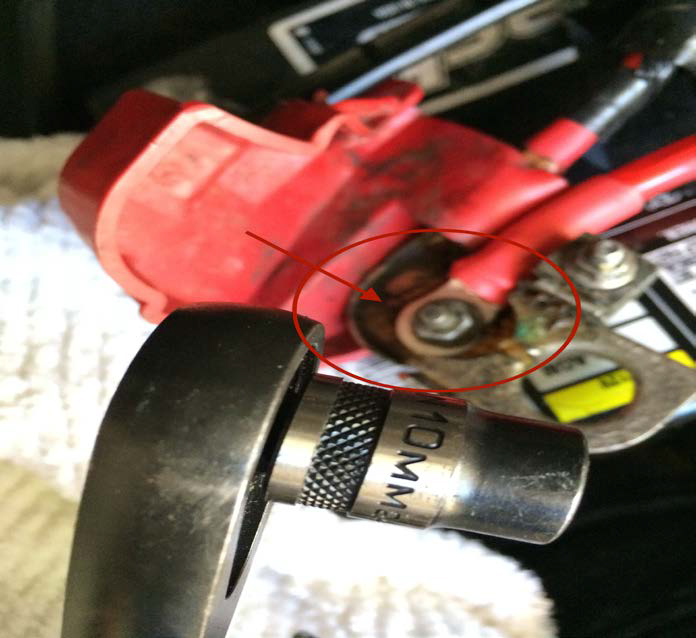
15. Remove the cable and then un bolt it from the battery end
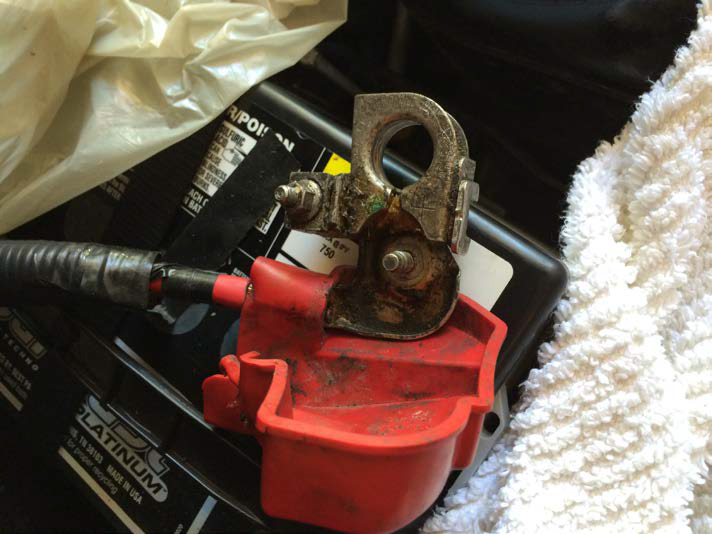
16. Now place the black rubber cover on the new Pa wire with the end that’s going to the back of the alternator, bolt back the side closer to the fuse box to the battery connector.
17. Place back the cable on the same way the old one was, place the calbe fuse box behind the battery place back the intake manifold with the cable sticking out on the front of the manifold then place back the screws t-30 hex bolts to the manifold
18. Place back injectors with the fuel rails


19. Re-plug the wire connectors from each of the eight injectors. Re-plug all of the vacuum hoses and connectors located at the front and rear of the intake manifold. Re-plug the connector attached to the intake manifold runner control (IMRC) unit located at the rear of the manifold on the passenger’s side.
20. Reconnect fuel line and connector
21. Re-install cold air intake and enjoy.
Installation Instructions written by AmericanMuscle Customer Eduardo Orellana 11.20.2014
