 2024-2026
 2015-2023
 2010-2014
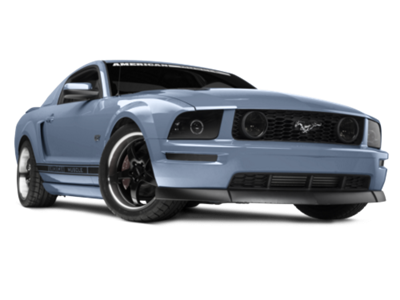 2005-2009
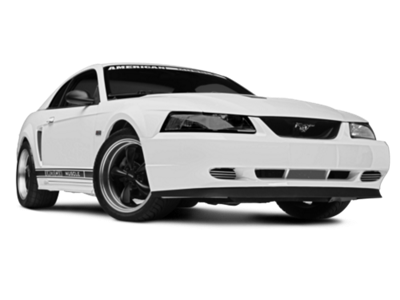 1999-2004
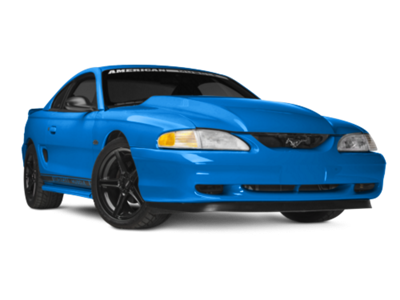 1994-1998
 1979-1993


Installation Time
(approx) 45 Minutes
Difficulty Level:
Simple installation for anyone.
Installation Guides
 FREE 1 to 3-Day Delivery on Orders $149+ Details

$249.98 pair
CONFIRM THIS FITS YOUR VEHICLE!
Saved - View your saved items
We're sorry. We couldn't save this product at this time.
or use

Features, Description, Reviews, Q&A, Specs & Installation
Technical Note. Bulbs are not included. These Raxiom tail lights reuses stock bulbs from existing fixtures, or you can upgrade to Raxiom LED Tail Light Bulbs. See the drop down menu option above.

Raxiom 100156
CA Residents:  WARNING: Cancer and Reproductive Harm - www.P65Warnings.ca.gov
Installation Info
Installation Time
(approx) 45 Minutes
Difficulty Level:
Simple installation for anyone.
Installation Guides
What's in the Box
