 FREE 1 to 3-Day Delivery on Orders $149+ Details
How To Install a Raxiom Front & Rear Side Marker Light LED Conversion Kit on Your 2010-2014 Mustang
Installation Time
25 minutes
Tools Required
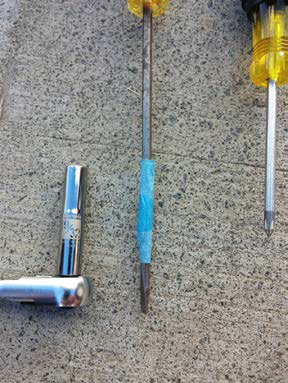
- 1/4 inch Ratchet
- 9/32 inch Socket
- Phillips Screwdriver
- Flathead Screwdriver (optional)
- Masking Tape/Electrical Tape (optional)
- 1/4 inch Socket
- Phillips Screwdriver Bit (fits in 1/4 inch Socket)
- 1/4 inch Box Wrench (optional)

Shop Parts in this Guide
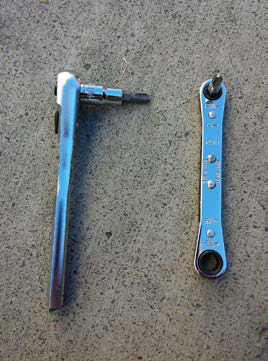
Tools Needed:
Front:
● ¼ in Ratchet
● 9/32 in Socket
● Phillips screwdriver
● (optional) Flat-head screwdriver
● (optional) Masking tape / Electrical tape
Rear:
● ¼ in Ratchet
● ¼ Socket
● Phillips screwdriver bit (fits inside ¼ in socket)
● (optional) ¼ in box wrench
Installation Instructions:
Front:
Turn the steering wheel left or right so you have better access to the screws that hold the fascia to the car. It doesn’t matter which way you turn it, as one way is enough to access both sides easily.
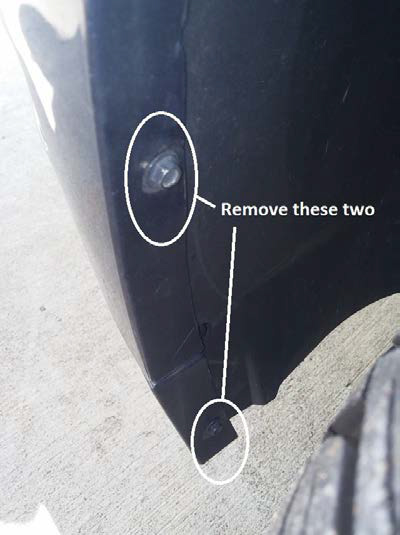
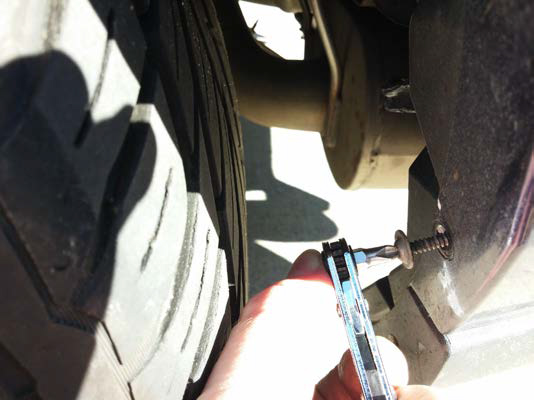
1. Use the ¼ ratchet and socket to remove the two hex head (2) screws.
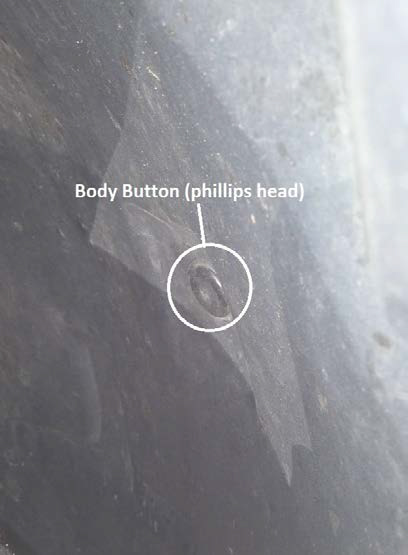
2. Use a phillips screwdriver to remove the plastic body button with a simple twist. You can pull out this button to allow a little more flex of the inner fender liner - though not required.
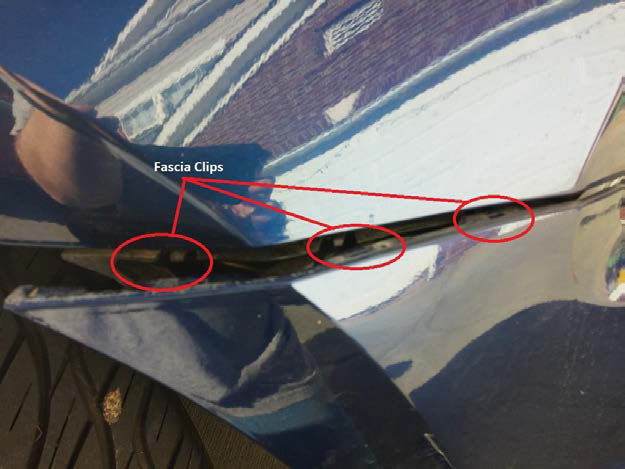
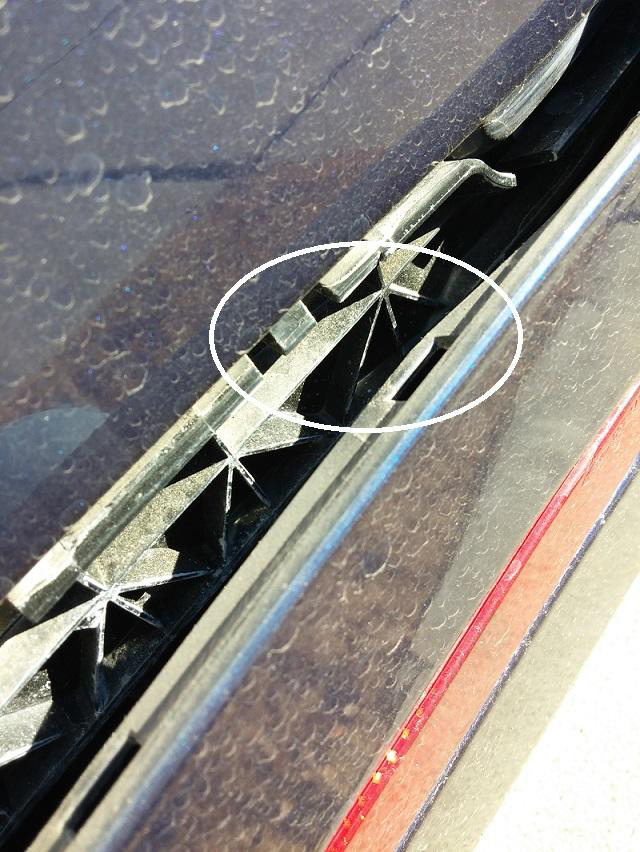
3. Starting at the top where the fascia meets the fender, gently pull out the fascia. There are three (3) clips that hold these together.
4. Move down the fascia, pulling the inner fender well out from behind. Here you can use the screwdriver with the masking tape to help pry the fender well out.
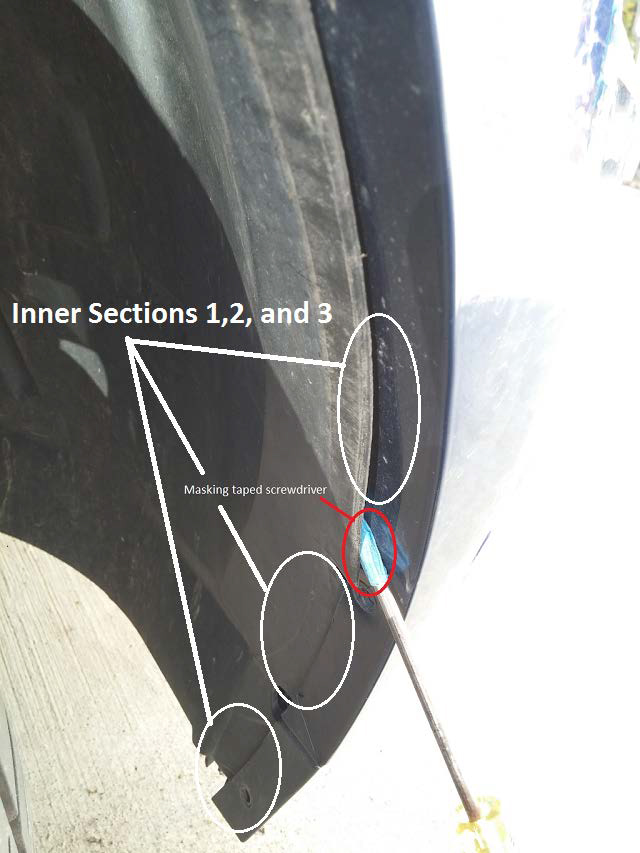
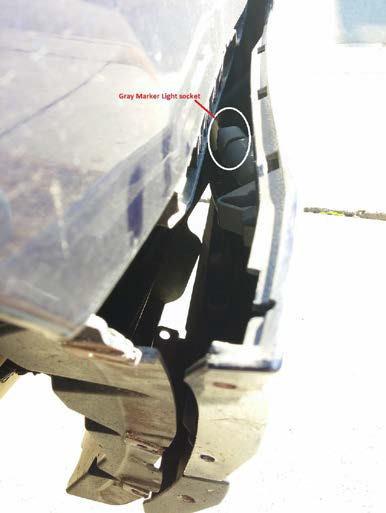
5. Pull the fender well outward and reach in to remove the gray connector for the side marker light. An ⅛ of a turn should be enough to remove it.
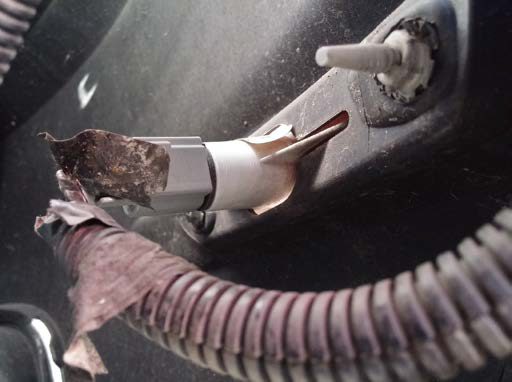
6. Remove the old bulb and insert the new Raxiom LED. Make sure it is seated tightly.
7. BEFORE putting everything back together, test the new LED, turning on your parking lights. The LED should glow.

8. Reassembly is just the reverse. You may need that screwdriver to pry away the fascia to tuck the fender well back behind. Make sure the three (3) body clips snap back in.
9. The other side is the same procedure.
Rear:
The rear LEDs are somewhat easier than the front as the rear bodywork and inner fender separate easier.
1. Start by removing the three (3) screws holding the bodywork and fender well. This is where you have a variety of tools you can use. The best option would be to use a socket that has a phillips bit embedded already. Alternately you can use a ¼ in socket and put a phillips bit in OR if you have a 90 degree bent phillips screwdriver works too.
2. Pull back on the bumper bodywork gently to release 3 or 4 of the clips. These are the same ones as on the front.
3. Reach in and remove the gray connector containing the side marker light. ⅛ twist should be enough to remove it.
4. Pull the old bulb and insert the new Raxiom LED. Make sure it is seated tightly.
5. BEFORE putting everything back together, test the new LED, turning on your parking lights. The LED should glow.
6. Reassembly is the reverse.
7. The other side is the same procedure.
Before and After Pictures:
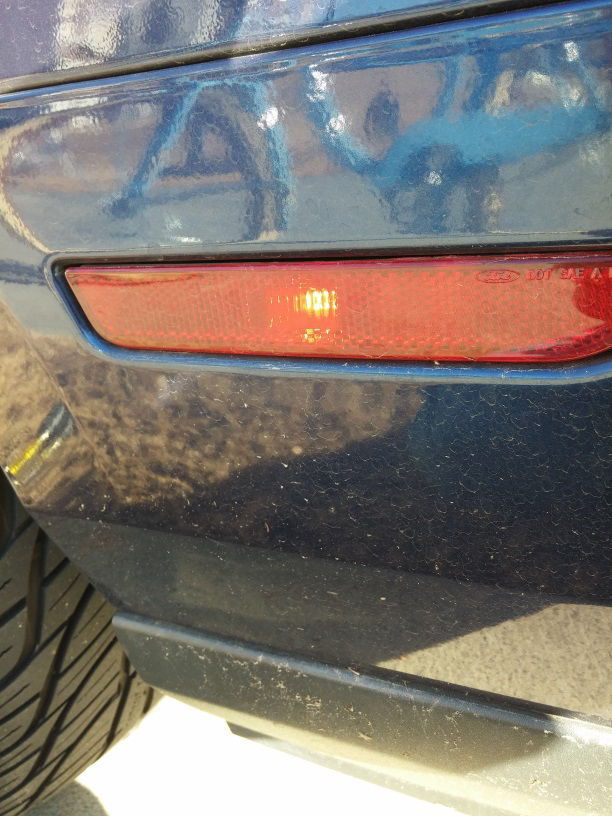
Figure 1: REAR with Standard Bulb
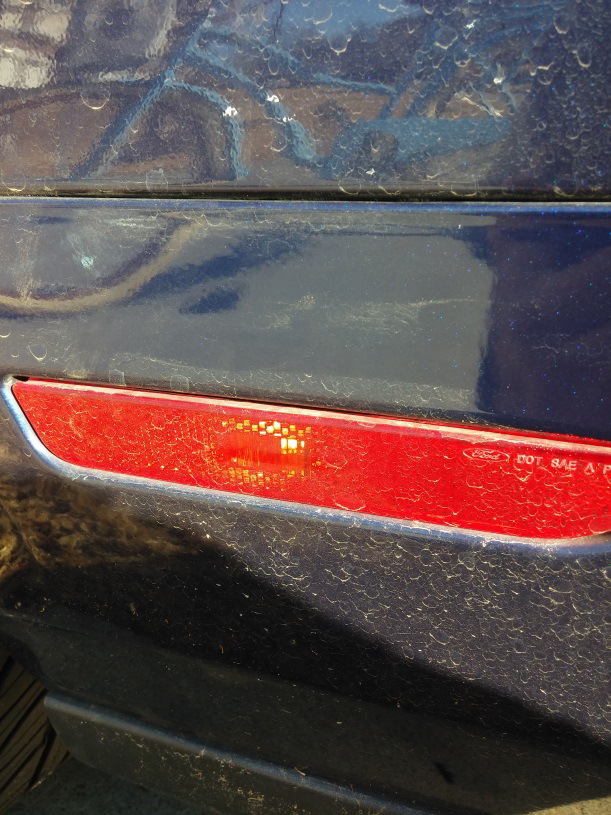
Figure 2: REAR with LED Bulb
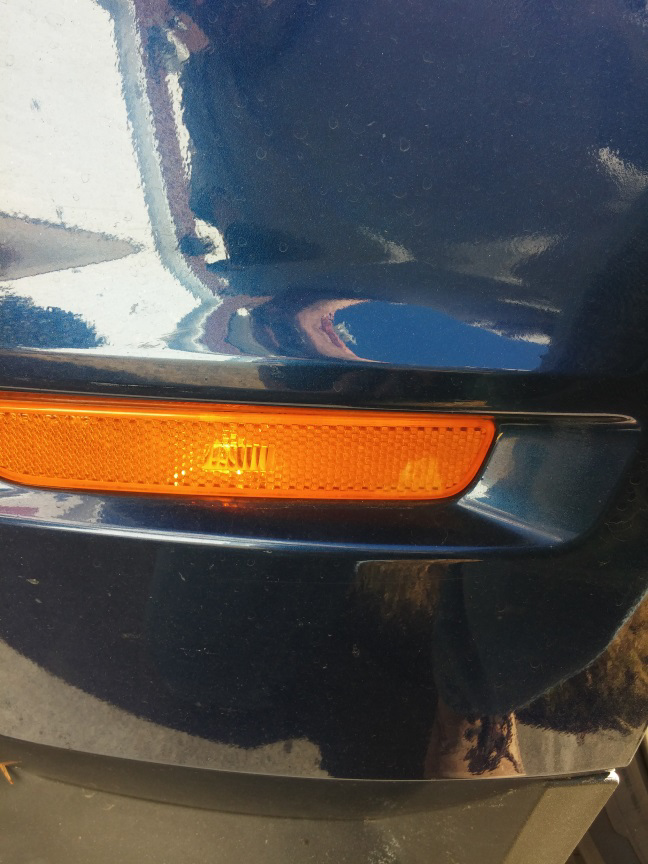
Figure 3: FRONT with Standard bulb
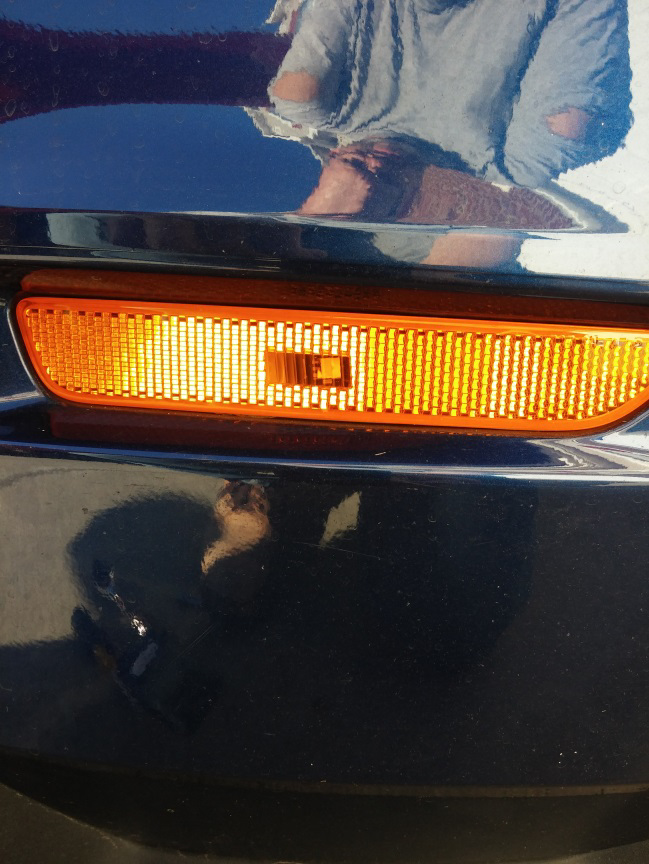
Figure 4: FRONT with LED Bulb
Installation Instructions written by AmericanMuscle Customer David Ekstrom 12.28.2014
