 FREE 1 to 3-Day Delivery on Orders $149+ Details
Mustang Headlights ('94-'98) - Installation Instructions
Installation Time
2 hours
Tools Required
- 4mm Socket
- 10mm Socket
- Ratchet and extension to fit your sockets(extension optional)
- Flathead Screwdriver
- Brass Punch (optional)
- Rubber face hammer (optional)
- Philips head screwdriver (optional)
- Needle nose pliers (optional)
- Channel lock pliers (optional)
- Tube of silicone (recommended but not required)

Shop Parts in this Guide
Installation
Headlight Removal:
1. Remove the nut that is holding on the old side marker light. This requires a 10mm socket. Once the nut is removed, the side market light is ready to come out.
Note:My side marker light was stuck, so I used my brass punch and a rubber face hammer and gently tapped on the end of the bolt that the nut was just removed from.
2. Now that the side marker light is loose all you need to do is unplug the light from its connector and then remove the light. (Save the amber light bulb because you will reuse it.)
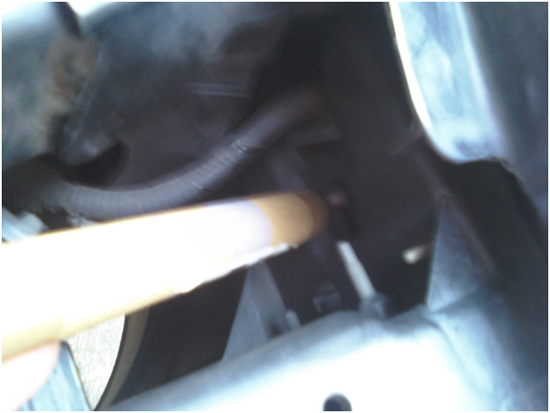
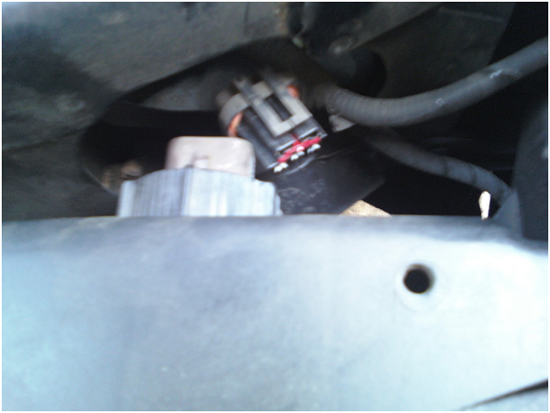
3. After the side marker light is removed, unplug the headlight from its connector.
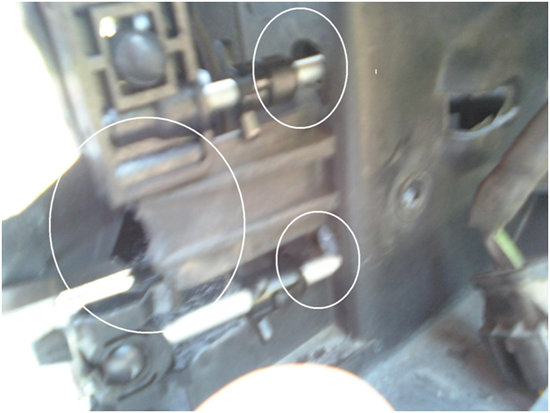
4. Now you need to remove the clip from the top bolt closest to the outside of the car. This can be done by prying on the clip with your flathead screwdriver.
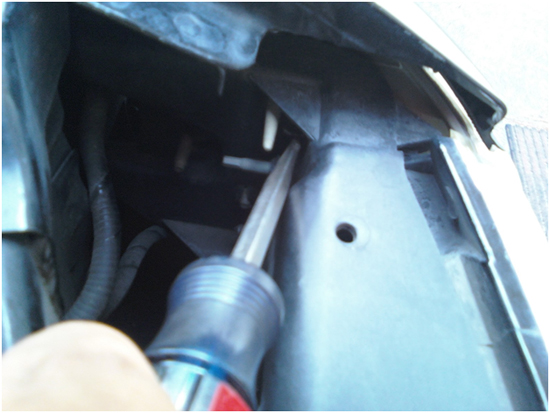
5. After the clip is removed, you need to push in the tabs that are holding the headlight in place. (One is located directly under the bolt from step 5 and the other is closer to the center of the car directly behind the headlight.) This was the most difficult part of removing the headlight but I found it easiest to use a screwdriver to push in one tab and then gently pull and wiggle the headlight until the tabs were pushed through the hole. If you have difficulty using the screwdriver you can try using needle nose pliers or channel locks to pinch both tabs together.

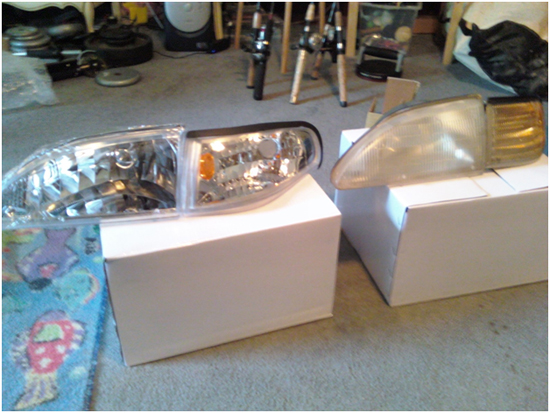
6. After all of the tabs have been pushed through, the headlight can be removed. Below is a photo for comparing the old headlights to the new chrome headlights.
7. Before installing your new headlights I recommend sealing the headlights with a silicone sealant to prevent moisture from forming on the inside of the housing.
8. The next thing that is recommended is to pre-align the new headlight as close to the old headlight as possible. This can be done by turning the tabs on the new headlight to match the positions of the old ones.
9. Now that your headlight is ready to be installed, line up the headlight with the tracks so that it goes in as straight as possible and make sure the bolts that are on the headlight line up with the correct holes.
10. When the headlights are lined up on the tracks and the bolts are in the holes, gently push the headlight into place until you see that both of the bolts with the tabs have caught.
11. Once the headlight is in place, replace the clip that you removed in step 5 with the new clip that is included with the new headlights. You may need to tap it on with a hammer and a small screwdriver to get it to seat properly. I used a small Phillips head screwdriver because there is a small indention on the top of the clip.
12. Now that the main headlight is in place, the side marker light is ready to be replaced. Make sure you replace either your old amber bulb or a new bulb into the light. After that is done, connect the light back to its connector and then line up the bolt and all of the other tips that are coming off the light with the correct holes. When it is lined up, push it all of the way in and bolt it into position.
13. Now reconnect the main headlight to its connector and the first side is done. Repeat steps 1 – 13 for the other side and then the headlights will be ready to be aimed.
14. You can adjust your headlights by turn the hex head bolts coming from the headlights a with 4mm socket.
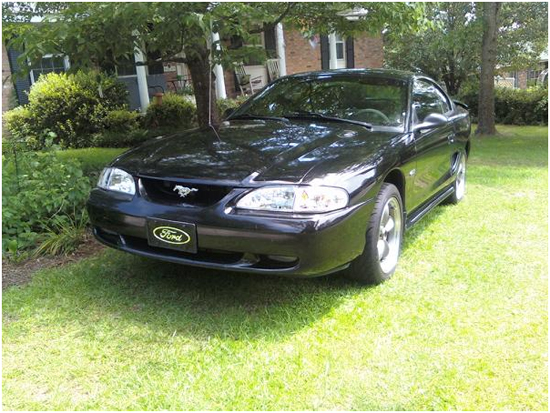
BEFORE
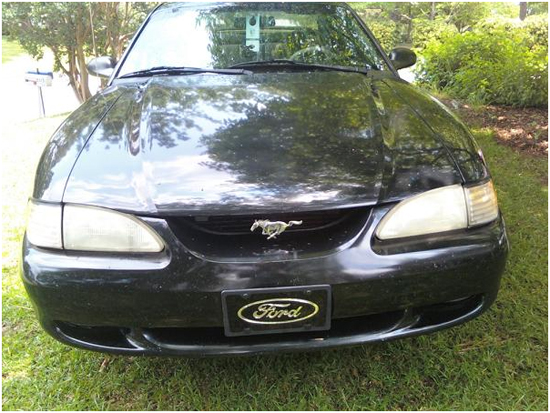
AFTER
Installation instructions provided by AmericanMuscle customer Jeremy Davenport 6.12.10
Related Guides
-
Installation
-
Installation
-
Installation

