FREE 1 to 3-Day Delivery on Orders $149+ Details
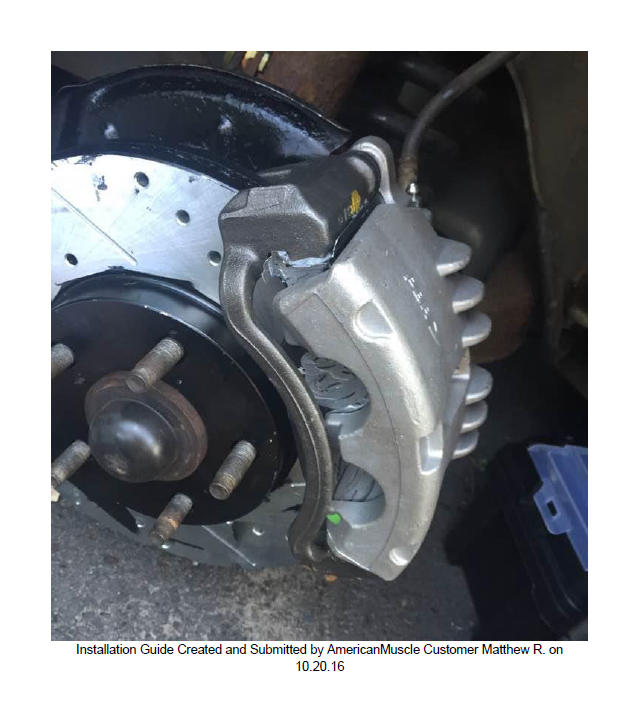
How to Install OPR Front Brake Caliper w/ Bracket on your Mustang
Installation Time
1 hours
Tools Required
- 16mm Wrench
- 15mm Wrench
- 12mm Wrench
- Brake Temperature Rated Anti-Seize
- Brake Clean
- Catch Pan
- Rags
- Ratchet with sockets for the above mm

Shop Parts in this Guide
NOTE: These instructions are for the front driver side caliper, but can also be applied to the passenger side front caliper as well. The same mm size bolts are used in the same areas.
Before you start
Lift the car up on the side that will be worked on. Place jack stands under the car’s frame, and the tire under the frame as well, for added security. The ratchet is for convenience, once the bolts are loosened with the wrench, it can be taken off & tightened with the ratchet.
Step One
Using a 16mm wrench, unbolt the brake line. Have a catch pan to catch the brake fluid, and a rag to clean where it spilt. *Warning*: Brake fluid is highly corrosive and will damage where paint or metal is exposed to it. Use a rag and brake cleaner to clean off any areas the brake fluid may have split.
Note You won’t need the old bolt or the washers for the brake line, as the new caliper comes with them.
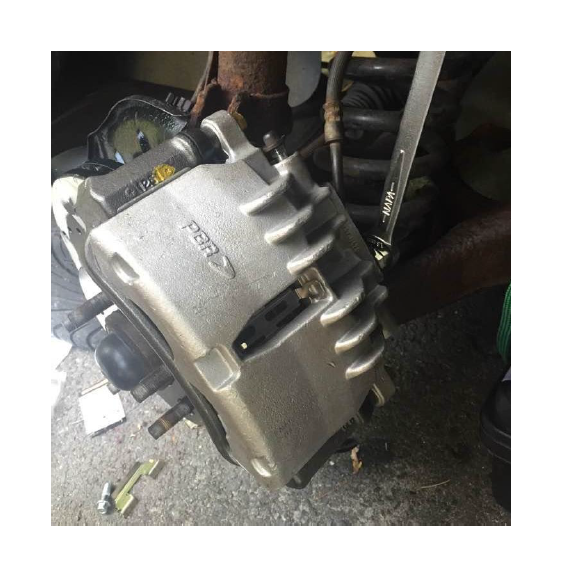
Step Two
Using a 12mm wrench, loosen the two bolts holding on the caliper.
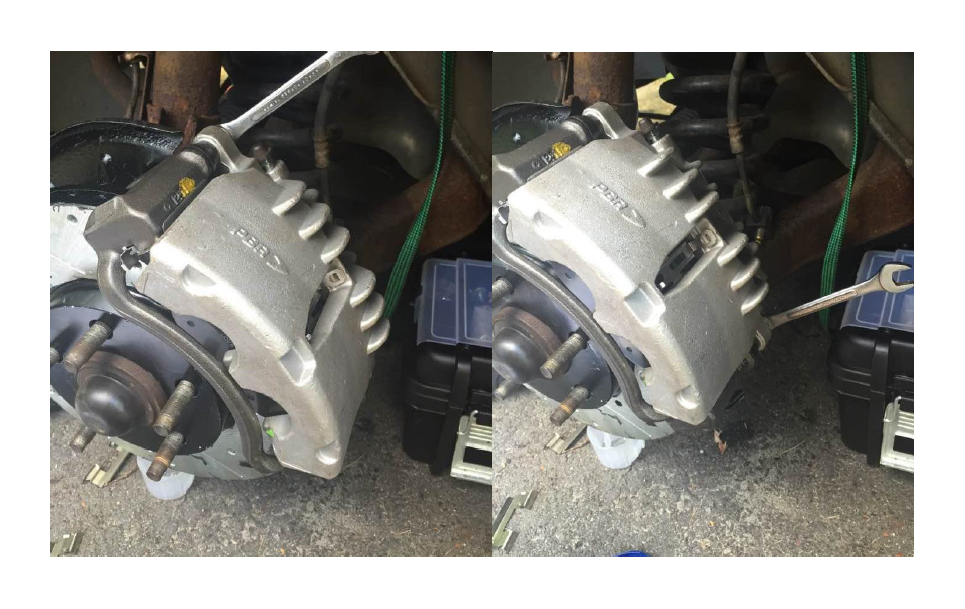
Step Three
Remove the top bolt that was loosened, pull the caliper back. Take out the brake pads. Put the caliper back in place.
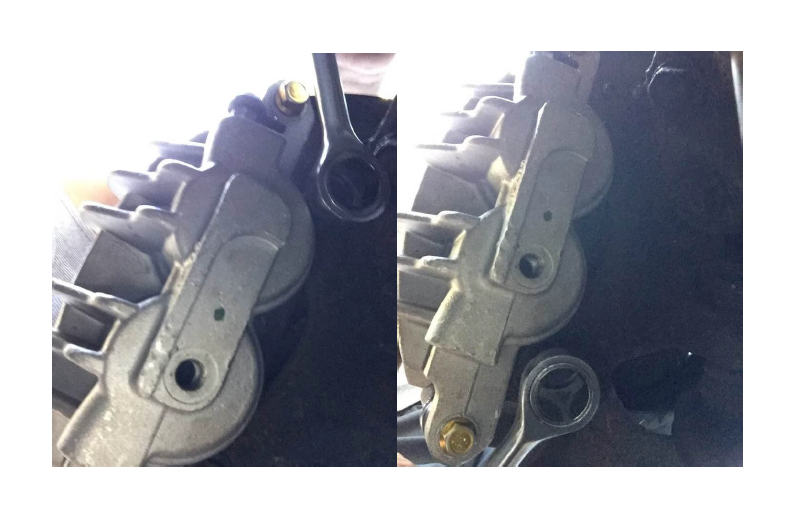
Step Four
Using a 15mm wrench, remove the two bolts holding the caliper bracket on.
(Sockets are in place of the bolts to show where the bolts are located behind the caliper)
Maintenance
Now is a good time to check in the wheel well for leaking or rusted through parts. These things can be checked just by looking at them sitting in front of the wheel well. --- Inspect the brake line to make sure there are no leaks. Inspect the shocks, insure that they are not leaking or rusted badly. --- Check the rotor to see if it is not rusted badly or broken. --- Check the brake pads and the life remaining on them. If the pad is worn out, change out both sides of the front. Brake pads should always be changed in pairs. The front two wheels or the rear two wheels. --- Calipers are different and will usually last the life of the car, so if one is replaced and the other is in good condition, there is no need to replace both. Just the bad one. --- Inspect tie rods. Make sure they aren’t bent. --- Check Springs and bushings.

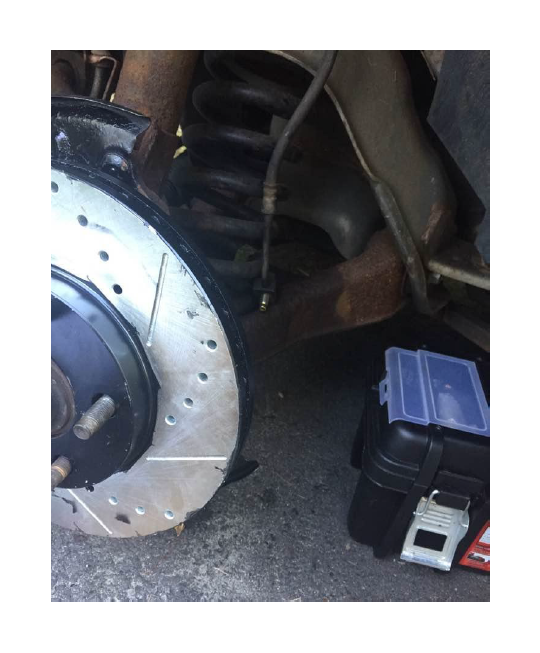
Step Five
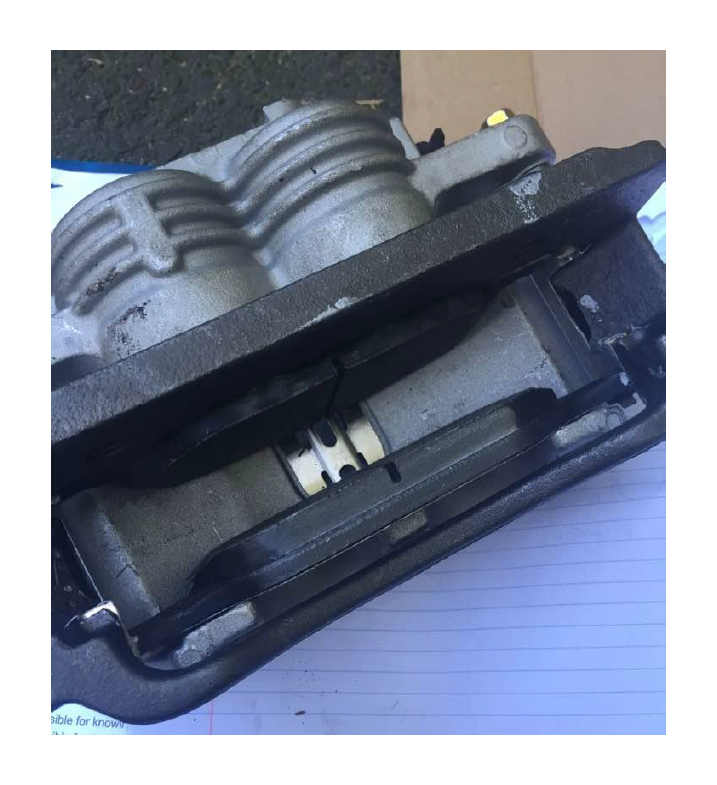
With the two 15mm bolts removed, the caliper and bracket should come off the rotor.
Step Six
Apply Anti-Seize to both clips and both the brake pads. Make sure to not get any on where the brake pads make contact with the rotor.
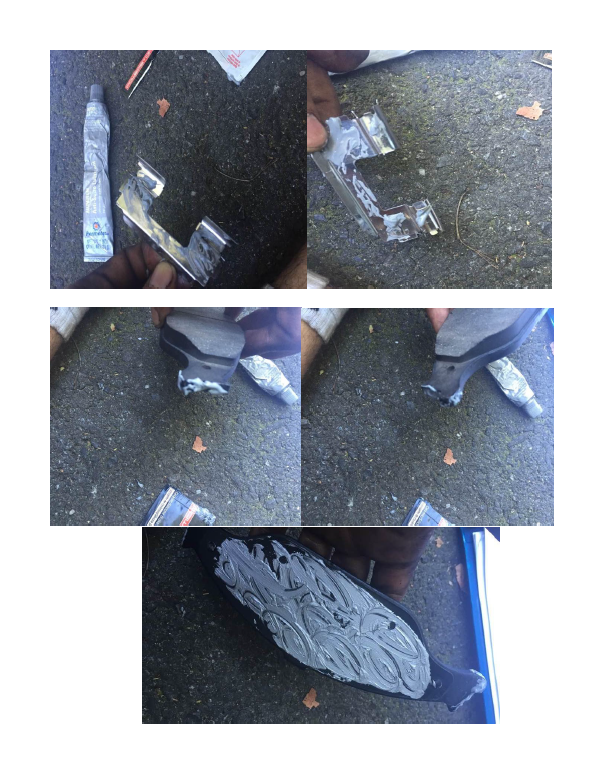
Step Seven
Assemble the clips inside the caliper. Use the old caliper as a reference for how they should be laid out. Insert your brake pads. The pistons will be compressed already so they will be in place.
Step Eight
Put the entire new caliper on to the rotor, aligning the holes so that the 15mm bolts can be screwed in. Using a 15mm wrench or ratchet, tighten the two bolts. (This is the opposite of step four)
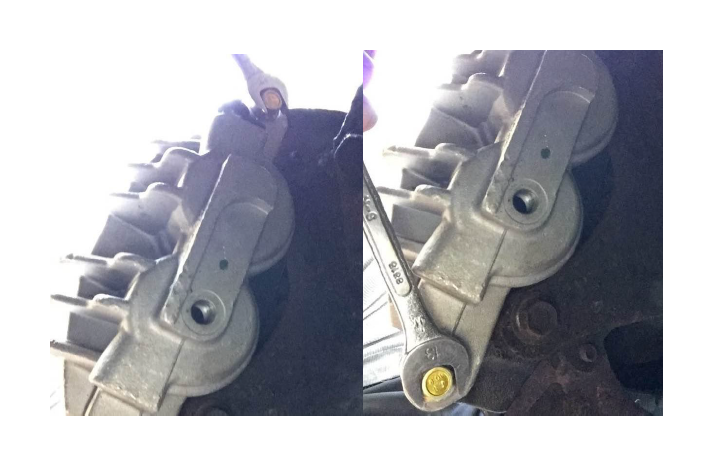
Step Nine
Make sure the 13mm bracket bolts are tightened. They should be tightened from the box
Step Ten
Put a washer on the new brake bleeding bolt, then the brake line, then another washer. It should look like this:
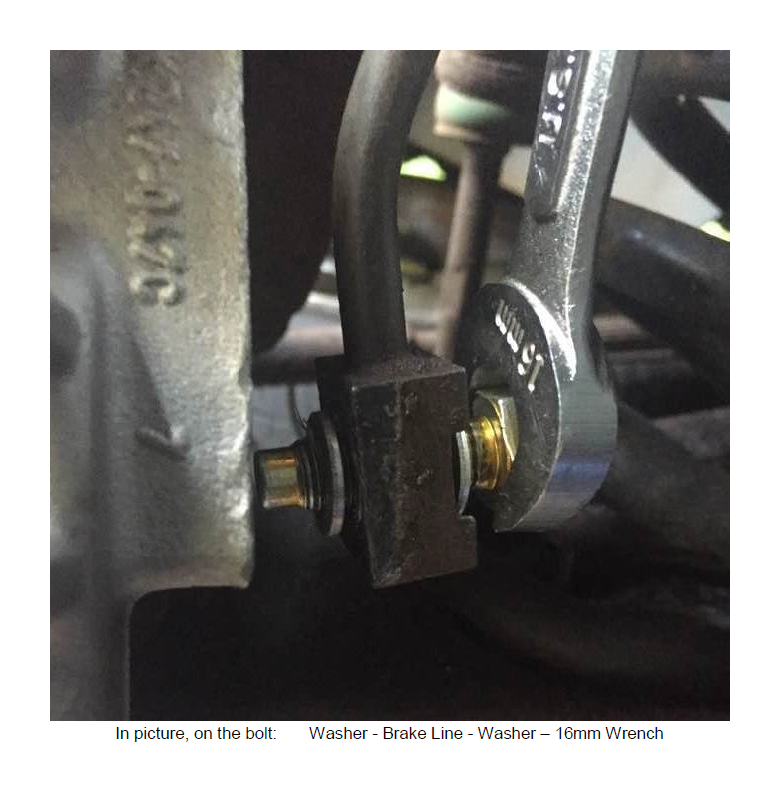
In picture, on the bolt: Washer - Brake Line - Washer – 16mm Wrench
Using a 16mm wrench or ratchet, tighten the bolt down.
Step Eleven
Now that the new caliper is installed, the brake system must be bled to get rid of any air that may have made its way into the system while the brake line was off.
Enjoy your new caliper!