 FREE 1 to 3-Day Delivery on Orders $149+ Details
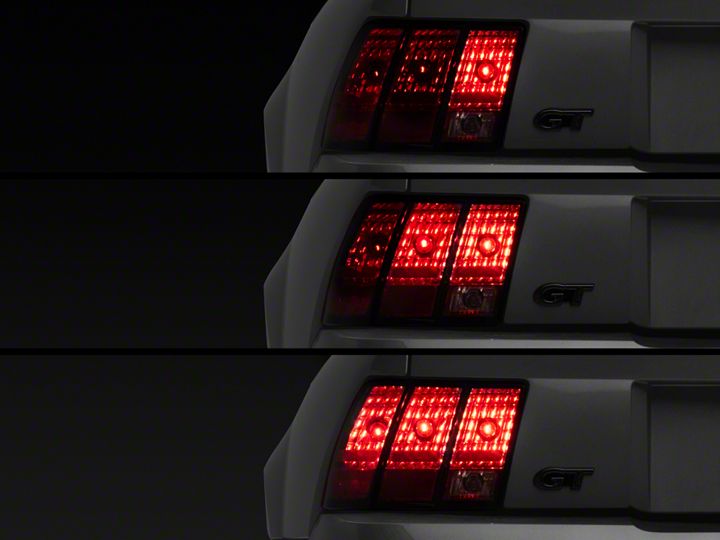
How to Install Raxiom Plug-in Sequential Tail Light Kit on Your 1996-2004 Mustang
Installation Time
30 minutes
Tools Required
- 12mm Deep Socket Wrench
- Flathead Screwdriver
- Needle Nose Pliers
Shop Parts in this Guide
Installation
1. Open up the trunk.
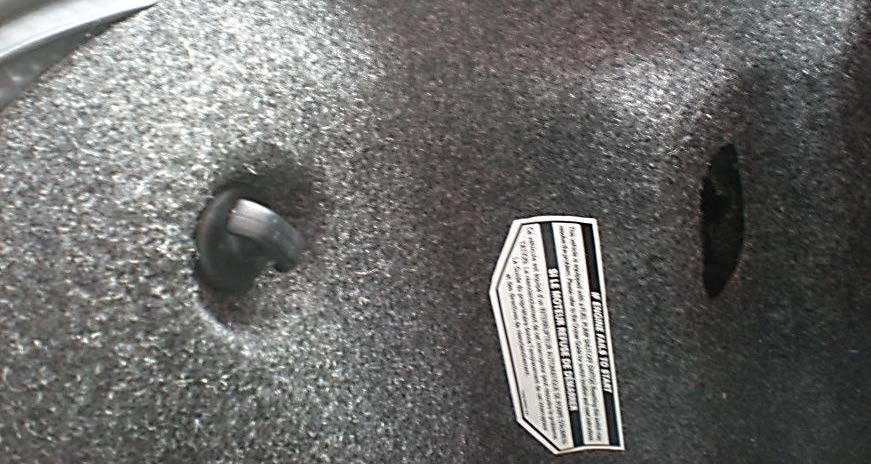
2. Begin taking out the clips on the bottom lip of the trunk that hold the liner in place.
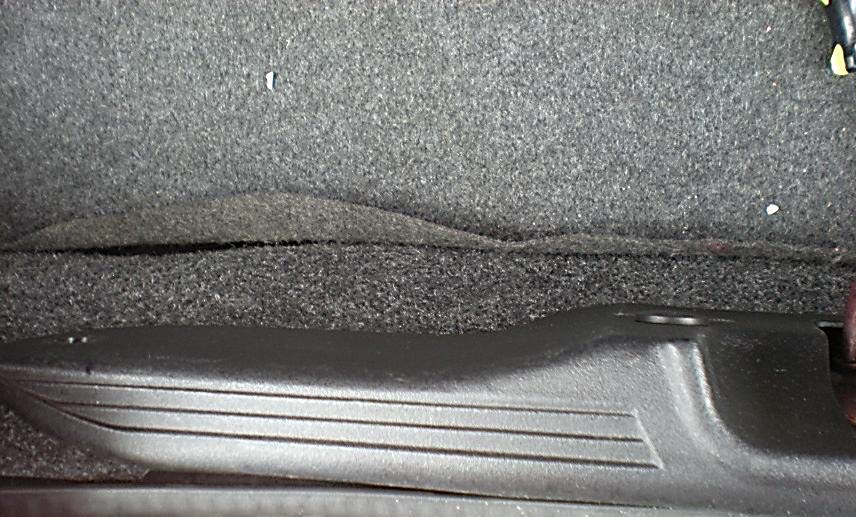
3. Remove the overhead clips on the top lip of the trunk. This is where you might need the flat head screwdriver and needle nose pliers.
4. Remove both the front liner and back liner so you can move the liners on both the left and right sides to access the tail light assembly bolts.
5. Remove the tail light retaining nuts with a 12mm deep socket.
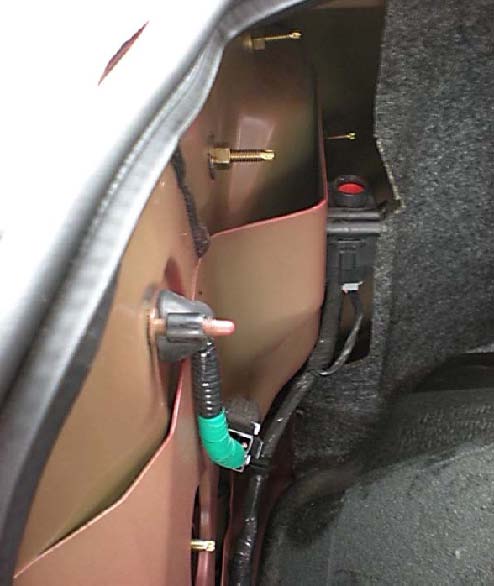
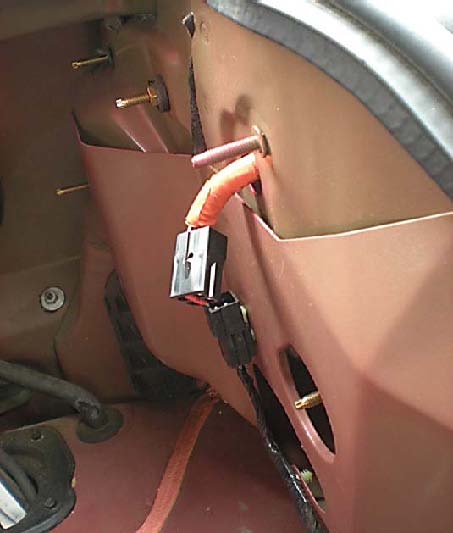
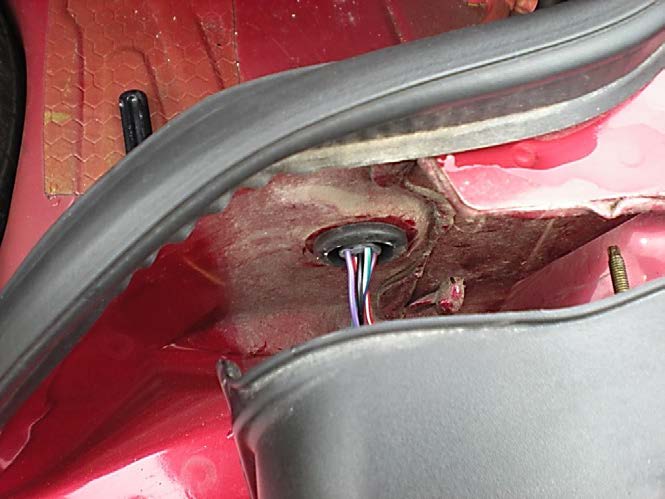
6. Unplug the factory light harness and dismount the rubber grommet by pushing it through a little bit at a time. A screw driver may help with this step.
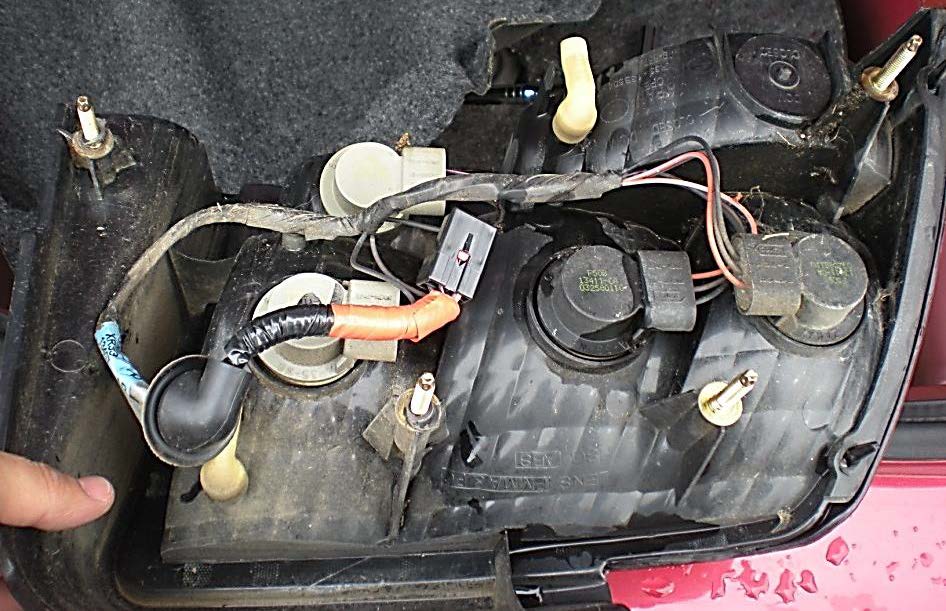
7. Slide headlight housing forward.
8. Turn the factory harness pieces until the sockets pop out.
9. Remove the bulbs from the factory harness and insert them into the new sequential harness.
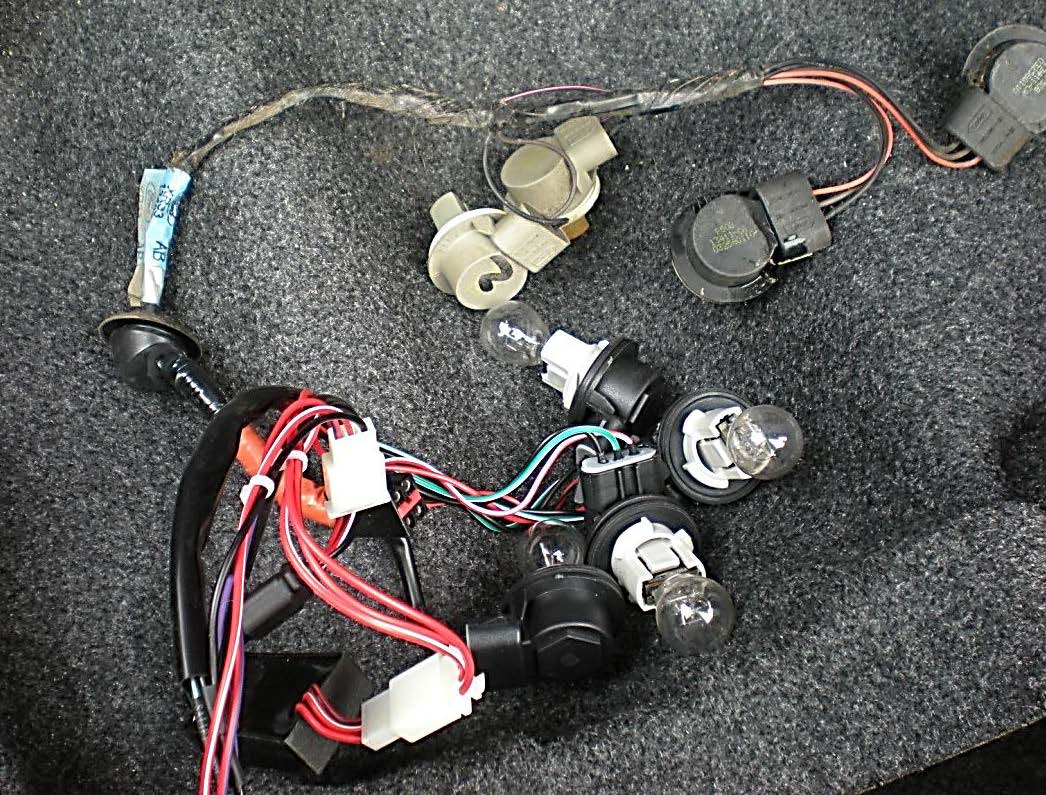
10. Re-install the sequential harness into the taillight assembly. Plug the lights in before reassembling the taillight to ensure you have the correct sequence. This will make for less work if installed in the wrong sequence.
11. Re-install the taillight assembly into the car, making sure to fit the rubber stopper before plugging in the wire.
12. Re-install the bolts on the assembly.
13. Repeat for the opposite taillight.
14. Reinstall your trunk liner and give your lights a final test.
ENJOY!

Installation Instructions written by AmericanMuscle customer Emanuel Borja 4.4.12

