 FREE 1 to 3-Day Delivery on Orders $149+ Details
SHR Mustang Honeycomb Taillight Panel ('05-'09) - Installation Instructions

Shop Parts in this Guide
Installation
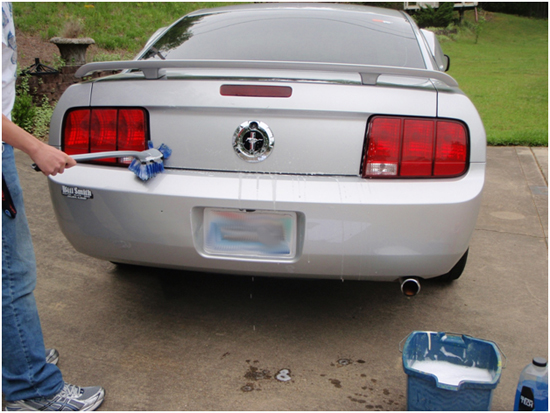
1. First, you should make sure your Mustang is clean so the adhesive has a nice smooth surface to stick to. Make sure you remove wax from your car if you recently waxed it so the 3M tape will have a better surface to stick to.
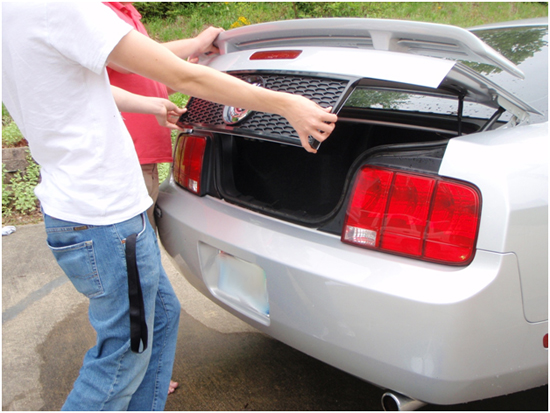
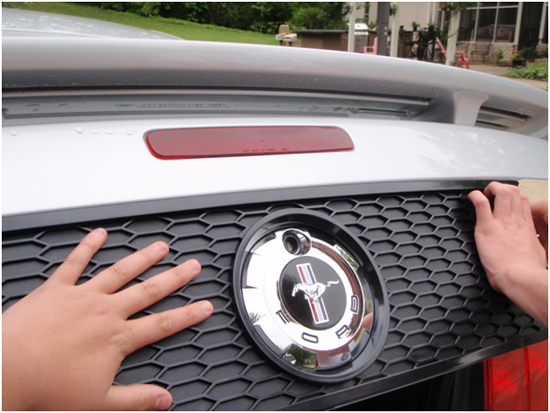
2. Have an assistant hold the trunk lid open so you can inspect it while the tape is still on to make sure it is a good fit. The panel may have a springy feel to it in the center but this is normal. The final product will be pressed flat against the lid. It will not harm the panel if you apply pressure to it to fit the curvature of the trunk. On some models, the panel may not be big enough for the center emblem. If yours does not fit, simply sand the center hole of the panel until it is big enough.
3. Place the panel on a soft surface for the moment and wipe the lid down with the alcohol wipe. Make sure the entire trunk lid (where the product is to be placed) is wiped down so all of the dust is removed.

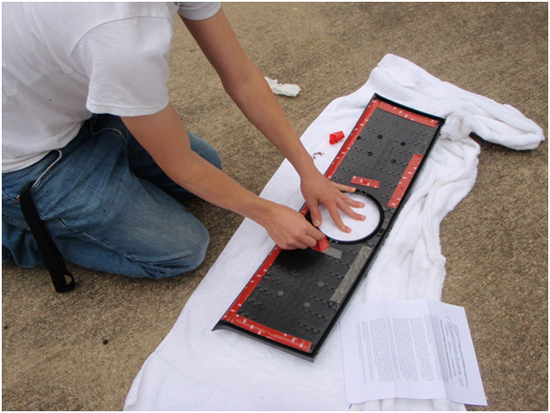
4. With the panel face down on a soft surface, remove the 3M tape from the back. Try to touch the adhesive part of the tape as little as possible because the oils on your skin will decrease the adhesion.
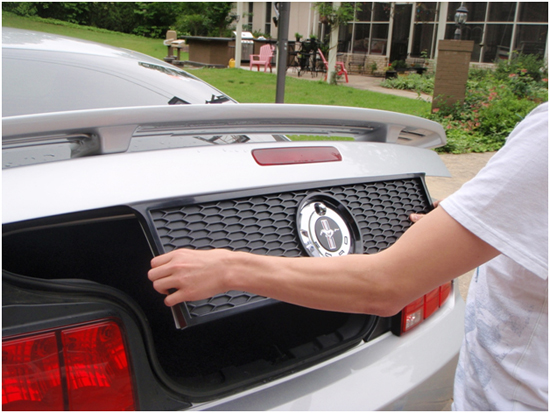
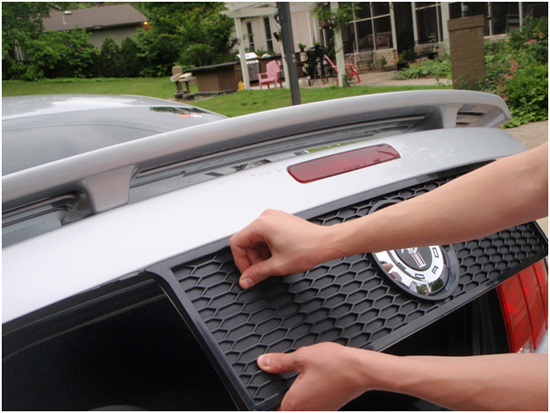
5. Have your assistant hold the panel open at a height that will allow you to work with it comfortably. Hold the panel a few inches away from the trunk lid and align the panel. If you hold your hands on left and right sides and apply pressure with your thumbs, the panel will flatten. This will allow you to place the center on first, followed by the sides.
6. After installation, use firm hand pressure to push the panel/tape down onto the trunk for a minimum for 4-5 Mins. Work your way around the panel to achieve a uniform adhesion.
7. Allow for vehicle to remain at 60-80 F for at least one hour to aid in the adhesion of the tape. Do not wash the vehicle or let it get wet for at least 24 Hrs after installation.
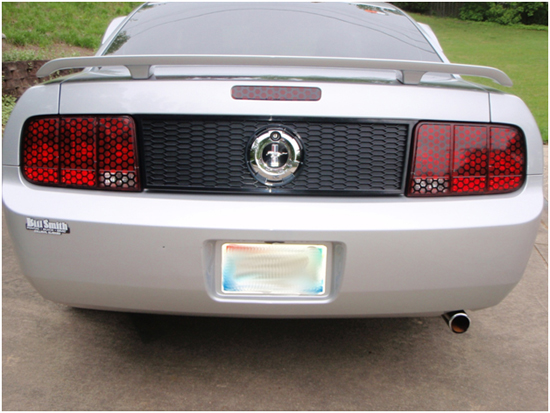
8. I added the honeycomb taillight and 3rd brake light decals to match. I would like to thank my brother, Cory, for being a great assistant and camera operator.
Installation instructions provided by AmericanMuscle customer Colby Clark 5.11.09
Related Guides
-
Installation
-
Installation
-
Installation
