 FREE 1 to 3-Day Delivery on Orders $149+ Details
How to Install Spec Stage 3 Clutch on your Mustang
Installation Time
4 hours
Tools Required
- Socket Set
- Ratchet
- Torque Wrench
- Pilot Bearing Puller
- Hammer
- Paper Towel
- Loc-Tight
- Brake Cleaner/Carburetor Cleaner
- Impact Wrench (Not needed but makes the job a lot easier)

Shop Parts in this Guide
The following is general overview of the installation instructions for a Spec Clutch, because of this some steps or parts may vary from model year to model year. The installation can be a little overwhelming, so for those individuals that are not mechanically inclined professional installation is recommend.
List of of needed Parts:
• Ford Racing Metric Clutch Bolt and Dowel Kit
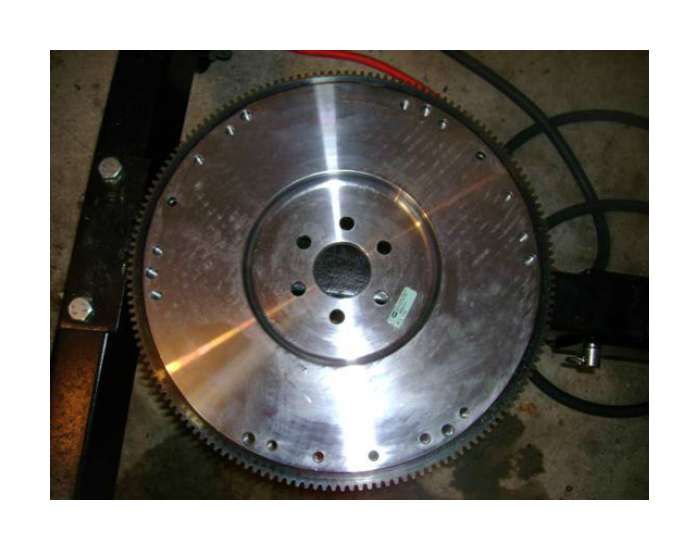
• New Flywheel or Resurface and Inspect Current Flywheel
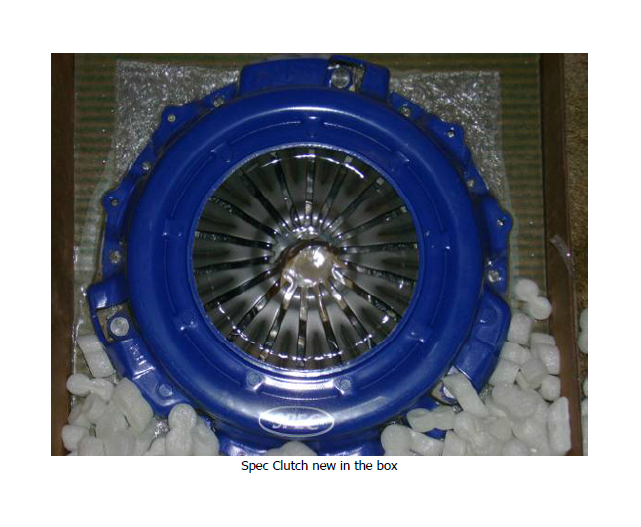
Note: Before you begin inspect that you received all the parts in the Spec Clutch kit.
Included Parts:
• Pressure Plate
• Clutch Friction Disk
• Throw Out Bearing
• Pilot Bearing - not included in 2005 kits
• Clutch Alignment Tool
• Warranty Instructions and Stickers
Installation:
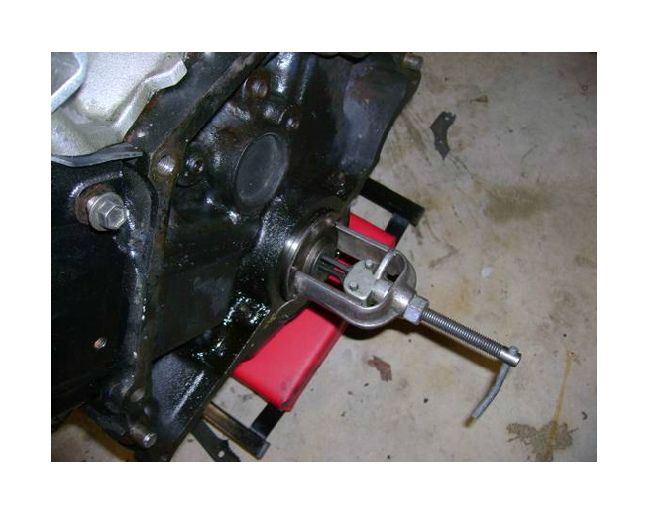
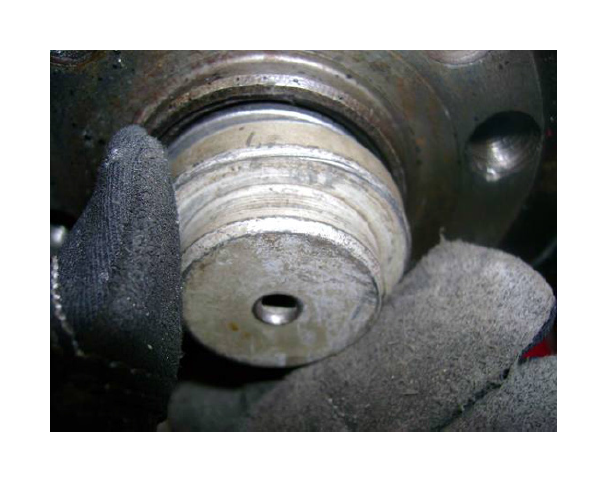
1. You need to remove your original pilot bearing and replace it with the new one. If you decide not to do this it could cause the transmission not to spin down and therefore cause difficult shifts. Insert the pilot bearing removal tool, and remove the old pilot bearing.
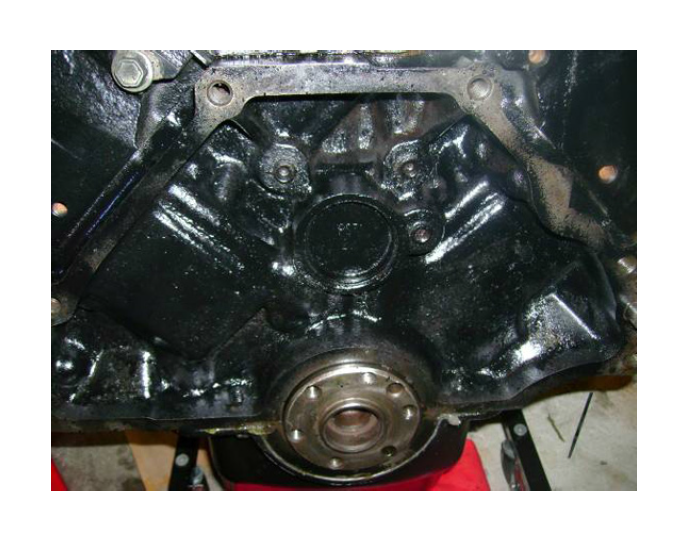
2. At this time you should inspect your rear main seal. Any oil that gets on the clutch friction surface will at first cause it to be excessively grabby and then slip. Rear main seals are normally a little wet with oil, but any dripping it should be replaced. 1981 and newer mustangs have a one-piece rear main seal which is easily removed when you are replacing a clutch. It is as easy as pulling the old one out and popping the new one in. On my engine you cannot see it because it is a Mexican block which has a 2-piece rear main seal.
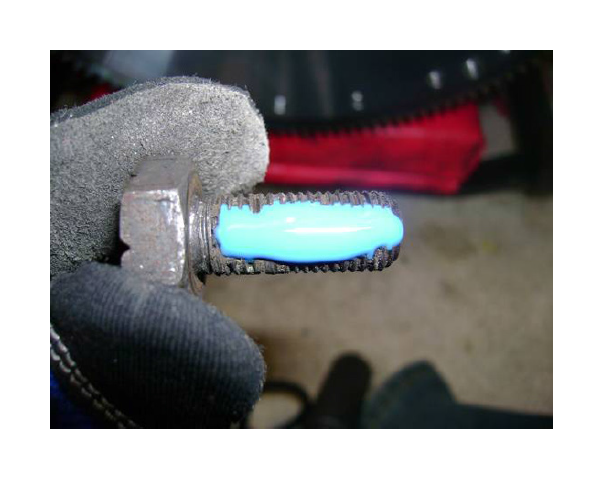
3. At this time you will need your new pilot bearing (right) and some sort of flat hard surface (left) to hammer on and install the new bearing straight.
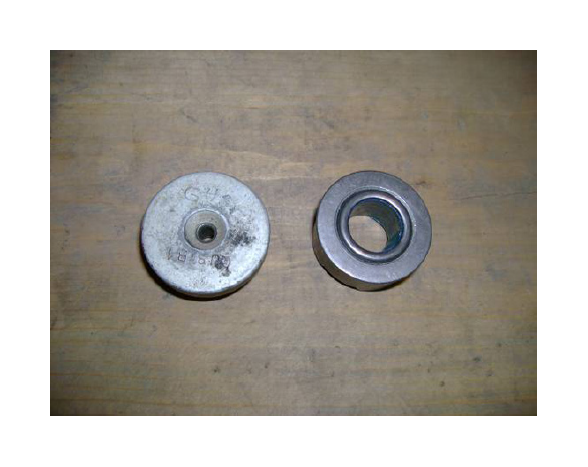
4. First you want to set the pilot bearing inside of the crankshaft so that the flat part of the bearing is facing outward and the 2 notches are facing inward. Then you set your hard flat surface on the back of the bearing and hammer on the surface to install the new pilot bearing. If you need to GENTLY and CAREFULLY hammer on the pilot bearing itself to make sure it is flush and in all the way.
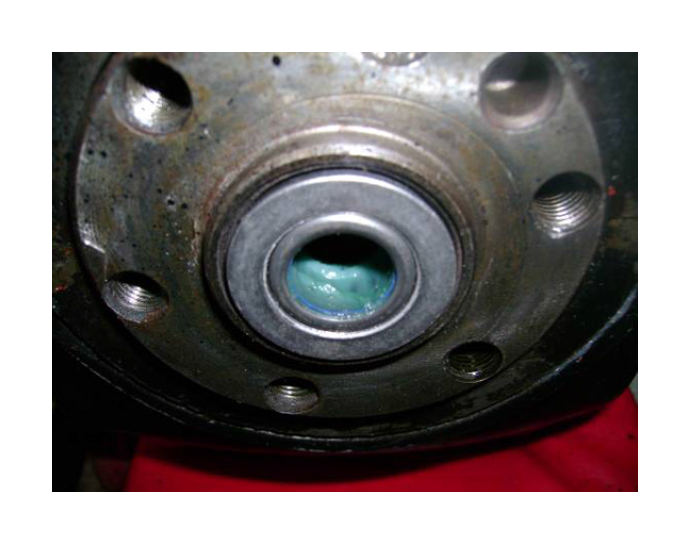
5. The new pilot bearing should be nice and flush as shown below.
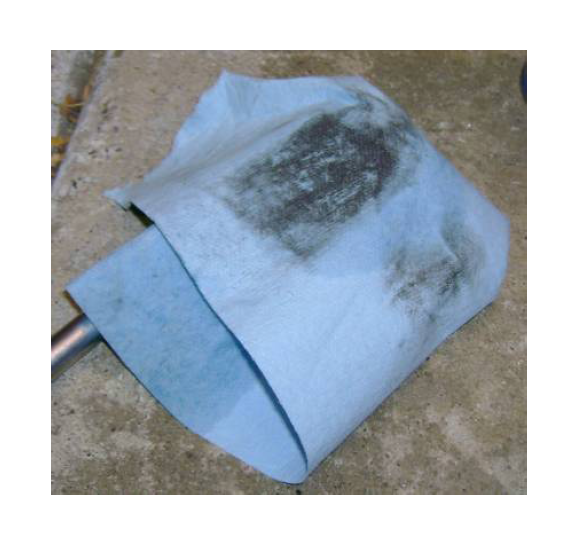
6. When installing your clutch and flywheel it is crucial to clean both the flywheel and the pressure plate with something like brake cleaner or carburetor cleaner. If you do not clean it, your clutch could slip.

Note: As you can see on the rag below there is still a lot of dirt and grease on a new flywheel and clutch.
7. Now you need to install your new or resurfaced flywheel. Also ensure your flex plate is on first behind the flywheel, this will just go on and will not bolt to anything but it will go over dowels, the bolts from the bell housing hold it in place.
8. Put Loc-Tite on all of the flywheel bolts to ensure they will stay tight.
9. Torque the bolts for the flywheel down to 85 ft/lbs.
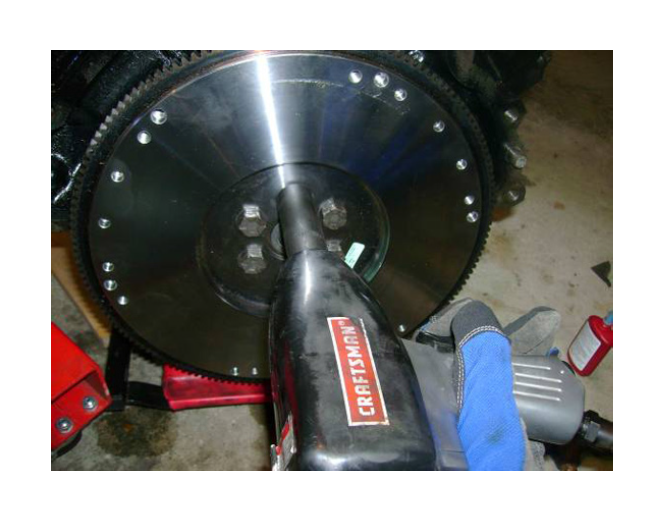
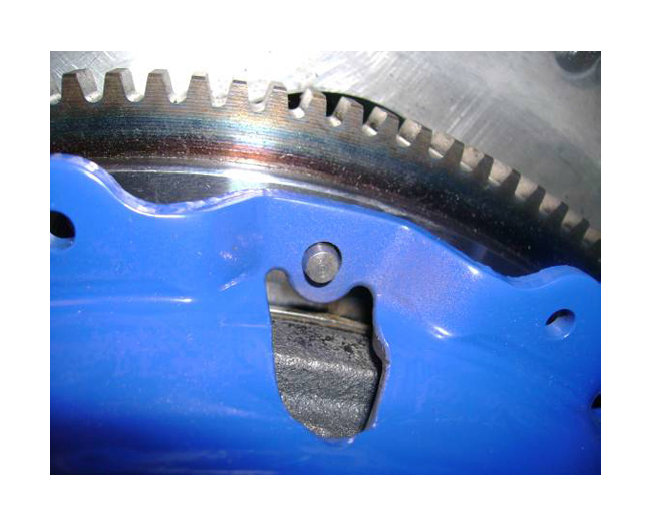
10. Next, you need to install your 3 dowel pins that came with the clutch kit, or with your ford racing metric dowel and pressure plate bolt kit. These will gently hammer into 3 none threaded holes, these holes are also tapered so they will only go in half way.
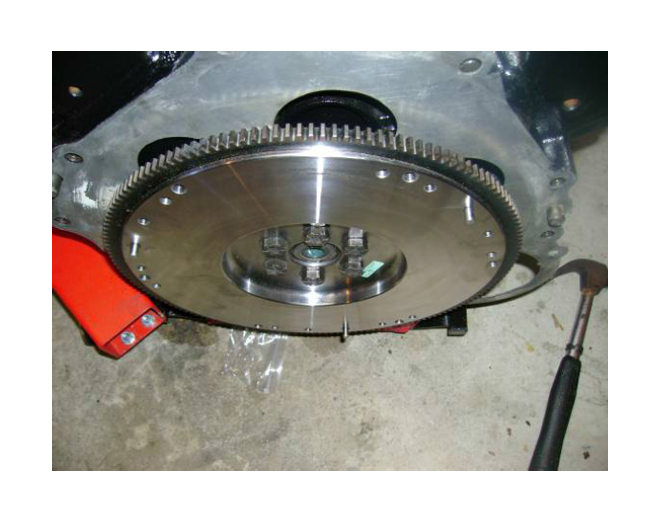
11. You will need to put the friction disc on. This will be held in place with the clutch alignment tool as shown below.
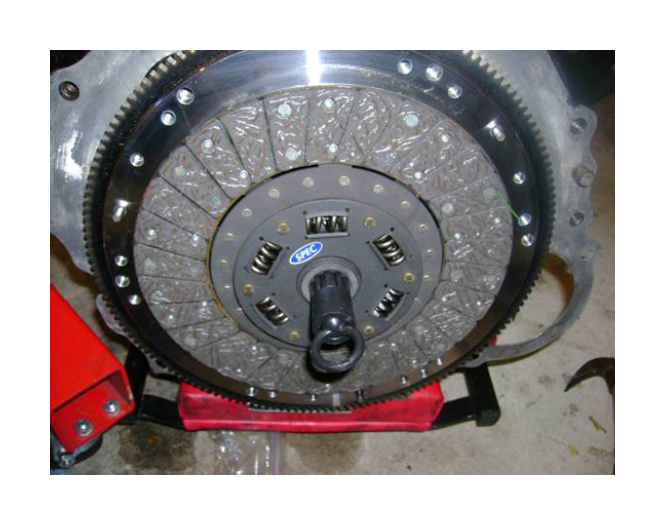
12. Next you need to install the pressure plate. Once again use Loc-Tite and torque these bolts to 24 ft/lbs
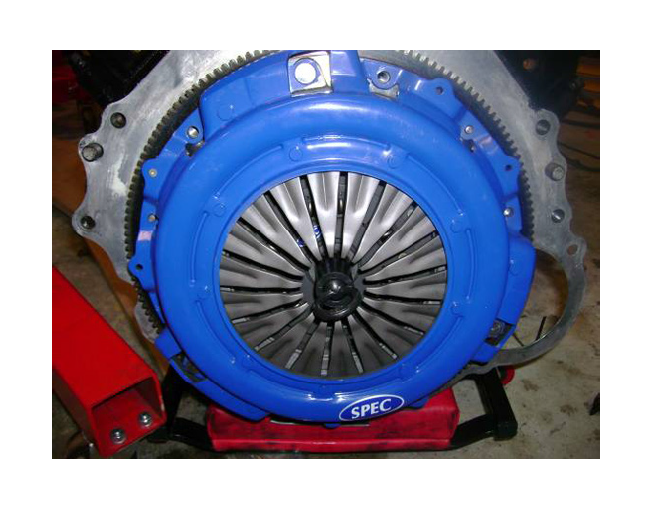
13. Make sure that the pressure plate is lined up onto the 3 dowel pins
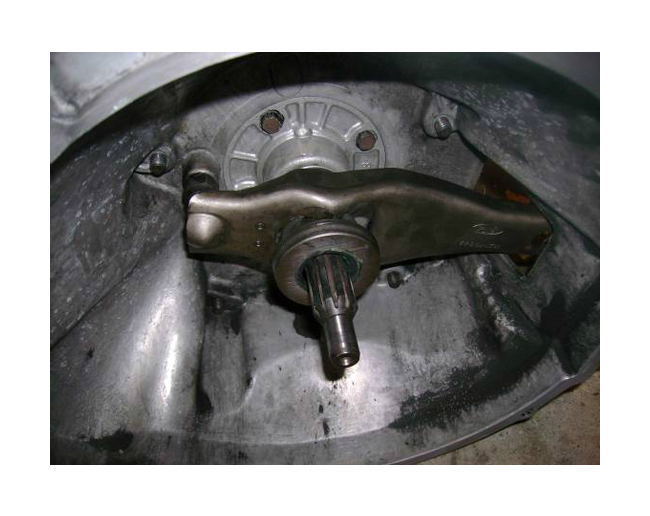
14. Next you will need to install your new throw out bearing onto your clutch fork.
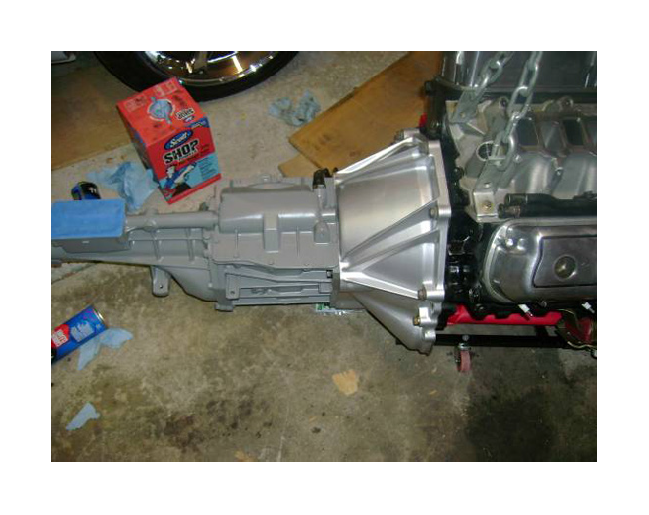
15. Now install your transmission back onto your engine, ensuring the splines are lined up. DO NOT pull the transmission onto the engine with the bolts. Use Loc-Tite again and torque these bolts to 38 ft/lbs.
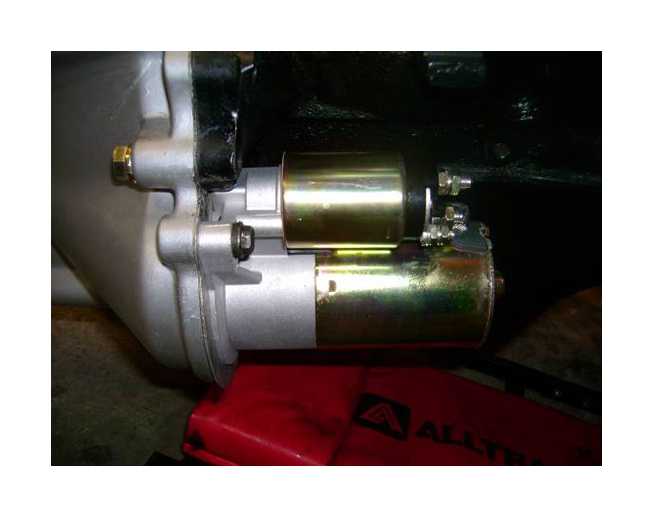
16. Now you will need to install your starter.
Congratulations, your clutch is installed! Now you just need to adjust it, and allow about 500 miles of easy driving for break-in.
