 FREE 1 to 3-Day Delivery on Orders $149+ Details
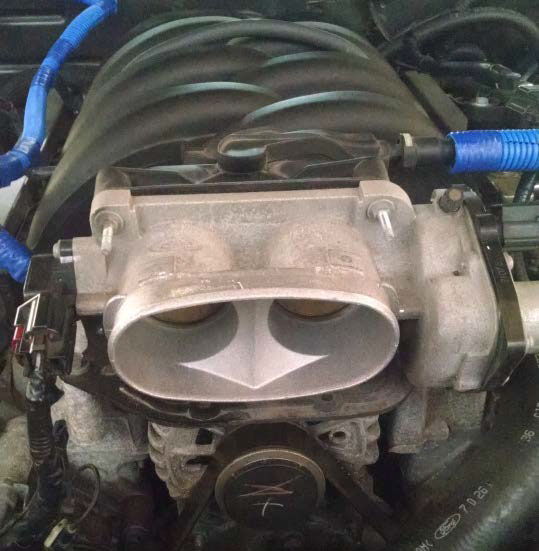
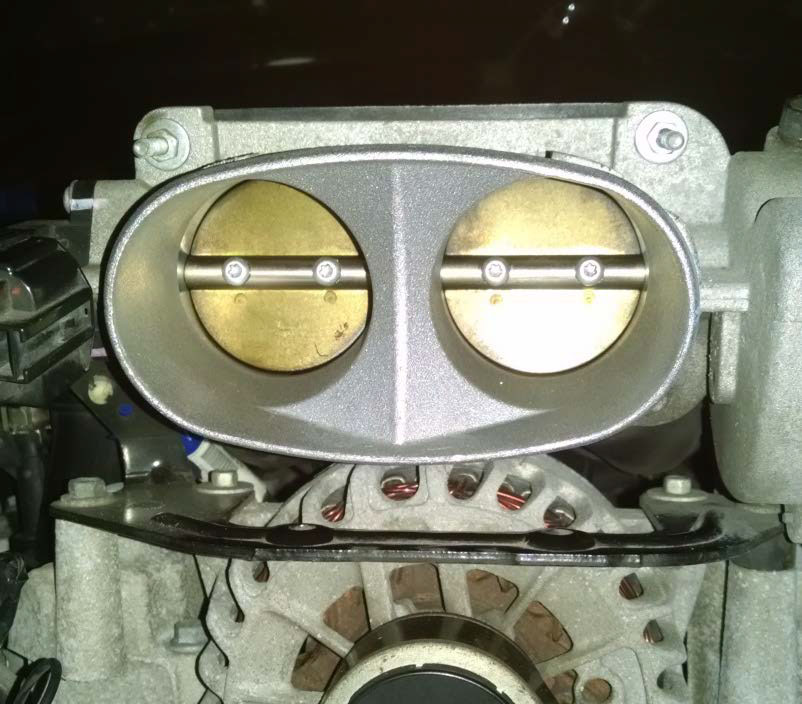
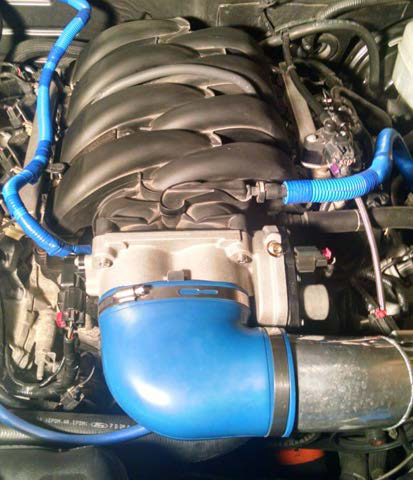
How To Install a SR Performance Twin 62mm Throttle Body for your 2005-2010 GT Mustang
Installation Time
2 hours
Tools Required
- Flat-head screwdriver
- Ratchet
- Small extension
- 10mm socket
- 8mm socket
- T20 Torx bit
- Needle nose pliers
- 5mm allen wrench
- DMM (Digital Multi-Meter) (Recommended)
- Back pin probe or pin/needle (Recommended)
- *NOTE* While a flash tuner is not required, it is recommended for maximum performance.

Shop Parts in this Guide
Instructions:
1. Begin by removing the MAF connector by sliding the red clip back and squeezing the tabs. The PCV hose comes off by twisting the green locking tabs and pulling on the hose or if you have an aftermarket cold air intake it may just slip off. Then simply disconnect your air intake inlet elbow by using a flat-head screwdriver to loosen the clamps.

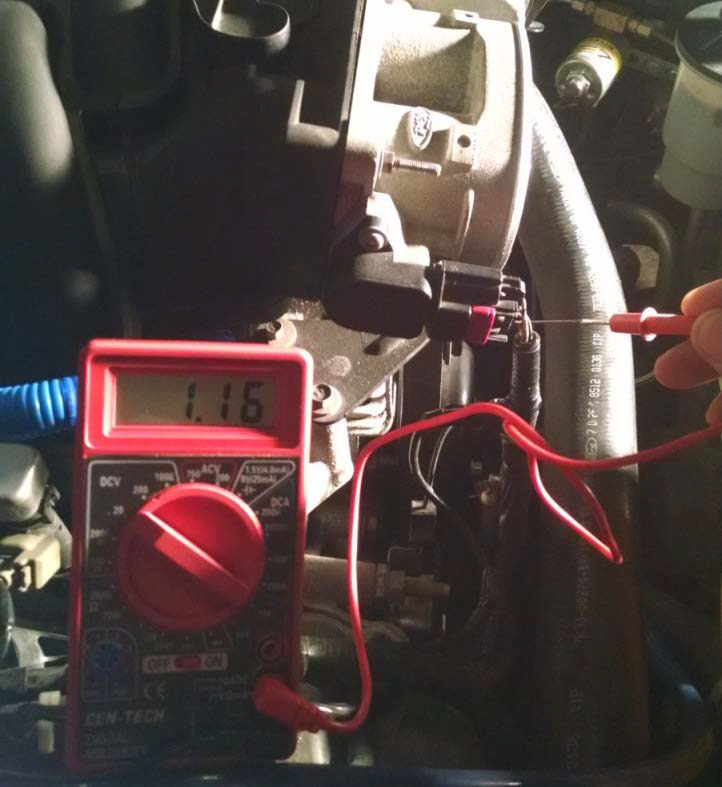
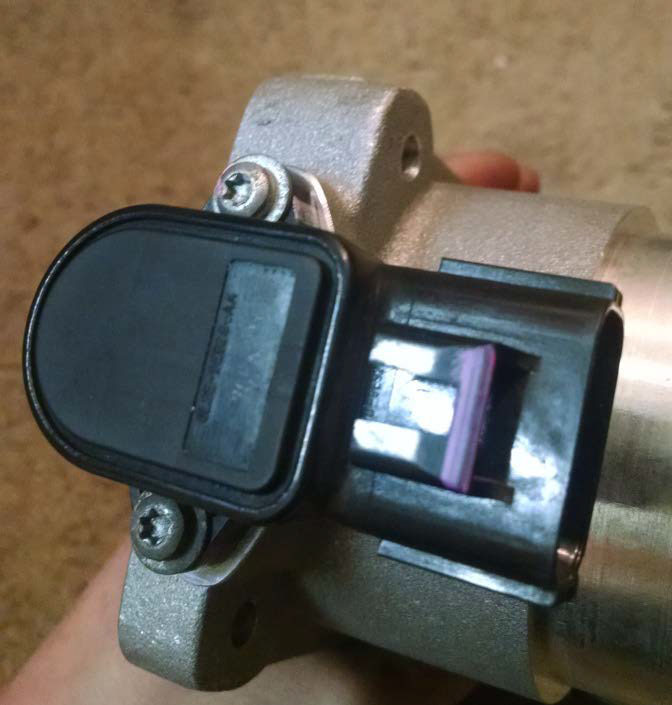
2. It is then recommended to get a voltage reading from the signal wire (yellow color) on the Throttle Position Sensor (TPS), located on the passenger side of the throttle body. If this isn’t done now, the Check Engine light may come on after the install and the stock throttle body will need to be re-installed and this reading taken.
NOTE: This is important so that the new unit can be adjusted if needed to match the current voltage so that the drive-by-wire system is not out of calibration.
3. Set your DMM to Volts DC, and insert either your back pin probe or a pin (pictured below) between the yellow wire and the rubber insulation inside the connector. If a pin is used, simply touch the positive lead of your meter to the pin to record the voltage.
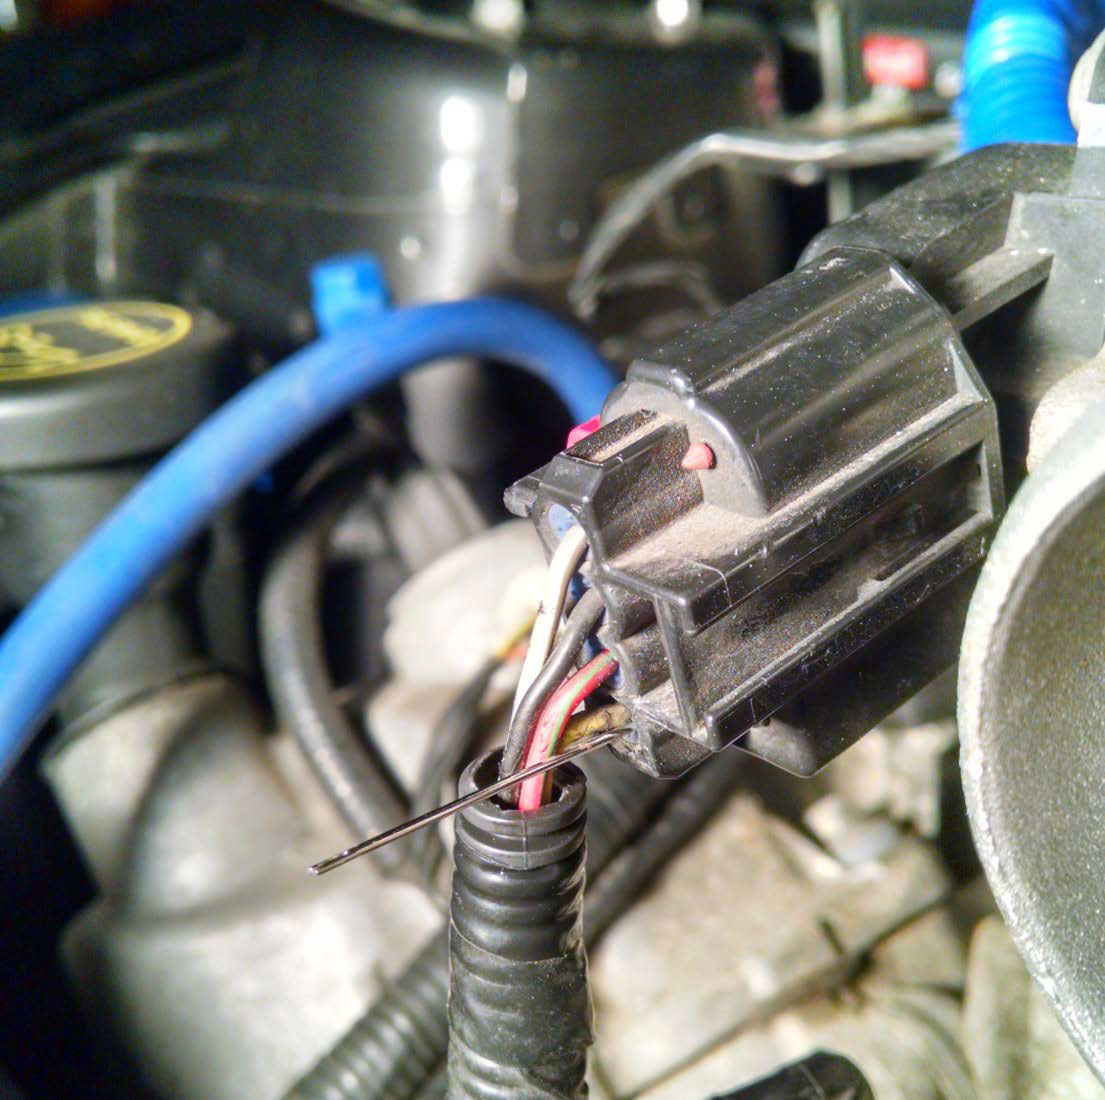
4. Attach the black ground lead to a suitable ground (I used the negative battery terminal) and record the voltage with the KEY ON, ENGINE OFF.
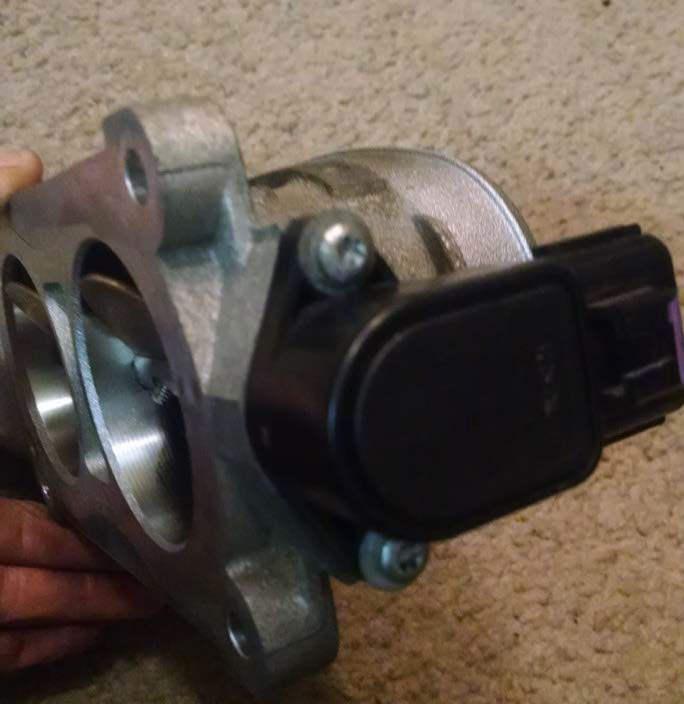
5. Use a deep 8mm socket to remove the 2 studs on the top corners of the throttle body, and a 10mm socket with an extension to remove the 2 bottom nuts and remove the throttle body from the engine.
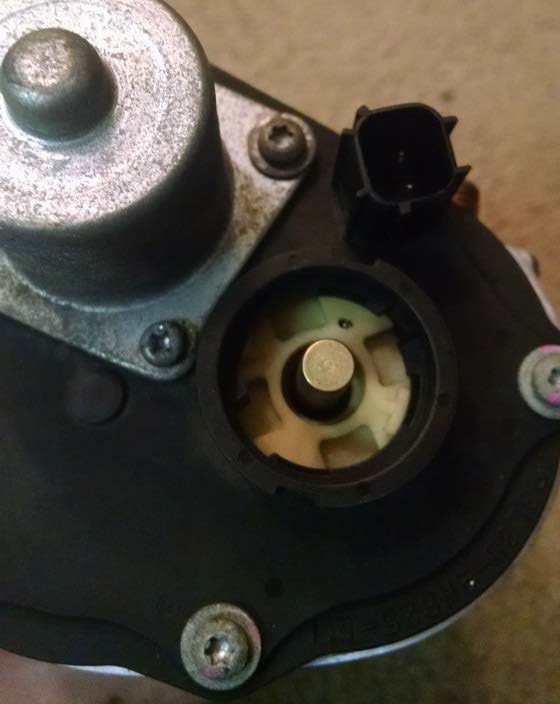
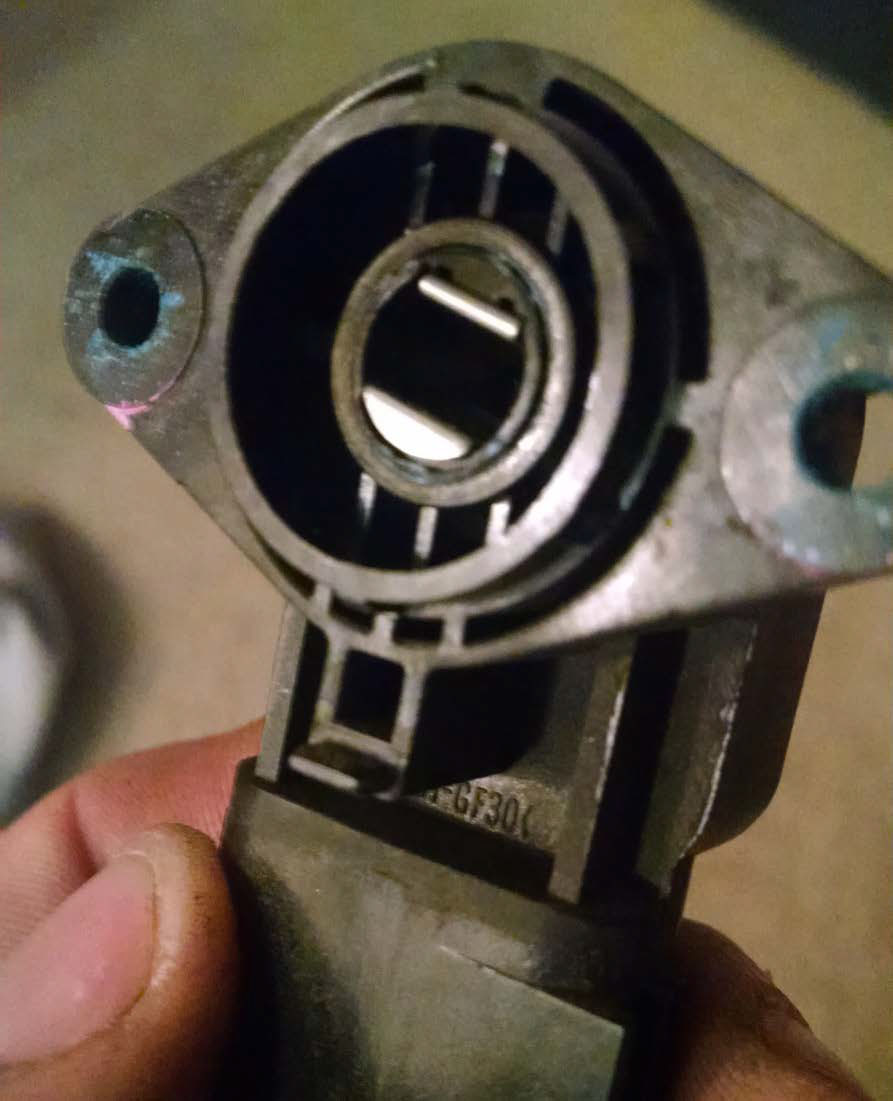
8. Use a T20 Torx bit to remove the 5 screws holding the housing in place, the 2 Phillips screws don’t have to be removed. There is a capped spring inside the housing that will pop out and needs to be re-installed.
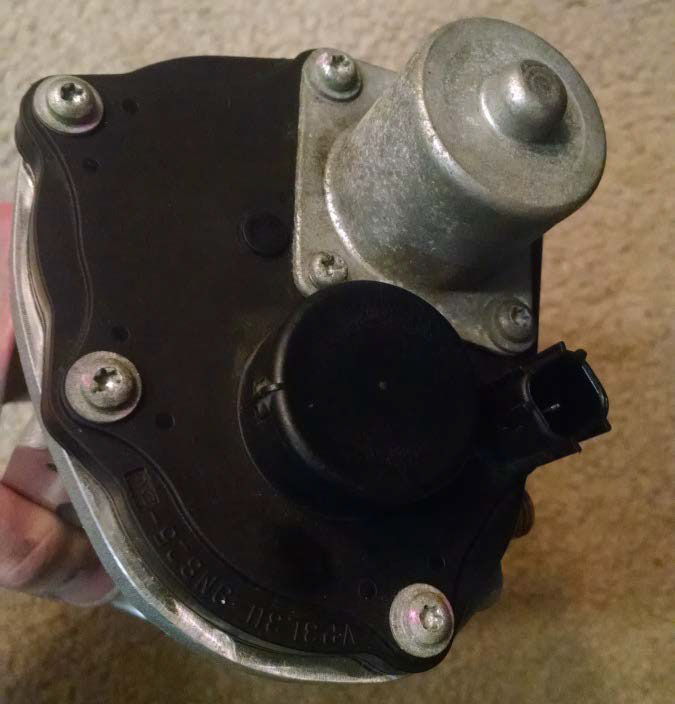
7. Next remove the two T20 screws holding the TPS sensor in place and carefully remove the sensor being careful not to let it rotate.
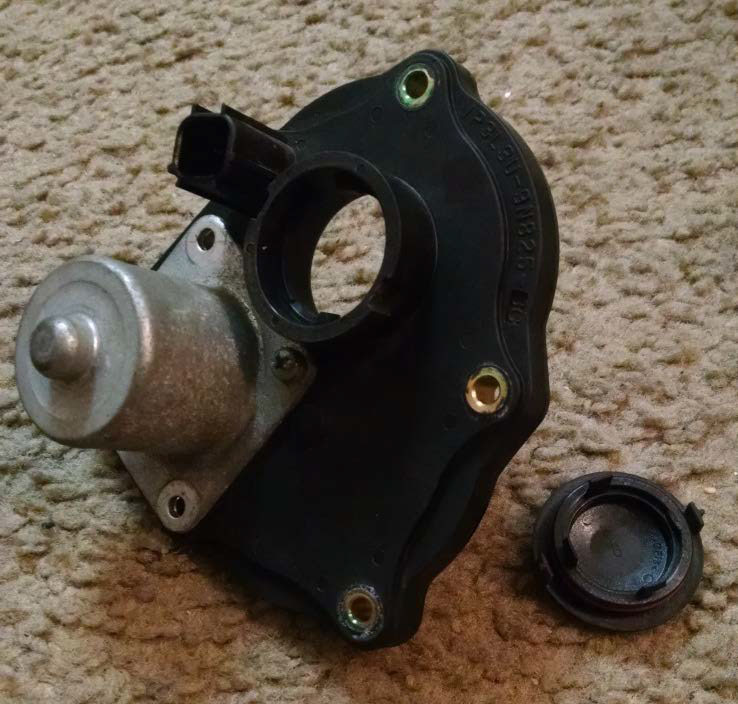
8. Pop off the black circular cap on the motor housing, from the inside, with your finger.
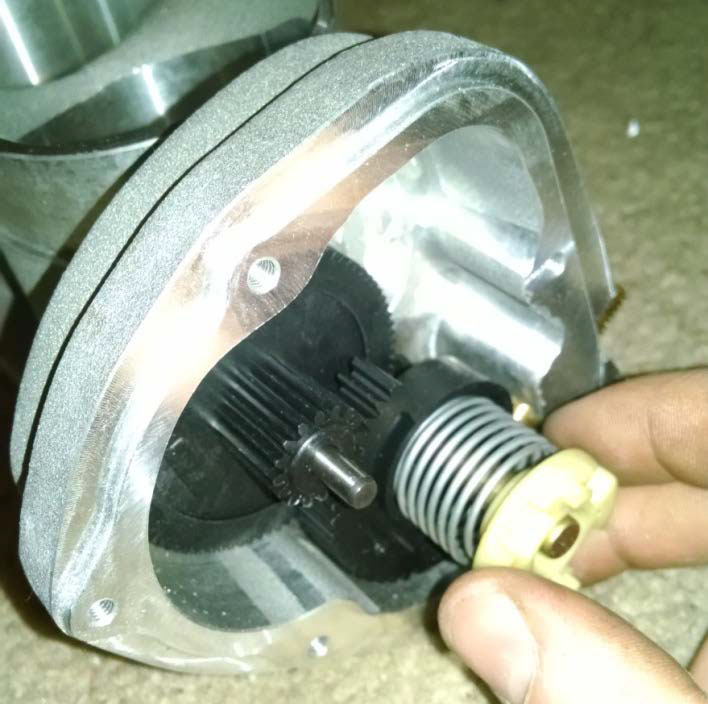
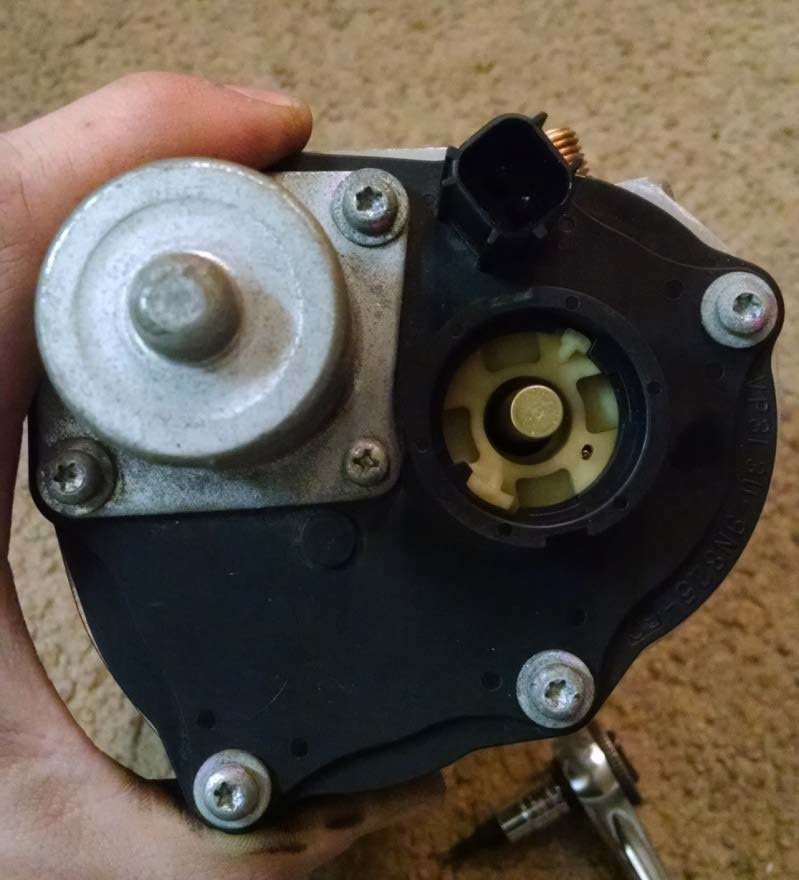
9. Place the capped spring that popped out earlier over the throttle body shaft and twist it until the pigtail at the end of the spring is inside the slot of the gear.
10. Install the motor housing, without the black circular cap, onto the throttle body over the plastic capped spring and tighten the 5 screws.
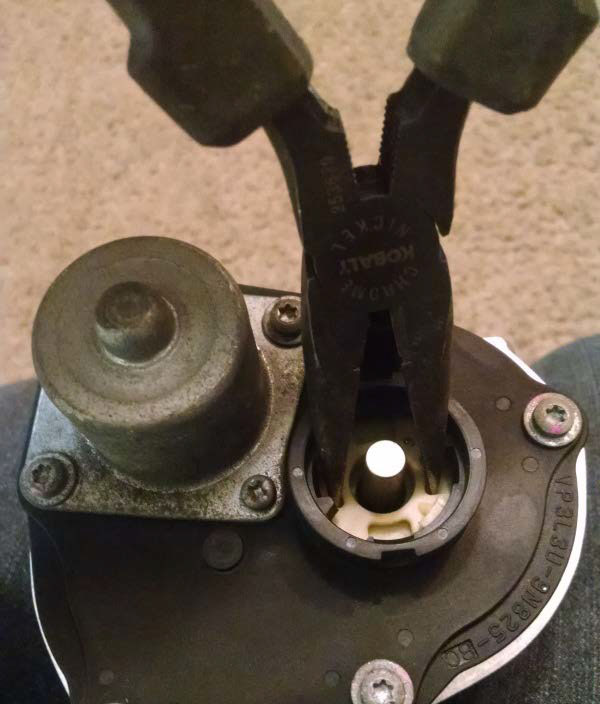
11. Use needle nose pliers to push down slightly and rotate the plastic spring cap COUNTER-CLOCKWISE around half a turn until the small tab and big tab line up and it is able to slide up and lock into place.
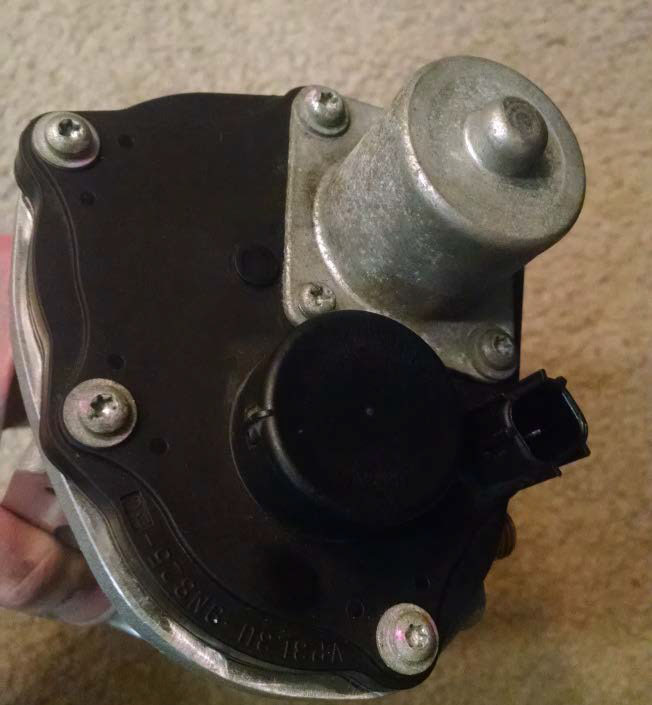
12. Align the tabs on the black circular cap and snap it into place.
13. Push the TPS back into place being careful not to let the sensor rotate on the shaft and tighten the screws.
14. Install the throttle body back onto the engine and tighten the 4 bolts evenly to a torque of 89 INCH/LBS. (Or 8 ft/lbs) The SR kit comes with two new 5mm Allen bolts to replace the two upper studs, however the factory engine cover would not be able to be secured with these.
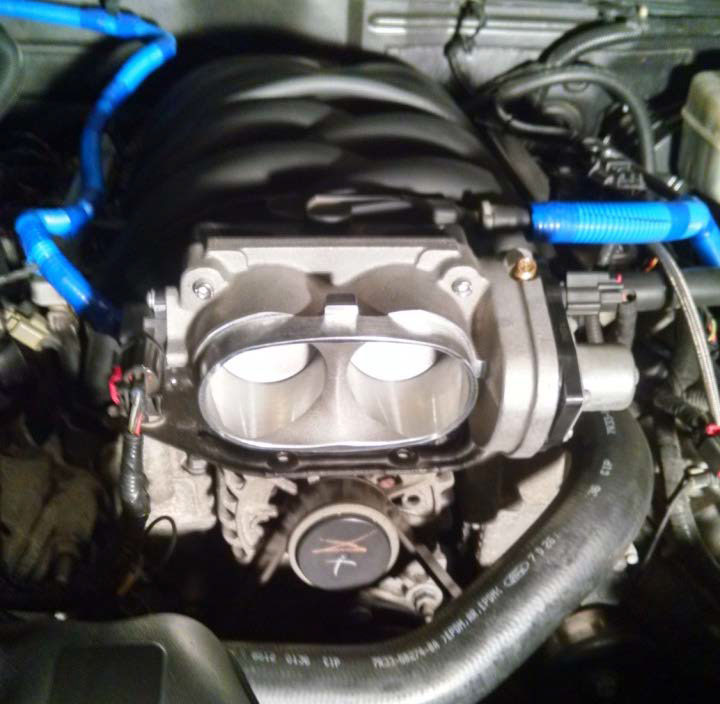
15. Install the TPS connector, the electric motor connector, and the intake tube and tighten all clamps.
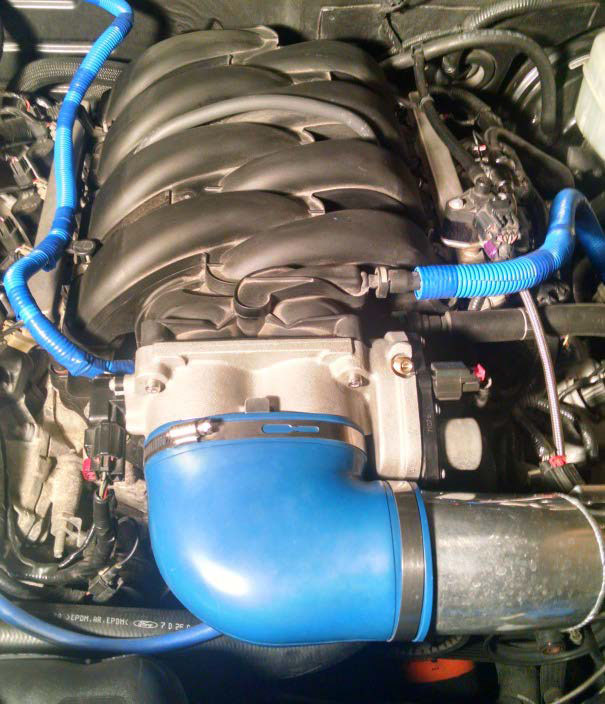
16. Connect the MAF connector and PCV hose. Enjoy the extra new horsepower and throttle response!
If Check Engine light appears after installation:
With the KEY ON ENGINE OFF, hook up your DMM as it was when you checked the TPS voltage before removal. Loosen the two screws holding the TPS in place and rotate the sensor slightly to match the initial voltage and tighten the screws. If the desired voltage cannot be achieved it may be necessary to grind down the alignment tab with a file to allow for more movement. (Tab pictured on next page).
Installation Instructions written by AmericanMuscle Customer Micah Piron 2/18/2015
