 FREE 1 to 3-Day Delivery on Orders $149+ Details
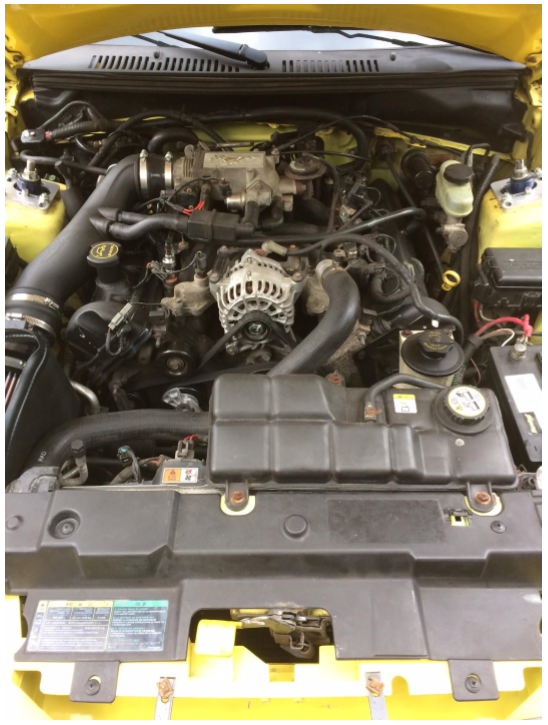
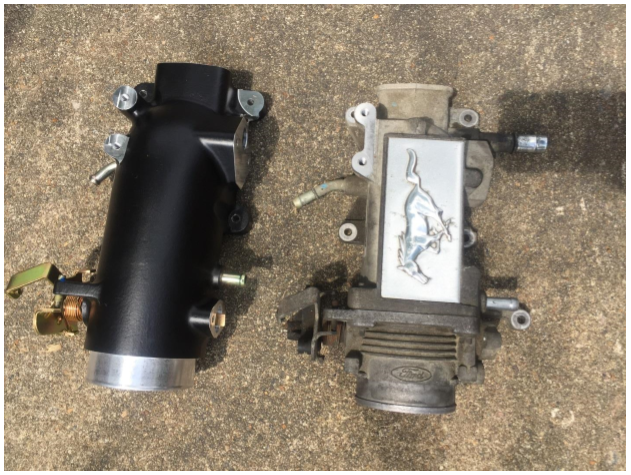
How to Install SR Performance 70mm Throttle Intake - Black (96-04 GT) on your Ford Mustang
Installation Time
2 hours
Tools Required
- Flathead Screwdriver
- Phillips Screwdriver
- Ratchet
- Ratchet Extension
- 8mm Socket
- 10mm Deep Socket
- Clean Shop Towel

Shop Parts in this Guide
1. Disconnect the ground wire on the battery (typically 8mm socket).
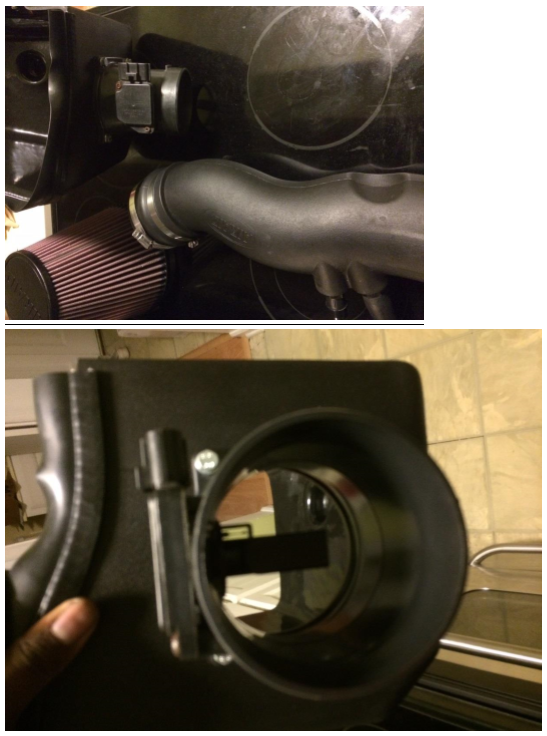
2. Use flathead screwdriver to loosen the steel duct clamp that holds your air intake tube to the mouth of the throttle body and remove the entire air intake system.
TIP: After remover the air intake system, I took this opportunity to clean the MAF Sensor wires with CRC Mass Air Flor Sensor Cleaner. Simply detached the MAF Sensor housing from the tube and spray 10 steady sprays of the cleaner on the sensor wires and set aside to air dry before reattaching to the tube.
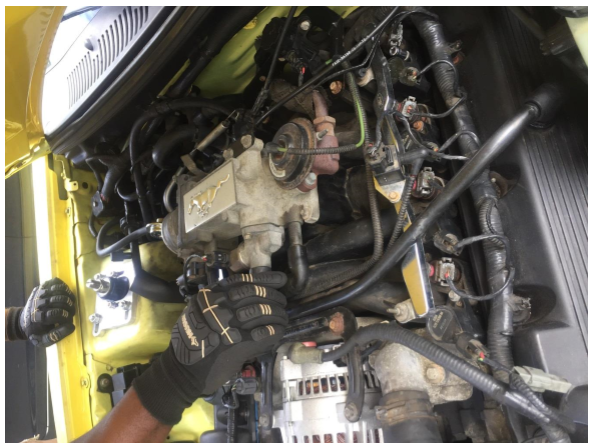
3. With the air intake system removed and safely place out of the working area, proceed to disconnect all rubber hoses flowing to the throttle body; pull slowly from the base of the hoses closest to the throttle body so as to not rip out any wires or tear the tubing.
4. Use a Philips head screwdriver and remove the two screws connecting the Throttle Position Sensor.
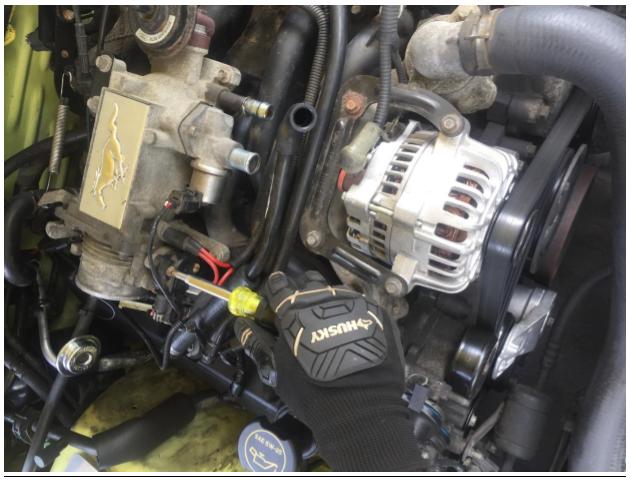
5. Remove the two 8mm bolts to detach the Idle Air Control Sensor; be careful if you wish to reuse your gasket, although I used the new gasket provided in the SR Performance kit.
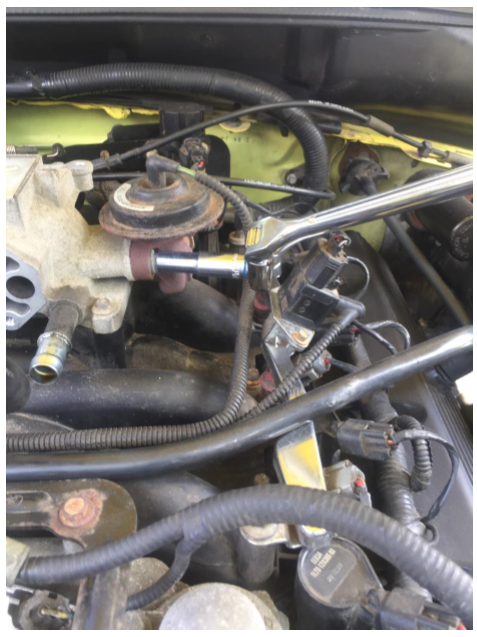
6. Use a 10mm deep well socket and extender with ratchet to remove the two bolts securing the EGR Valve.
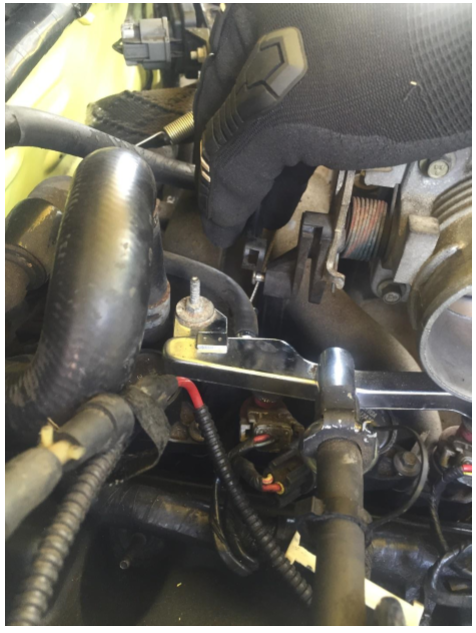
7. Next, move to the back of the throttle body to the butterfly valve and remove the two 10mm bolts securing it. Next, pull down slightly on the valve to open the throttle in order to provide enough slack to pull the throttle cable out of the cam guide. Next, pull out the spring.
Finally, hold the plastic cruise control lever—which is plastic, so be careful—and pull up gently to dislodge.
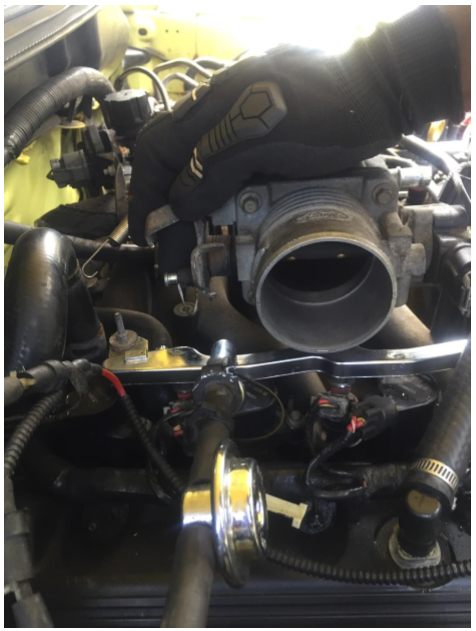
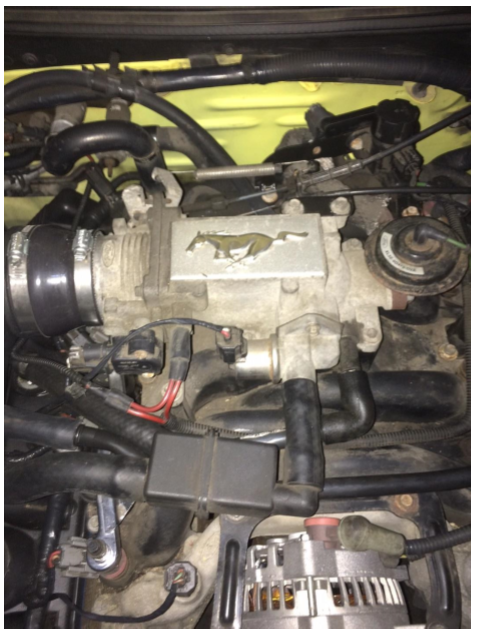
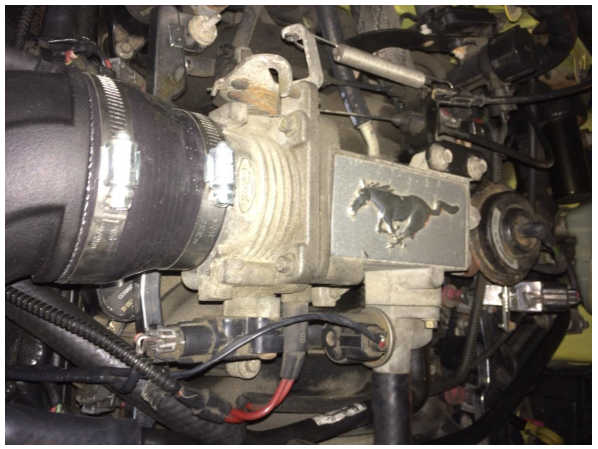
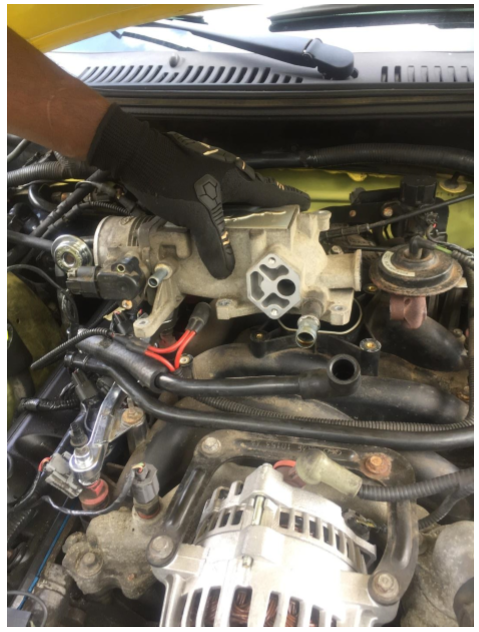
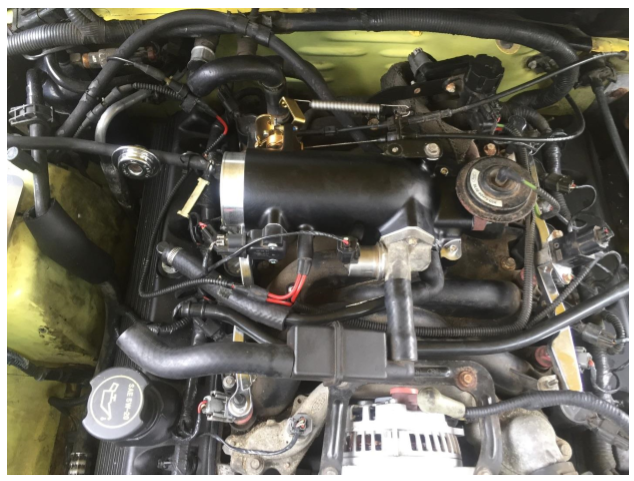
8. At this point, all wires and tubes should no longer be connected anywhere along the four sides of the throttle body. Now, use an 8mm socket to remove all (5) bolts along the edges of the throttle body and lift it from the car. If you will not immediately be installing the new throttle body, take a clean shop towel and cover the manifold opening to keep clear of debris.
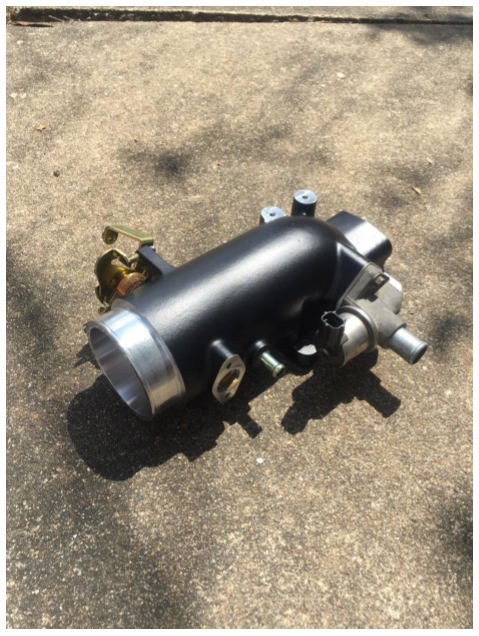
9. Use the provided gasket and attach the Idle Air Control Sensor to the new throttle body using your old bolts. Also, put the Throttle Position Sensor (no gasket) on the new throttle body using the supplied new screws.
10. Twist in the new intake tube on the back hole of the throttle body.
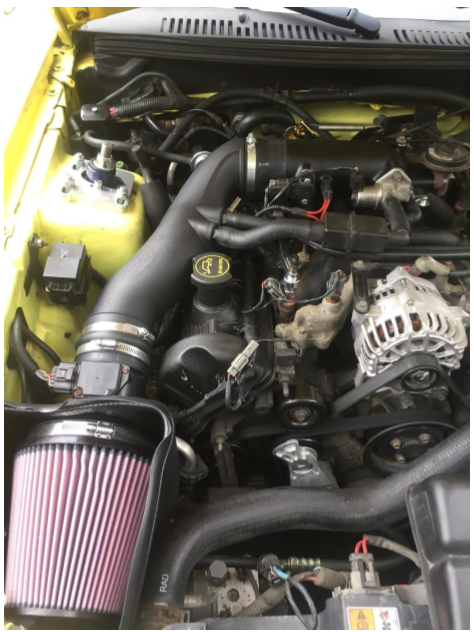
11. Place the throttle body back into the car and reconnect everything back in reverse order. Enjoy your new mod!!!
Troubles Encountered
1. My car is 15-years old and my screws were rusty to the point that I ended up stripping the head of one of them while trying to extract. It took a lot of effort not only due to the rust, but also because of the Iocktite from the factor. I moved to other steps below this one and, once I got the throttle body out of the car, I found a round head bit, hammered it into the screw’s stripped head, and was then able to loosen and remove the Throttle Position Sensor from the throttle body. Note that the SR Performance kit comes with replacement screws for this sensor, so I did not need to reuse the old/damaged screws.
2. After I was completely done with installing the new throttle body, my car’s engine would turn over, but then abruptly shut off. After several minutes rechecking everything to make sure all hoses and wires reattached securely and in proper places, I had someone else try to start my car while I listened. Right before the car shut off, I heard a loud whooshing sound. It turned out that I forgot to use the green gasket that SR Performance kit provided for the EGR Valve. Once the gasket was securely fastened between the EGR Valve and throttle body, my car started beautifully☺
Installation Instructions written by American Muscle Customer, Grant Todd 7-28-2017

