FREE 1 to 3-Day Delivery on Orders $149+ Details
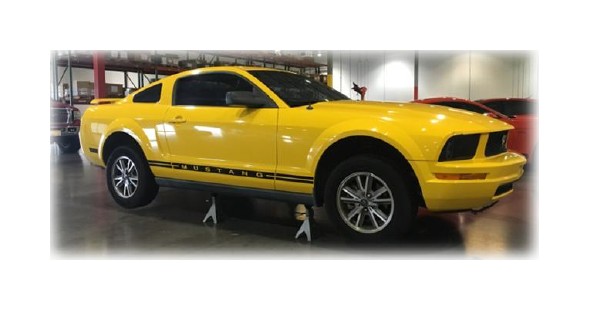
How to Install Steeda Ultra-Lite Low Profile Chassis Jacking Rails (05-14 All) on your Ford Mustang
Steeda Jacking Rail Installation
1. Support the car on a drive on lift, two post lift, or jack stands to do this install.
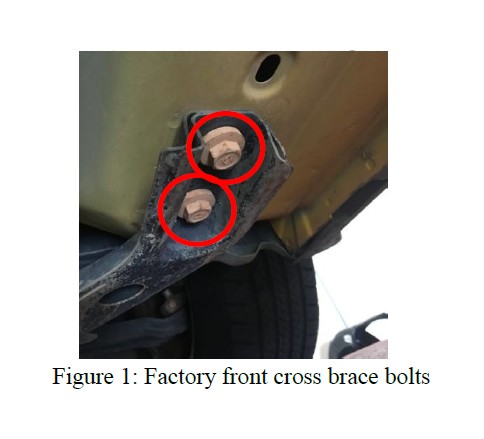
2. Using an 18mm socket and ratchet remove the 4 bolts (2 on each side) securing the cross brace located behind the engine, in Figure 1.
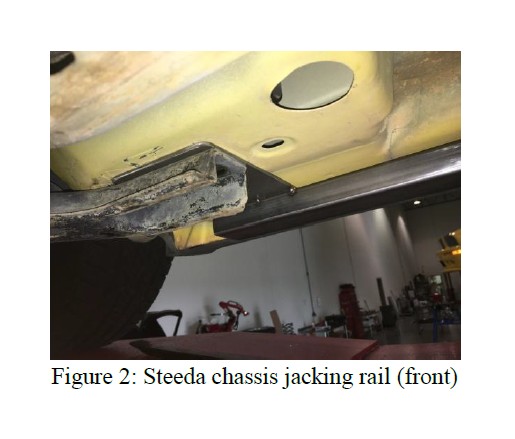
3. Mount the Steeda jacking rail front bracket by sliding the bracket under the cross brace, as shown in Figure 2. Loosely tighten the factory hardware removed in step 2 enough to locate the bracket.
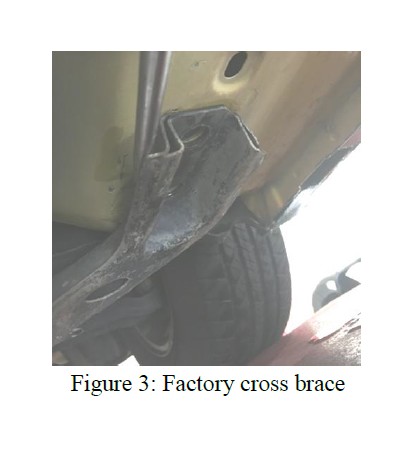
NOTE: The cross brace may need to be pried away from the body in order to get the bracket under. Using a large screwdriver on the bent edges, shown in Figure 3, will help with this.
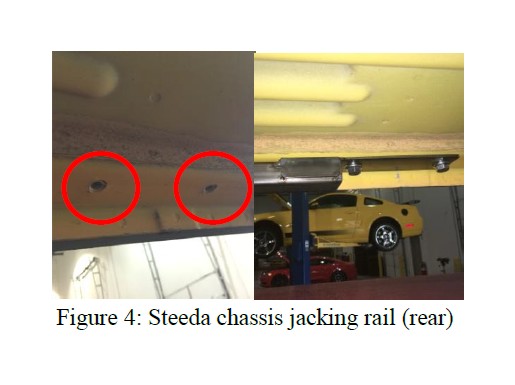
4. Using a 15mm socket and rachet with the supplied hardware, line the rear bracket up with the holes shown in Figure 4 and bolt in place.
5. Tighten all of the bolts starting in the front and ending in the rear.
NOTE: Tighten the bolts evenly front to back to ensure proper fitment.
6. Repeat Steps 2 - 5 for the opposite side.
NOTES
> Steeda chassis jacking rail powder coating is only designed to withstand vehicle jacks with padded rubber jacking plates. Surface damage can be caused by using jacks without these rubber pads.
> Sometimes the factory seam sealer will prevent the rails from sitting flat. Simply scrape it off for better fitment and repaint body surfaces.