 FREE 1 to 3-Day Delivery on Orders $149+ Details
How to Install Underdrive Pulleys for a 2005-2010 Mustang GT
Installation Time
2 hours
Tools Required
- 1/2" Drive ratchet with 8mm, 10mm and 18mm sockets
- Breaker Bar
- Torque Wrench (capable of at least 70 ft-lb.)
- High-Temp RTV Silicone
- Three-Prong Puller for Factory Balancer
- Dremel, Rotary Tool, or Hacksaw

Shop Parts in this Guide
Installation
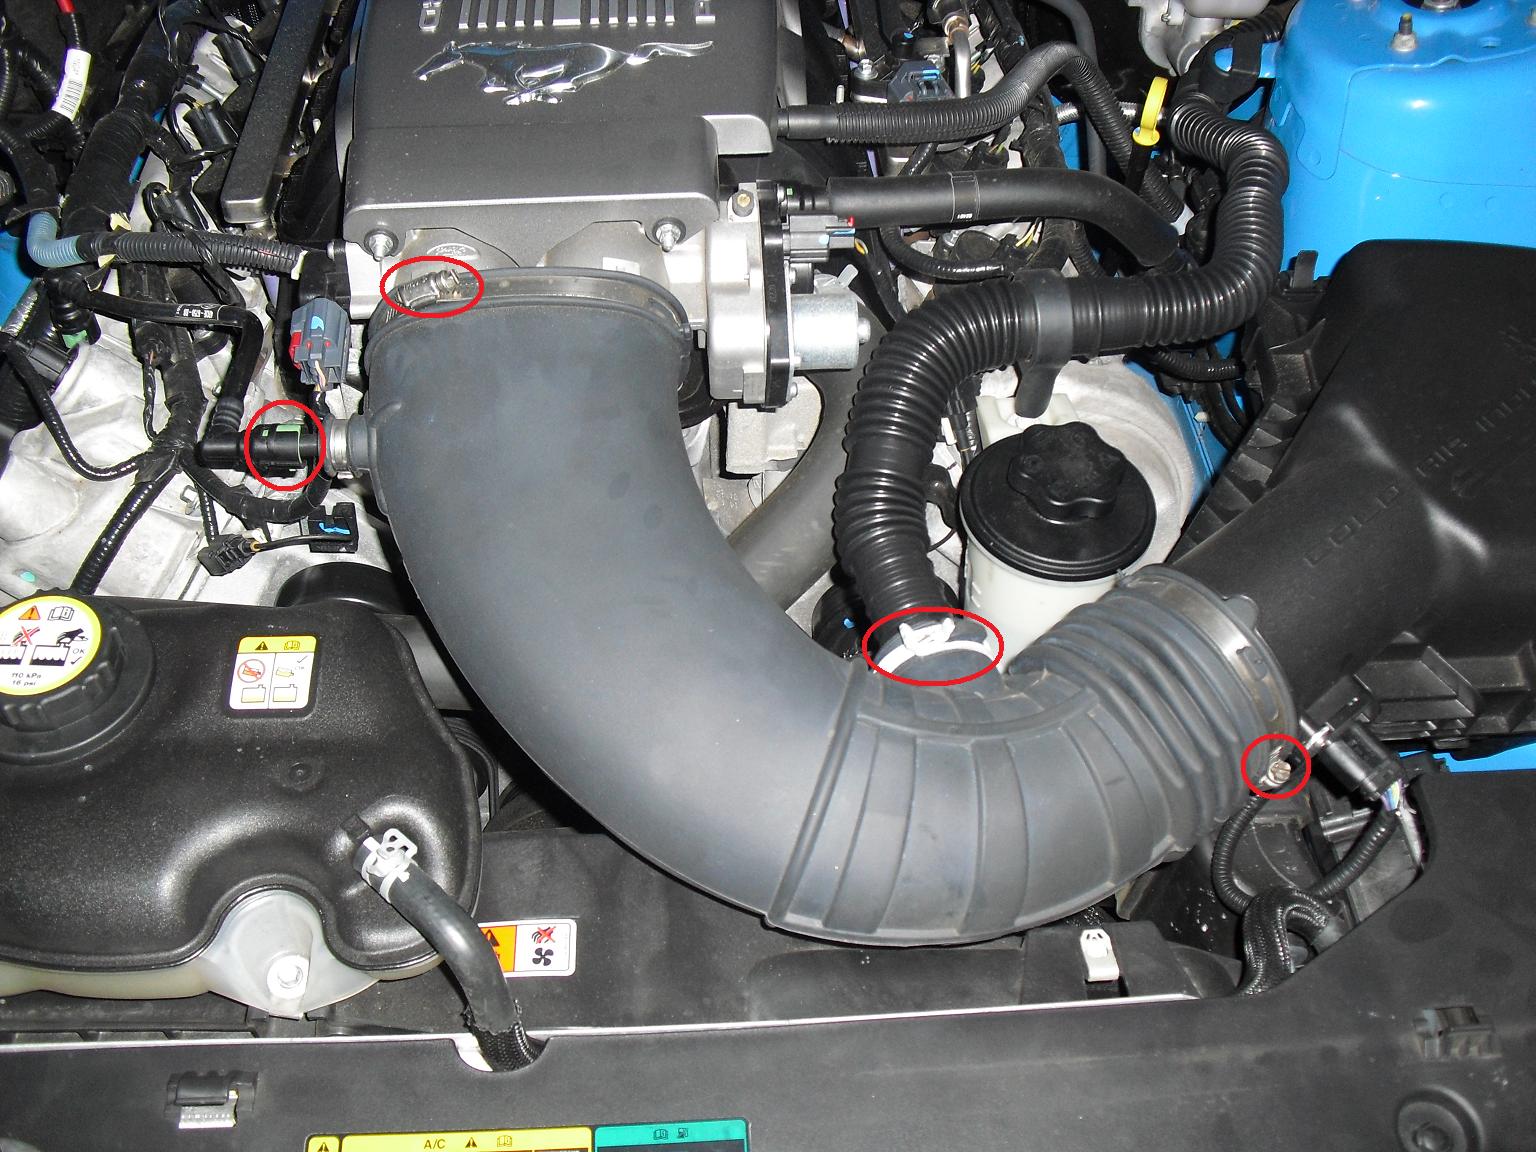
1. Disconnect battery before beginning installation. Remove factory air intake assembly.
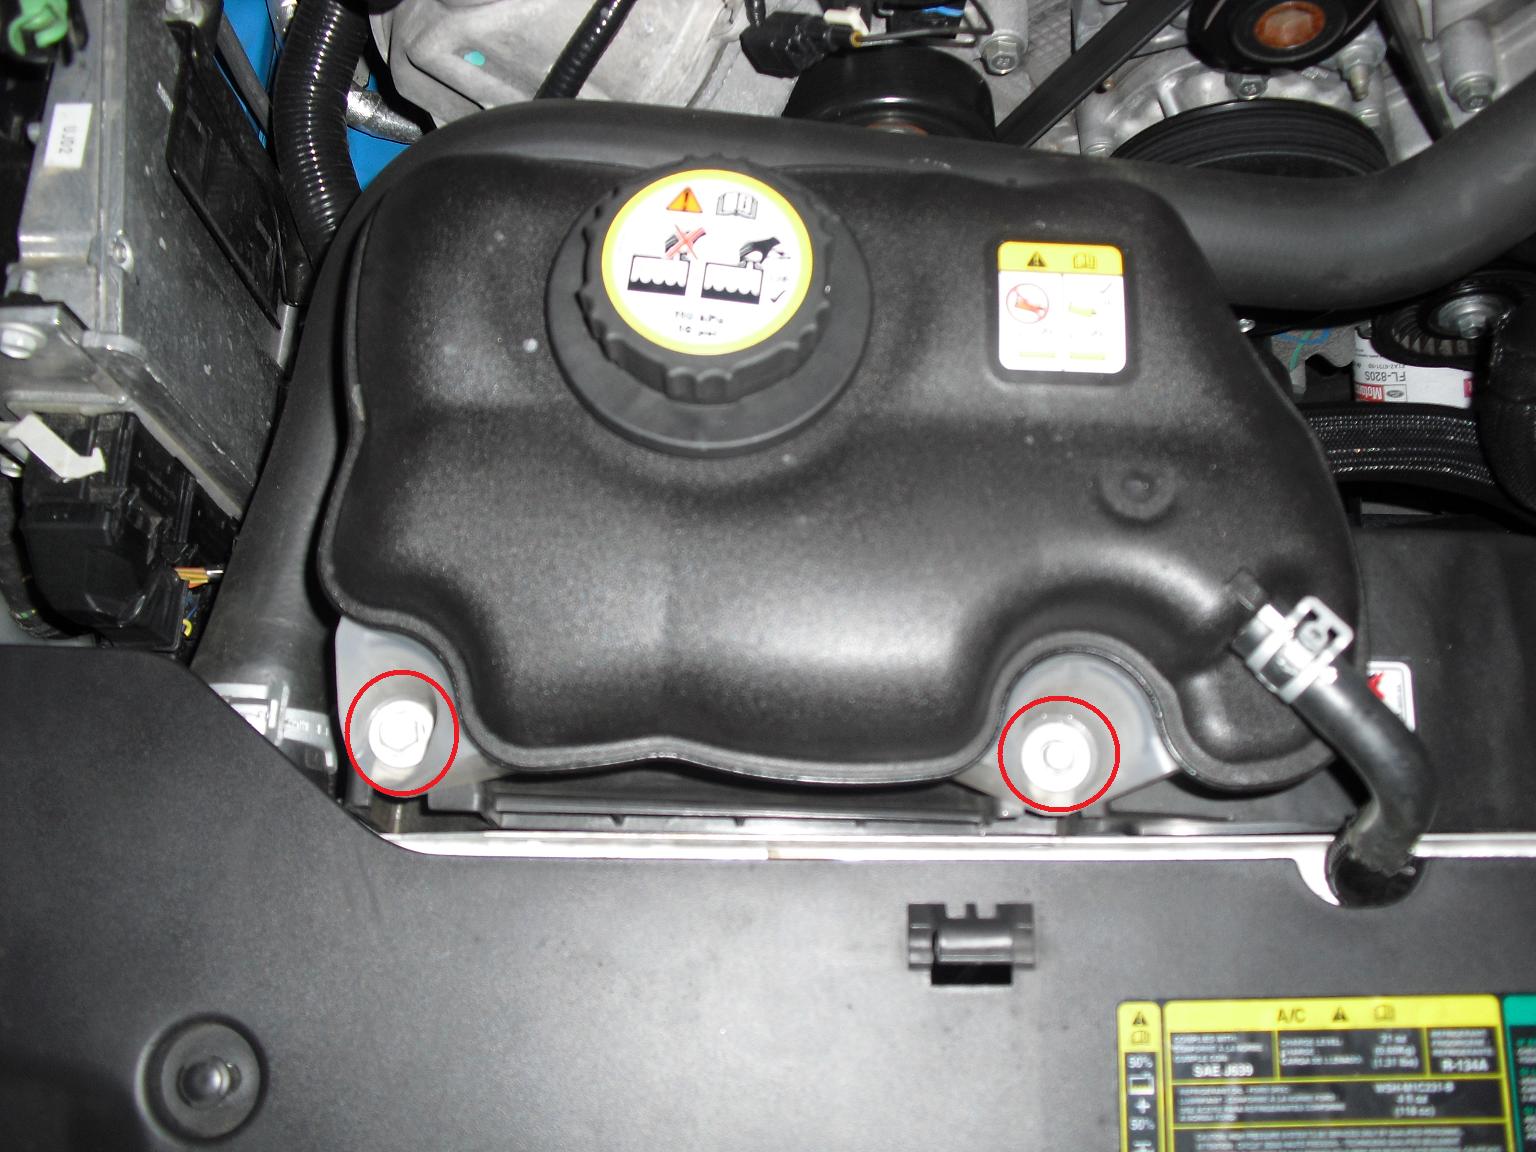
2. Remove factory coolant overflow bottle by removing the 8mm bolt and 10mm bolts holding it to the fan shroud.
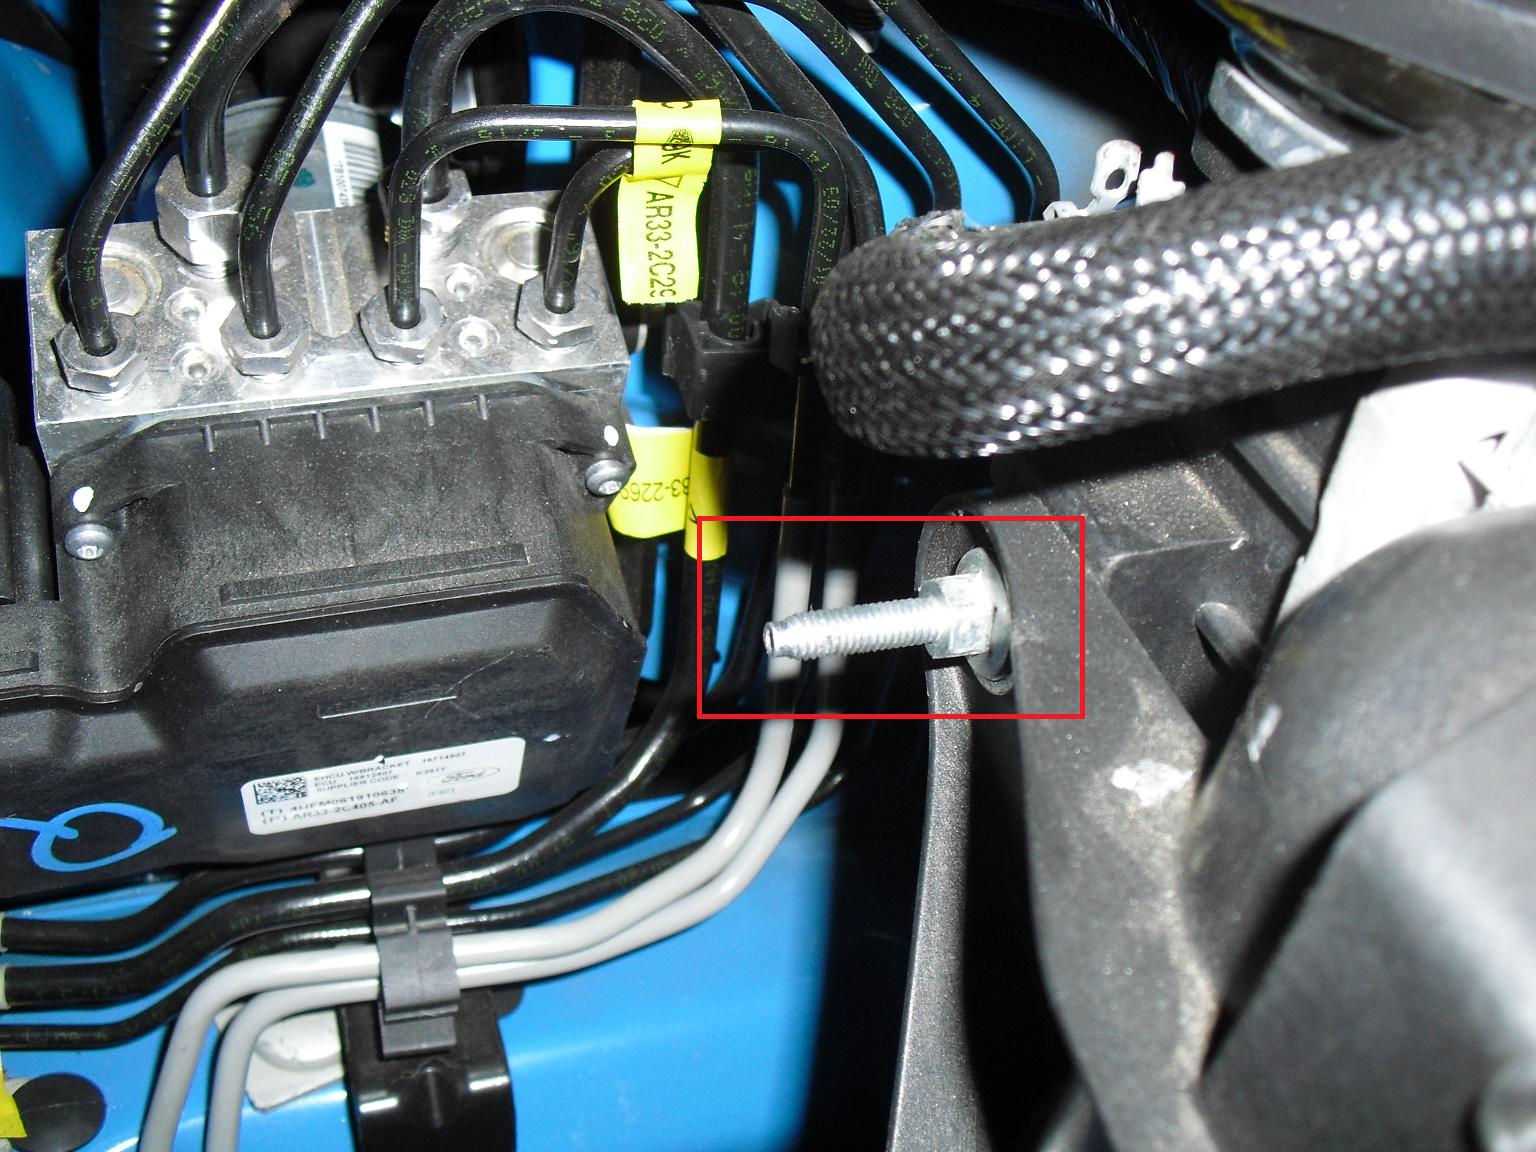
3. Remove the fan shroud be removing the 8mm and 10mm bolts securing it to the radiator. On the driver side, it is located just under the hose leading to the overflow bottle. On the passenger side, it is located just under the upper radiator hose.

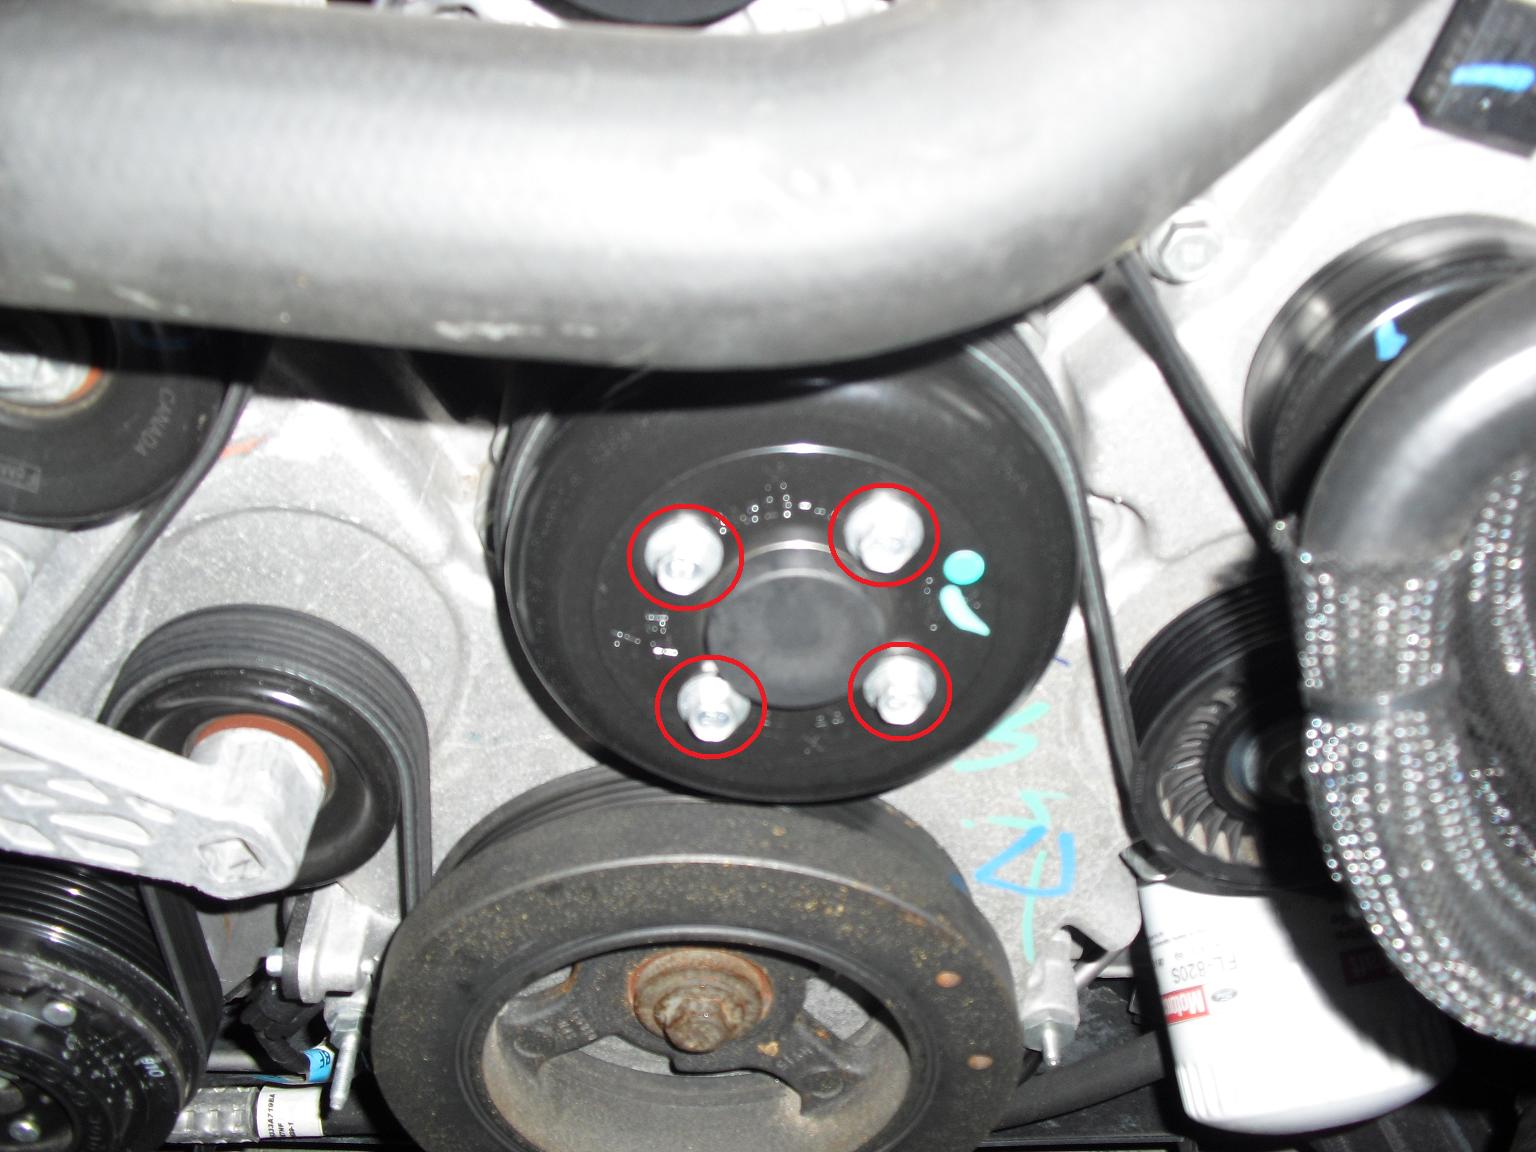
4. Loosen the four water pump pulley bolts using a ratchet and 10mm socket.
5. Using an 18mm socket and a breaker bar (or an impact gun), loosen the crankshaft bolt. Tip: On manual transmission cars, make sure the car is in 1stgear when loosening bolt. On automatic transmission cars, remove the inspection cover on the trans and place a 14mm wrench on the torque converter to prevent the engine from turning over.
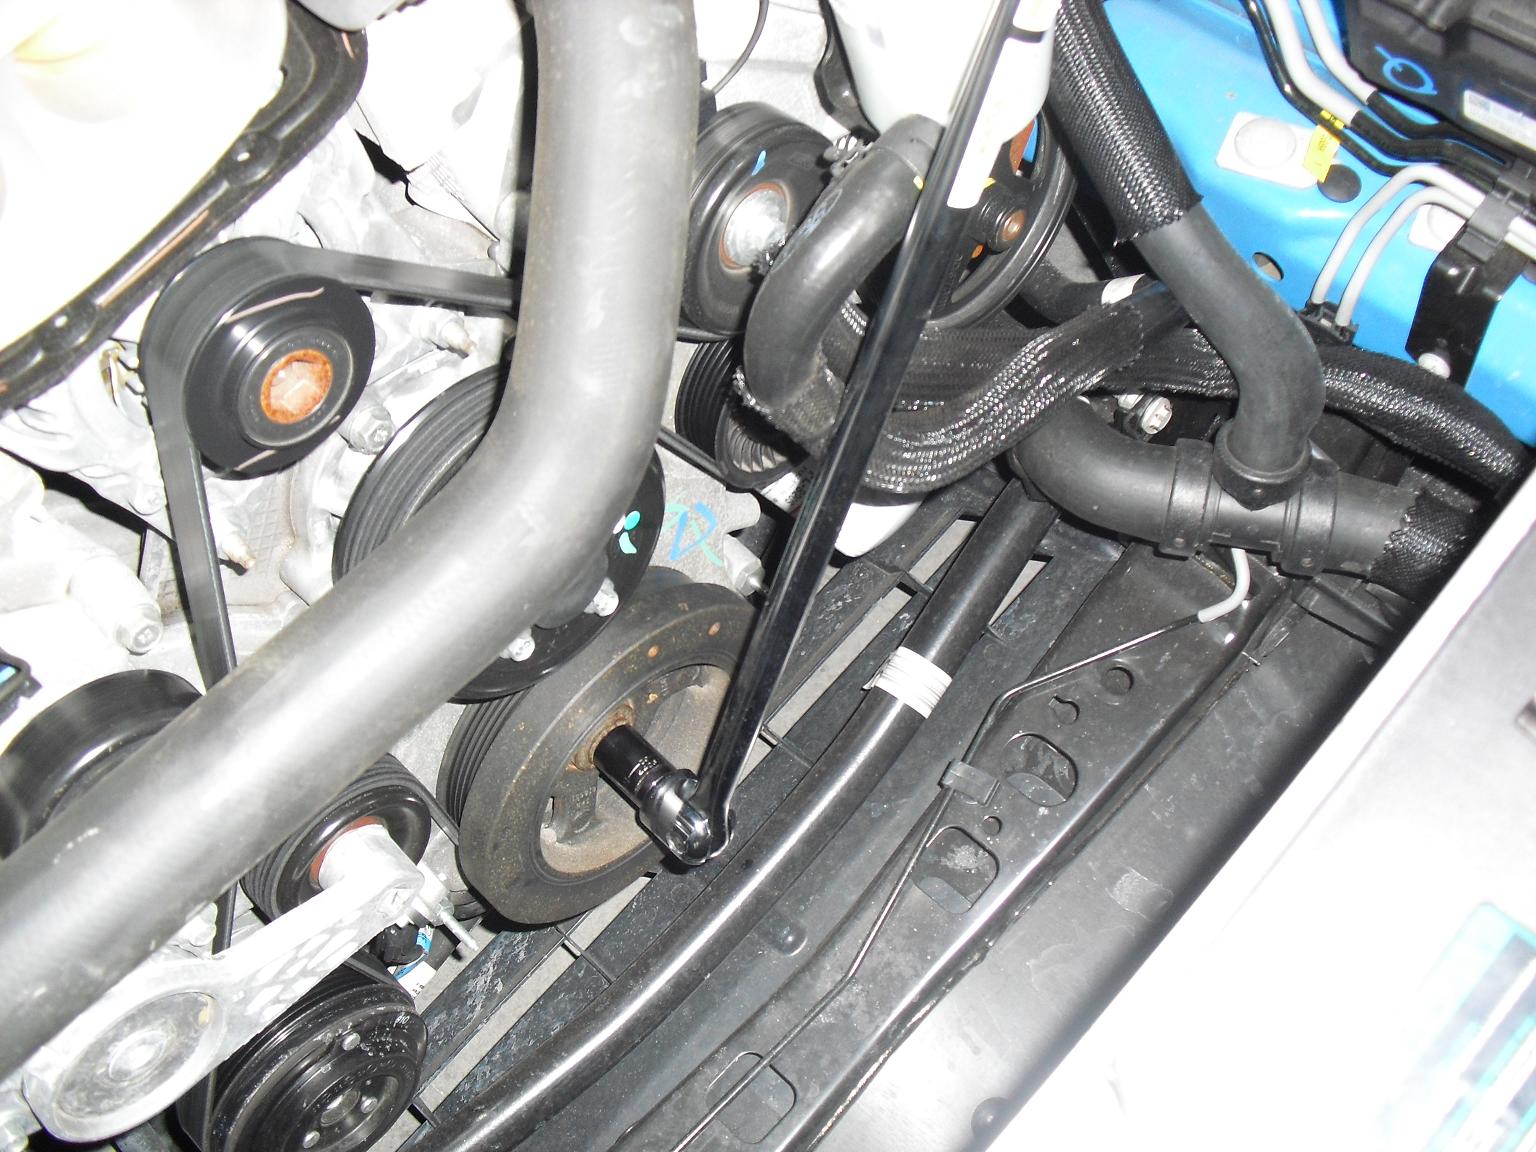
6. Once the crank bolt has been loosened, use a 1/2” drive ratchet to remove the accessory drive belt.
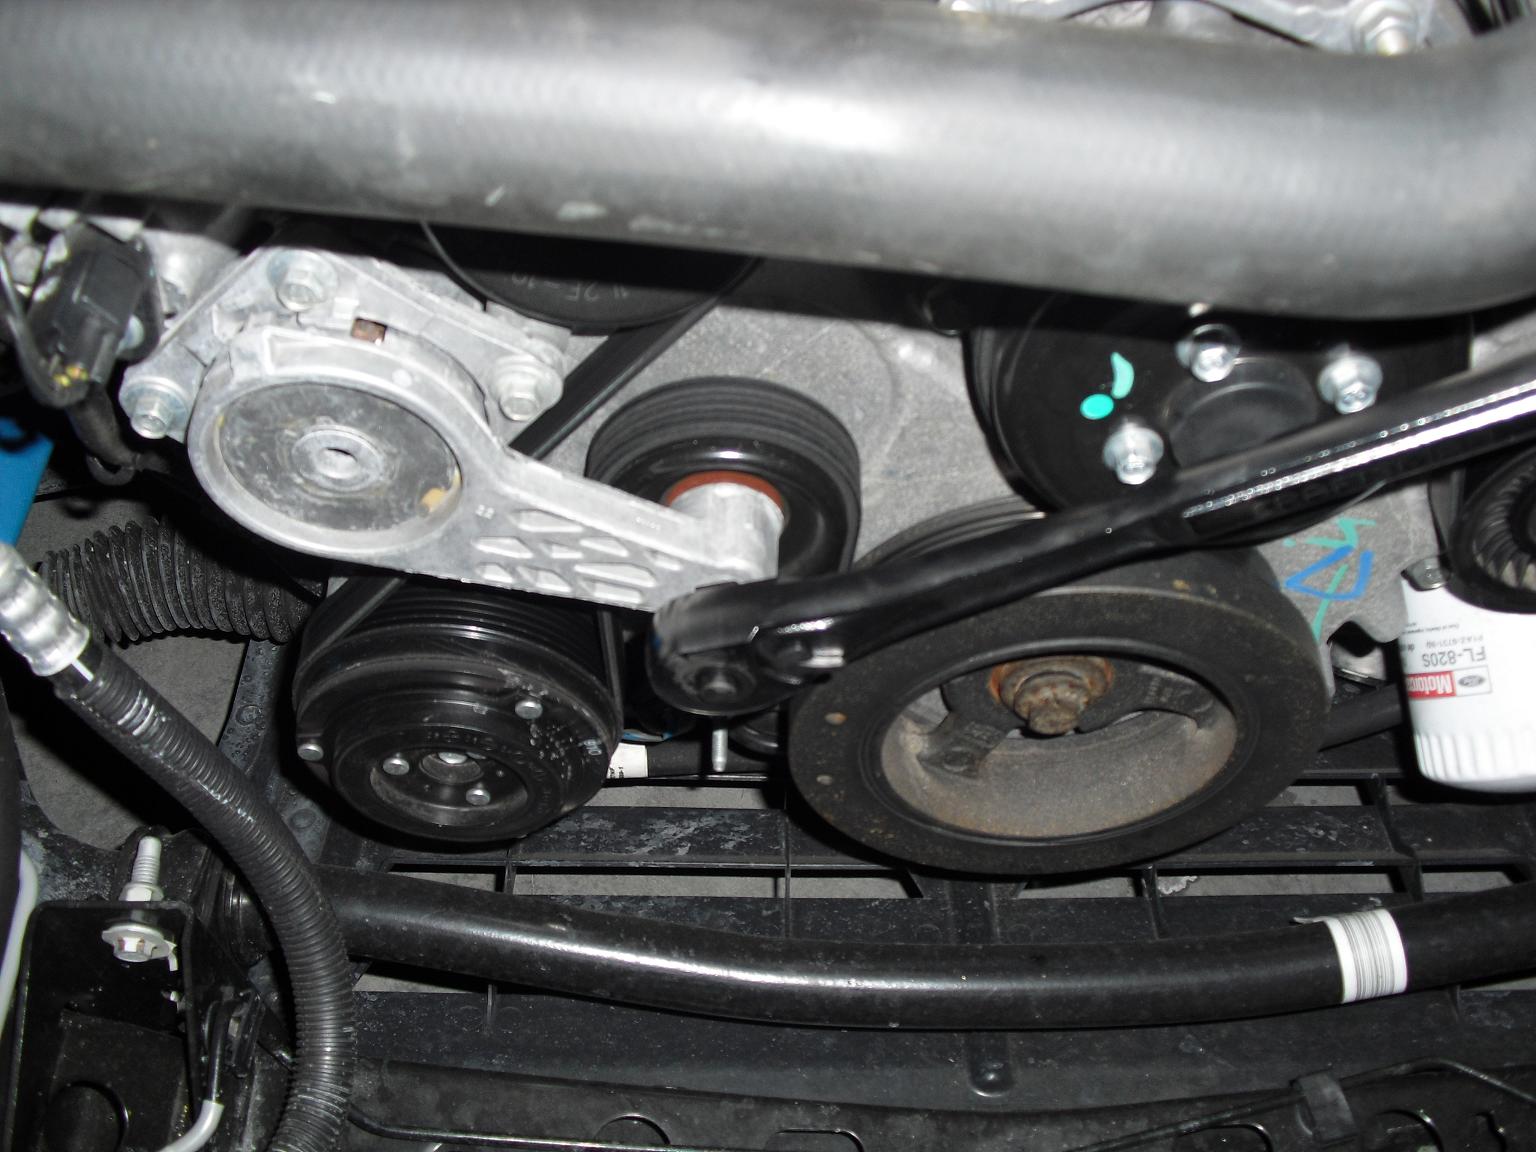
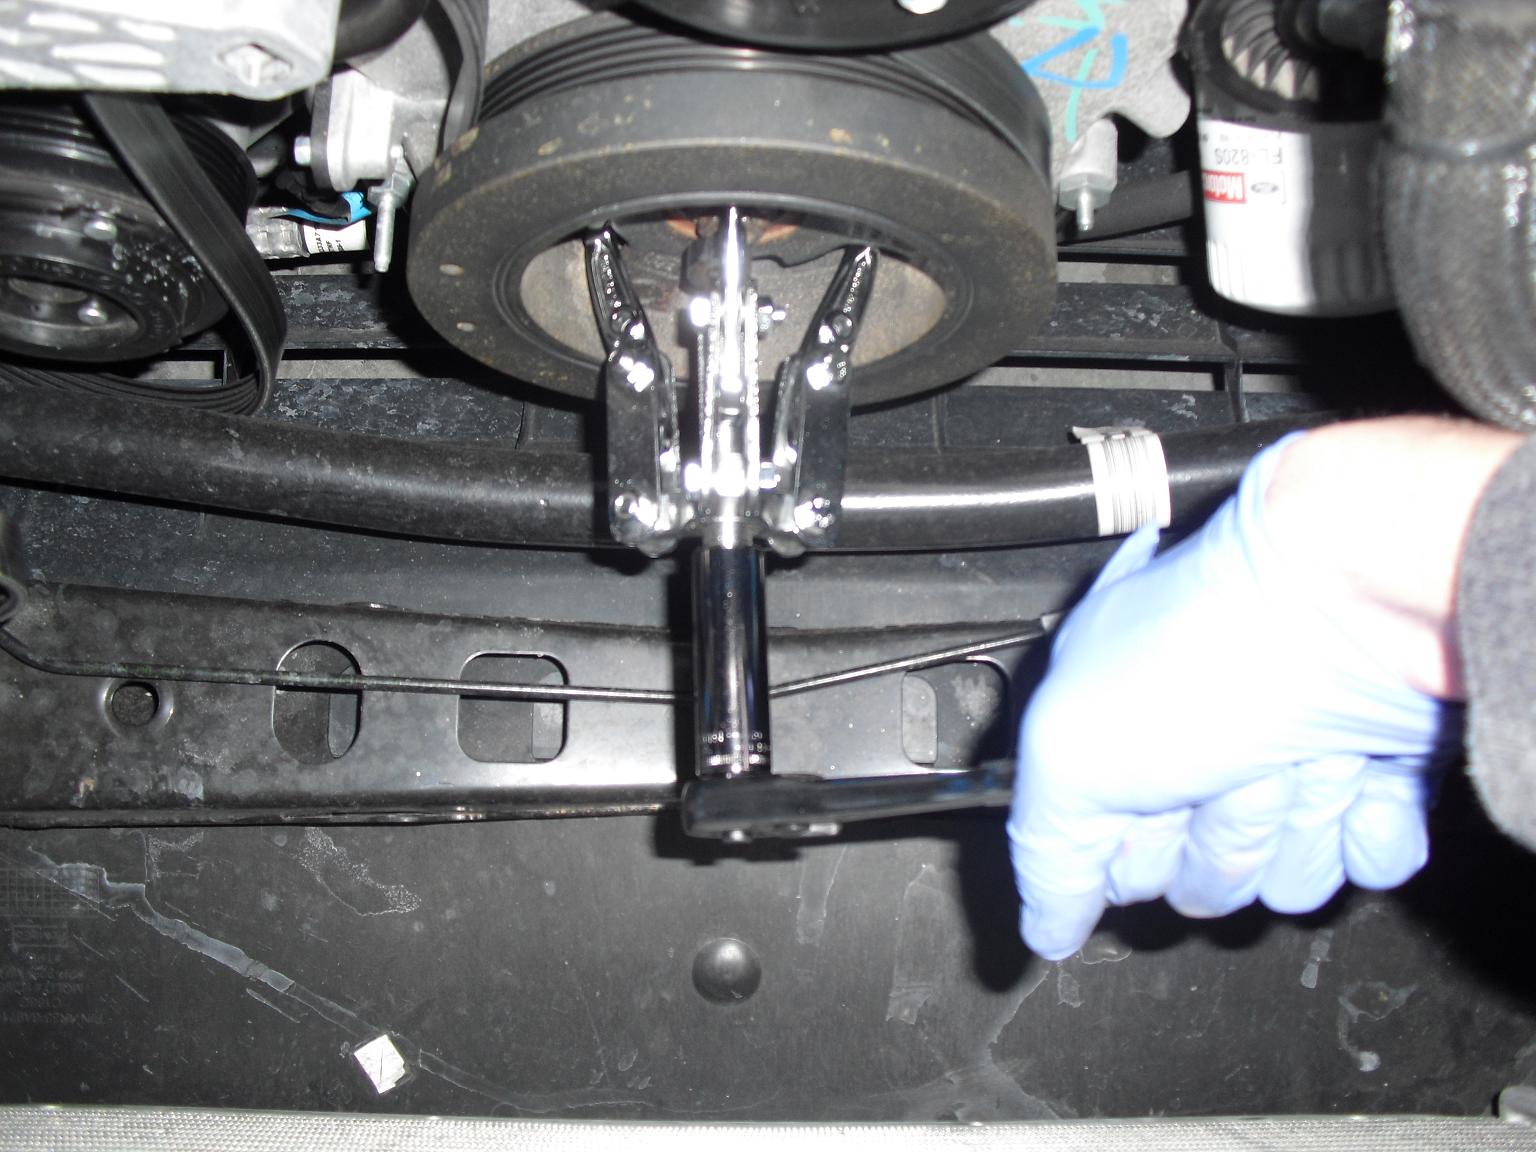
7. Once the belt has been removed, fully remove the factory crank bolt and washer. Re-thread the bolt without the washer about halfway into the crankshaft. Use a three prong pulley puller tool to remove factory balancer from crankshaft.
8. Make sure crankshaft snout is clean before installing new balancer. Apply a light bead of high-temp RTV silicone to keyway on Stack Racing balancer, then slide balancer onto crankshaft snout. The balancer will not be fully seated at this point, follow instructions in Step 9 closely to pull the balancer fully onto crankshaft snout.
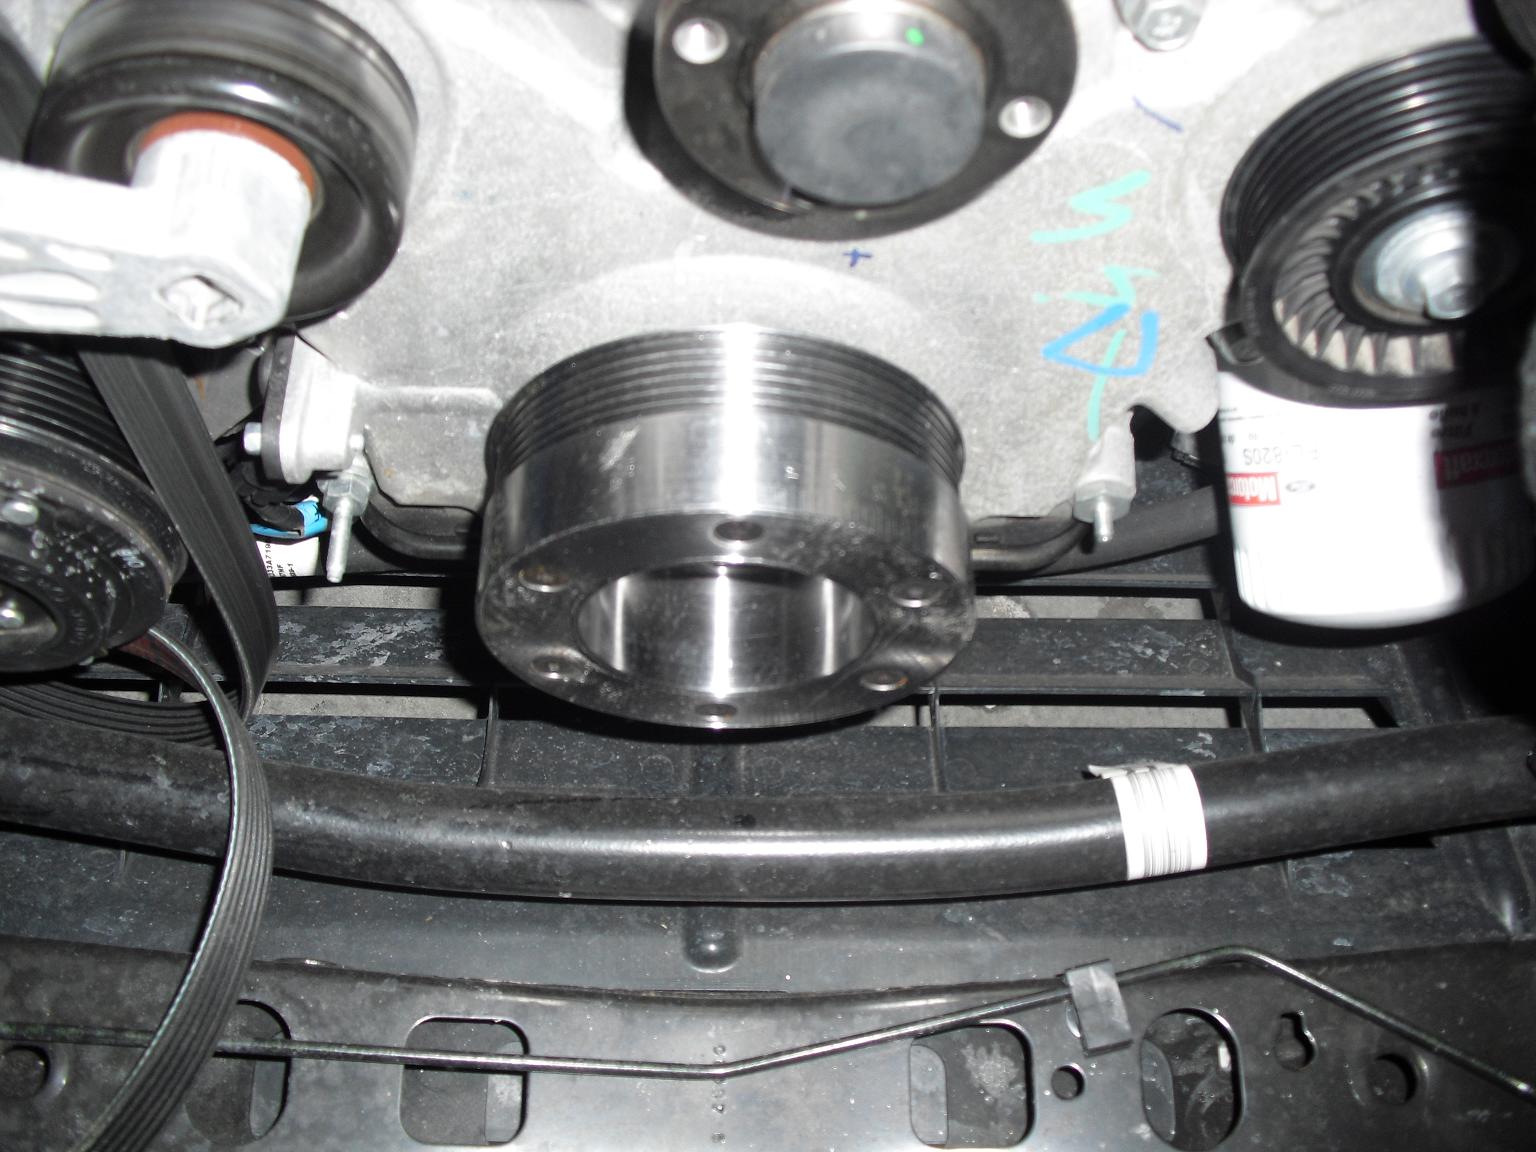
9. Using the supplied bolt and factory washer, tighten until the factory bolt can be safely threaded into the crankshaft snout. Do not over-tighten supplied bolt, it is only to be used to draw the balancer far enough onto the snout until the factory bolt and washer can safely be threaded into the snout. Once balancer is fully seated, use the following procedure to properly torque the bolt to Ford factory specs: Torque to 66 lb-ft. Loosen bolt one full turn Torque to 37 lb-ft. Tighten bolt another quarter turn
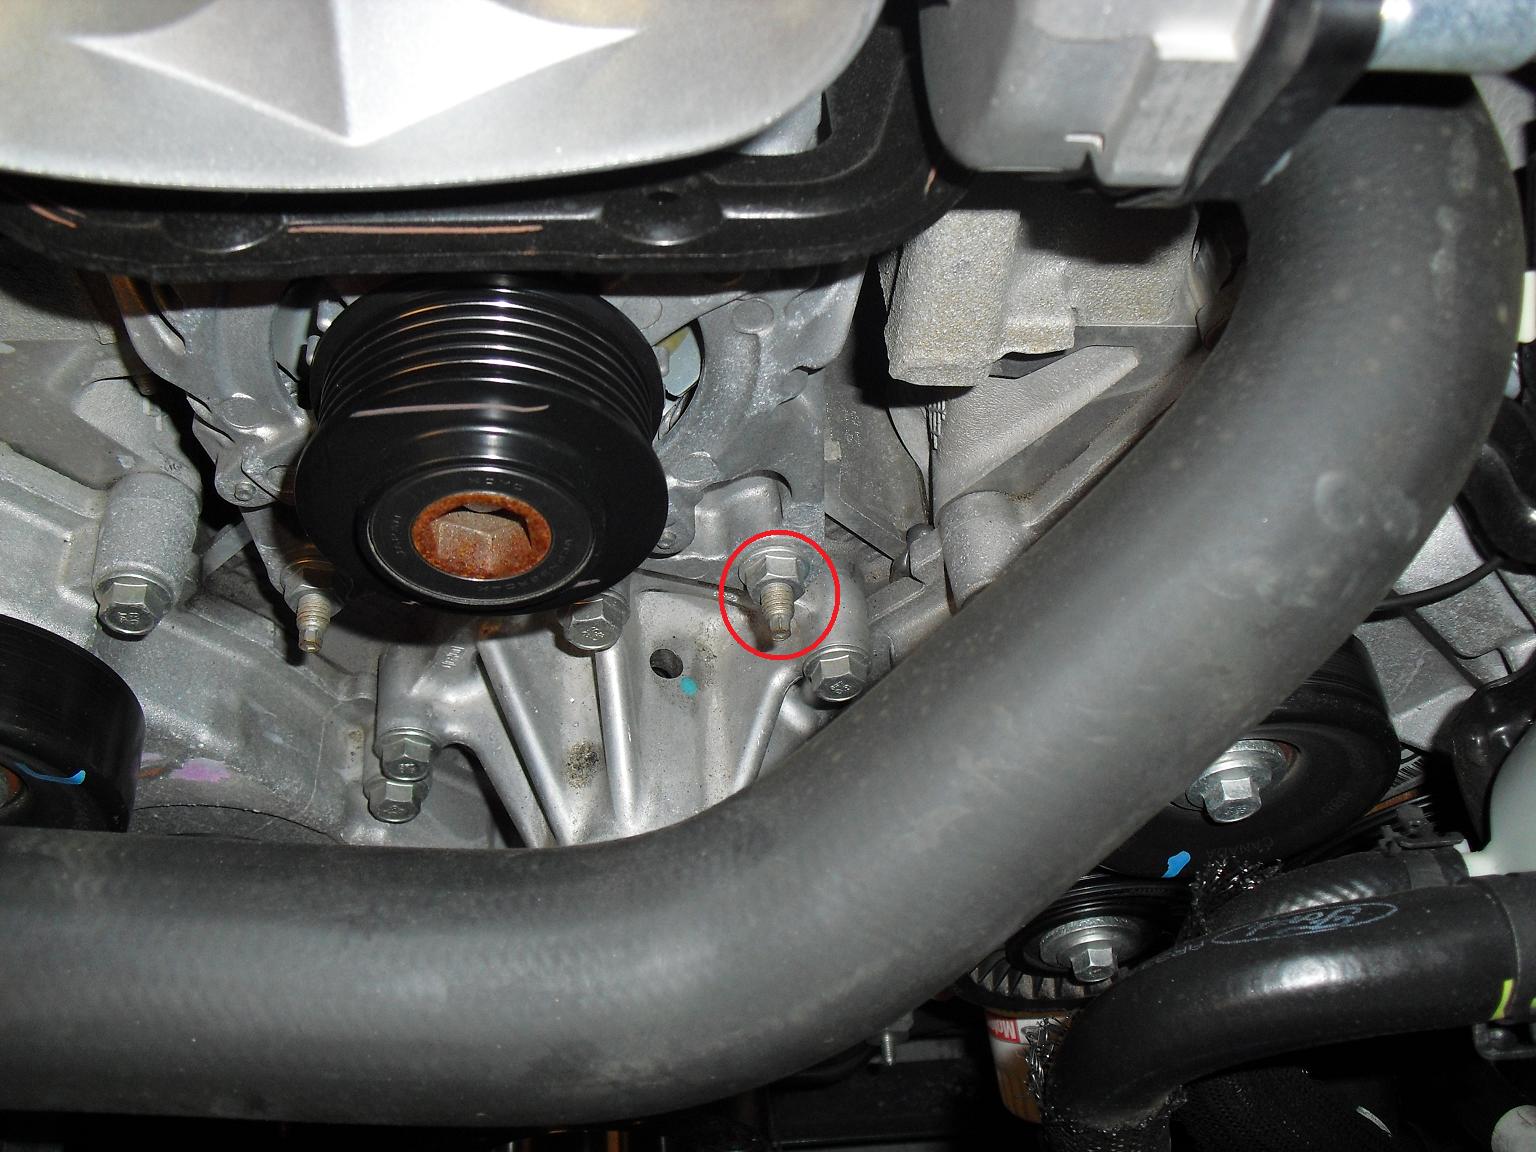
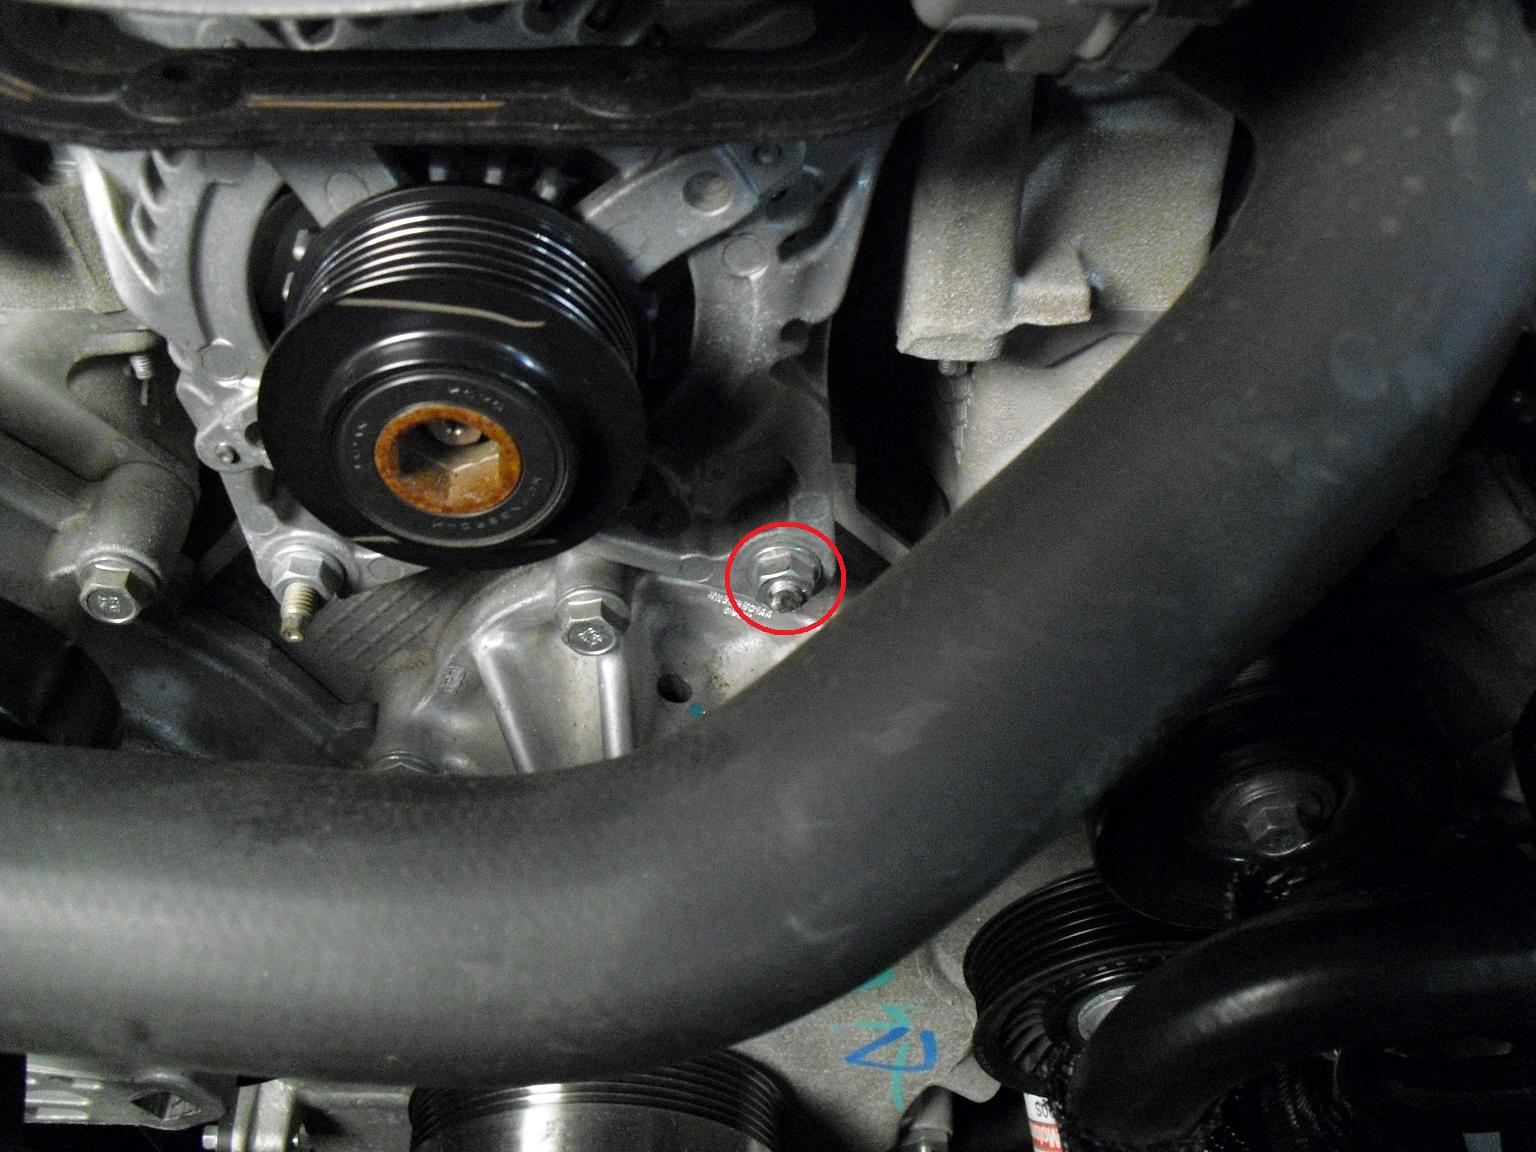
10. In order to make clearance for the new water pump pulley, you must grind down once of the water pump studs for clearance. You can either use a Dremel or Rotary Tool to cut the stud on the car, or you can remove and use a hacksaw. Shown below is the stud before and after trimming.
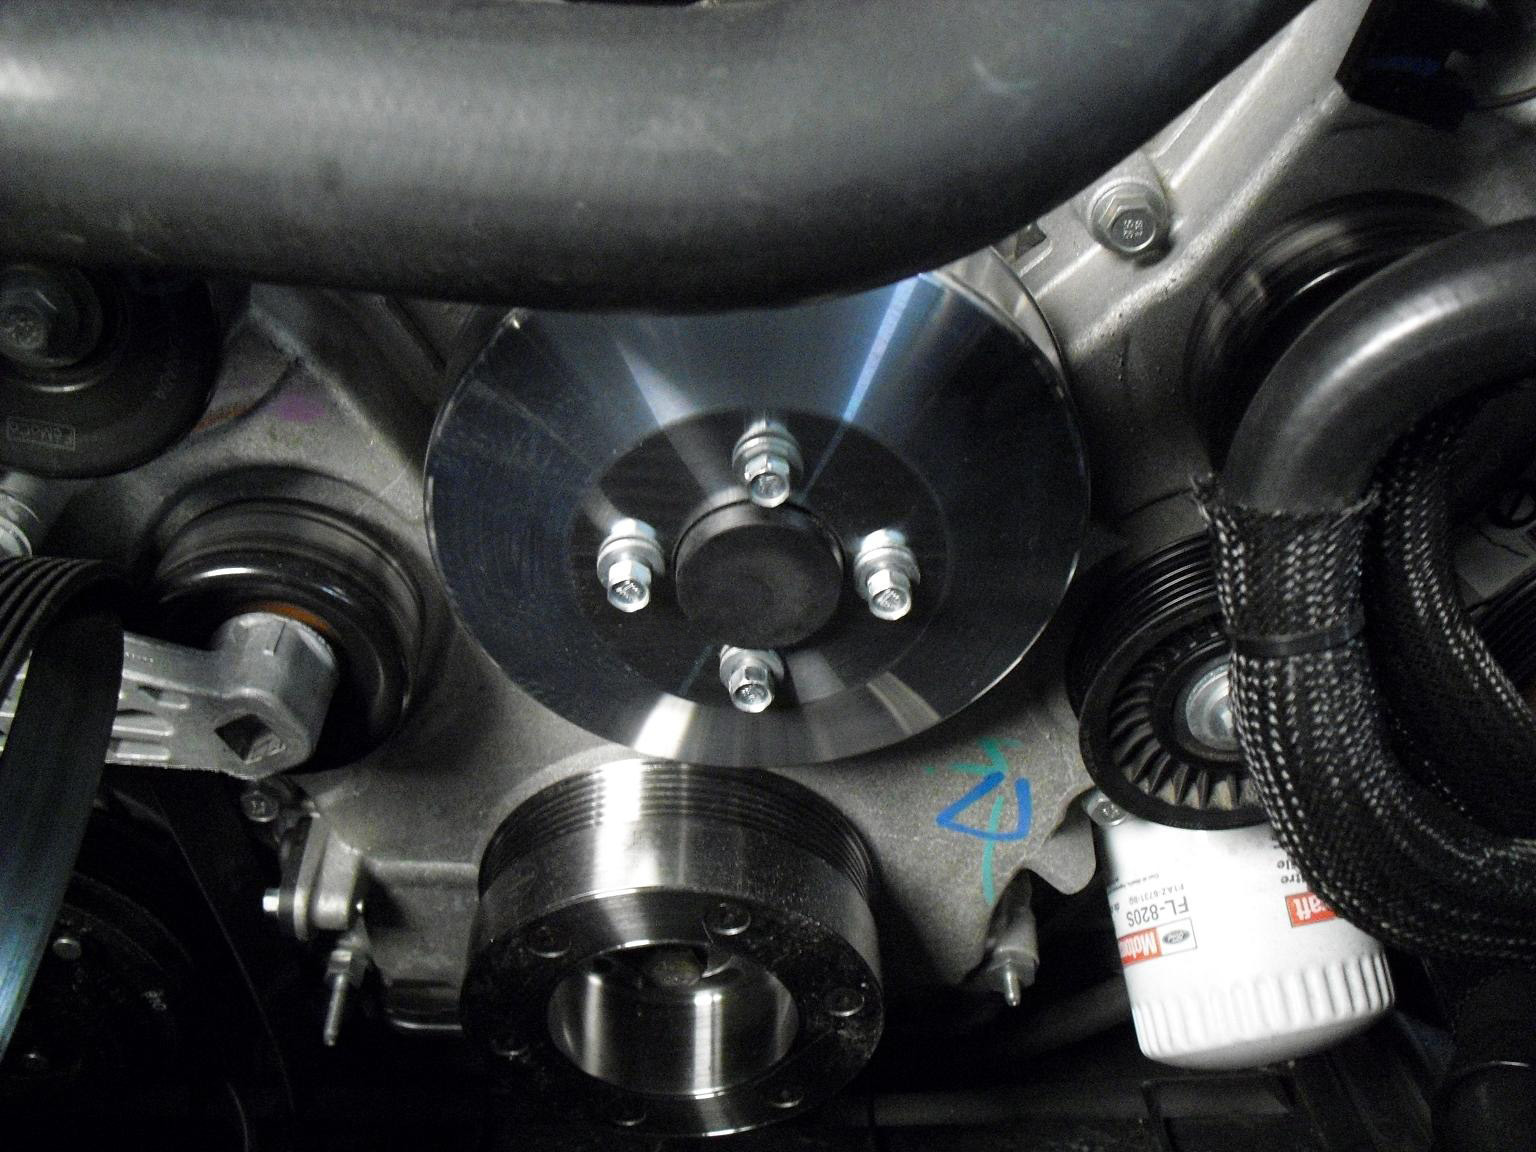
11. Install the new water pump pulley using the factory bolts, making sure to check clearance of the stud that was trimmed in Step 10.
12.To complete installation, re-install serpentine belt following the factory routing diagram, re-install radiator fan shroud, coolant overflow bottle, and factory air intake.
Related Guides
-
Installation
-
Installation
-
Installation

