 FREE 1 to 3-Day Delivery on Orders $149+ Details
Steeda Mustang Underdrive Pulley System Installation Guide ('05-'10)
Installation Time
1 hours
Tools Required
- Calibrated Torque Wrench
- 7 mm Socket or Wrench
- High Temperature Silicone Sealer
- Three prong puller (This item can be rented from most auto parts stores.)
- Optional: Impact Wrench (If your car is an automatic transmission, you will one to get the crank shaft pulley retainer nut loose.)
Installation
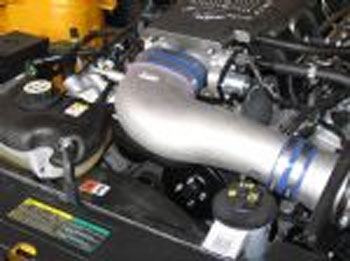
1. First you need to remove the air intake. This step isn't required, but makes for a much easier installation when you are not fighting the OEM rubber intake tube or a cast cold air intake tube. It also gives you a lot more room to work with.Note:Some people suggest removing the radiator, but this requires draining the antifreeze reservoir and the power steering reservoir and removing them first.

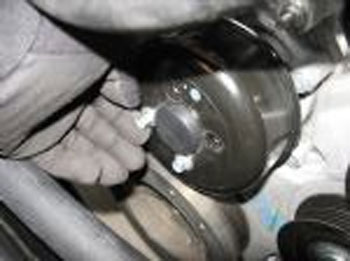
2. With the car in gear and the hand brake engaged, remove the crank pulley retaining bolt. Remember, you will need to use an impact wrench on this step if your car has an automatic transmission.
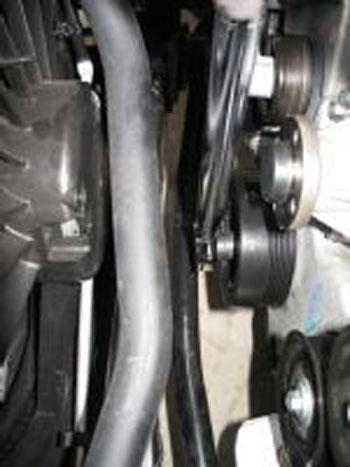
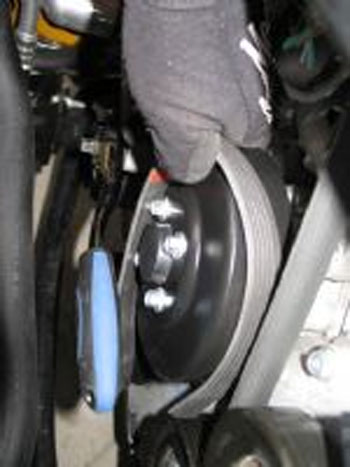
3. Next, loosen the bolts that hold the water pump pulley to the water pump. Steps 3 & 4 must be done with the accessory drive belt installed, unless you using an impact wrench.
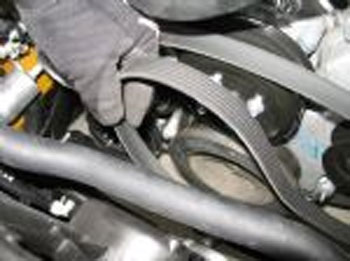
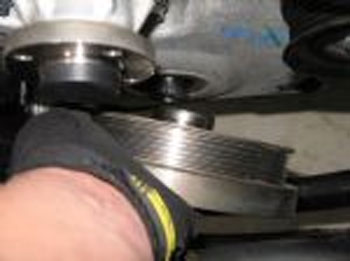
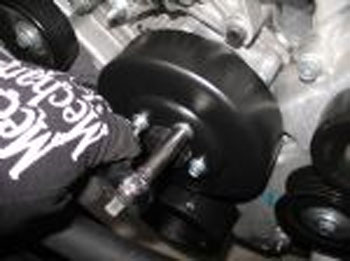
4. Using a 1/2" socket driver or breaker bar, apply downward force on the belt tensioner to release the pressure on the accessory belt. Doing this will relieve pressure off the belt and allow for its removal.
5. Maintaining pressure on the tensioner, slide the belt off the water pump pulley and then remove it from the engine bay, making sure not to put any tears or rips in the belt.
6. Remove the retainer bolts for the water pump pulley and then remove the pulley from the water pump.Note:Set the retainer bolts for the water pump aside, as they are re-used to install the new Steeda water pump pulley.
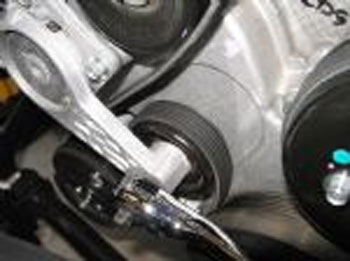
7. With the water pump pulley removed, loosen the alternator's lower right retainer nut and remove the stud. A 7mm socket or wrench is required to remove the stud.
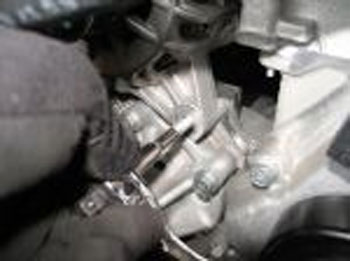
8. Replace the alternator's retainer nut and stud assembly with the supplied alternator bolt and washer from the Steeda underdrive pulley kit.

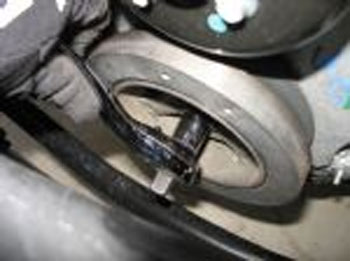
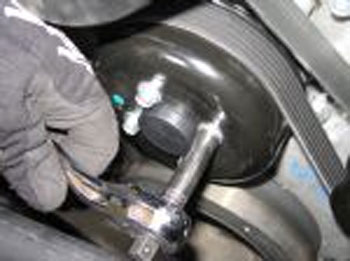
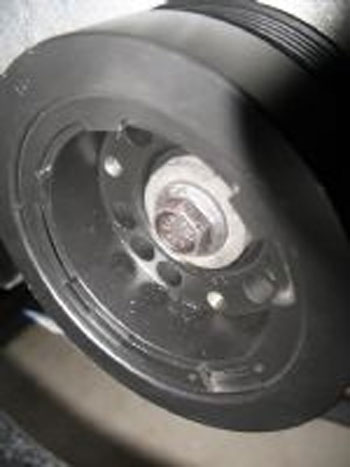
9. Using a three prong puller, start removing the crank pulley from the crank shaft. Using this tool is quite simple. Screw the tool onto the crankshaft and tighten the nut as much as possible by hand. Then just hold the end of the tool with a wrenchand use another wrench to tighten the larger nut.
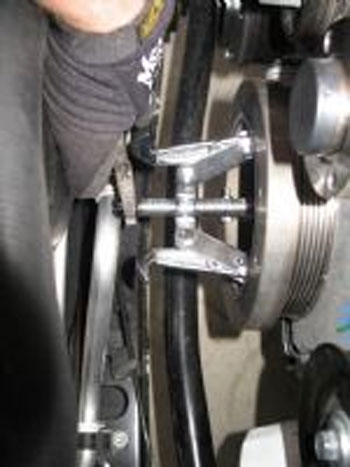
10. Verify that your three pronged puller is positioned properly on the crank pulley. This will ensure nothing is damaged during the pulley removal process. An alternate method of installing the crankshaft pulley is recommended by Steeda. They recommend the torque turn method. Steeda claims it is more accurate. The torque turn measures how much the bolt is stretched which is really what is desired. Friction from the bolt head and washer is a factor which leads to inaccurate torque of a fastener.
11. Remove the crank pulley from the vehicle.
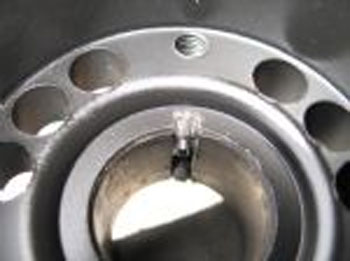
12. Prior to installing Steeda's underdrive crank pulley, apply a dab of high temperature silicone sealer (gasket maker) to the key slot. This step ensures that oil cannot come out while installing the underdrive pulley.
13. Align the key slot of the pulley to the key of the crank shaft and use the longer bolt supplied with the underdrive kit to pull the new pulley into place on the crankshaft. Once the pulley is sufficiently on the shaft, remove the longer bolt and replace it with the shorter bolt supplied in the kit to finish pulling the pulley into place.Caution:DoNOTtighten the longer bolt all the way as damage can occur to the crank shaft.
14. Torque the crank shaft to the factory recommended specifications, which for the 2005-2007 Ford Mustang GT, is 115 ft-lbs of torque.
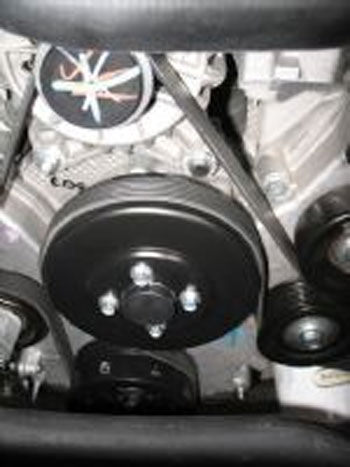
15. Install the new water pump pulley. Tighten these bolts to 18 ft-lbs. of torque.Note:These are the bolts that were set aside in Step 6.
16. Reinstall the accessory belt, using the factory routing, once again being careful not to damage the belt in anyway.
17. Reinstall the air intake tube (In reverse order of removal). Next, start the vehicle to ensure that the accessory belt tracks correctly, and there is no rubbing.
18. The installation is complete. Now go and enjoy the extra horse power!
Installation instructions provided by AmericanMuscle customer Cameron Rushing 10.8.08

