 FREE 1 to 3-Day Delivery on Orders $149+ Details
How to Install Fixed Rear Lower Control Arms your 2005-2014 Mustang
Installation Time
1 hours
Tools Required
- Jack and Jack stands
- 1/2in ratchet
- Torque Wrench
- 18mm socket
- Zip Ties
- Safety Glasses
- Flathead Screwdriver

Shop Parts in this Guide

READ ALL INSTRUCTIONS BEFORE STARTING INSTALLATION
Step 1:
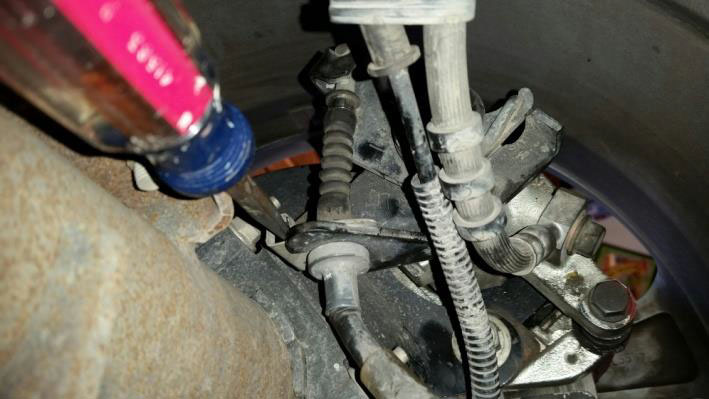
Remove the emergency brake cable and thread it out of the stock control arm
Step 2:
Use a Jack stand to support the axle and disable movement (NOTE: only remove and install one LCA at a time to allow less axle movement and easier installation)
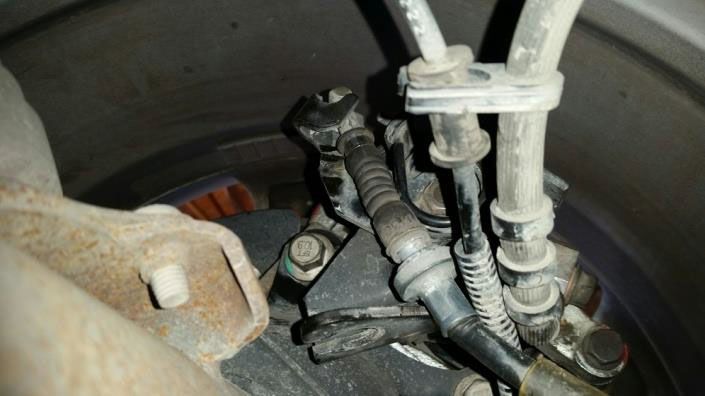
Step 3: Remove the rear LCA bolt using the 1/2in ratchet and the 18mm socket (Note: the inside nut has its own stop and will stay in place.)
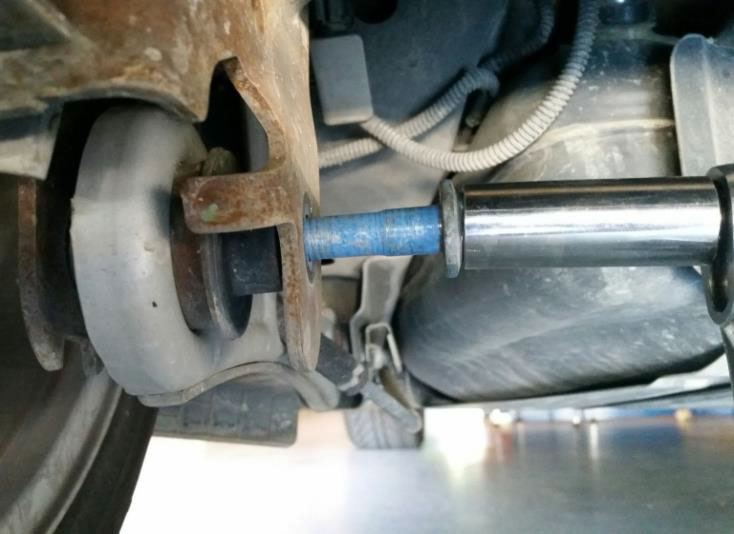
Step 4:
Remove the front LCA bolt using the 1/2 in ratchet and 18mm socket. This time the bolt will be towards the outside of the car, and the fixed nut will be towards the inside or midline.
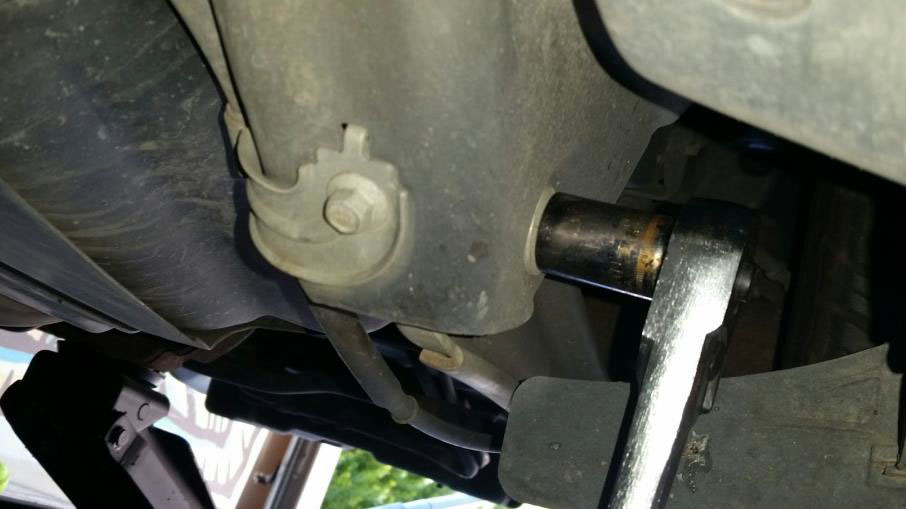
Step 5:
Install the front end of the new control arm. Use the ratchet to get the control arm snug. (Note: The wide end of the control arm will be in the back while the skinnier portion will fit into place in the front.)
Step 6:
Install the rear end of the control arm into place and get the bolt snug.
Step 7:
Torque both the front and the back bolts to 130 ft pounds using a torque wrench.
Step 8:
Run the emergency brake cable under the control arm and fit the cable back into place using the retainer
Step 9:
Use a ziptie to hold the brake cable to lower control arm.

Step 10:
Follow these instructions for the other side. Keep in mind to only do one side at a time, and to disable axle movement by putting a jack stand under both sides of the axle.
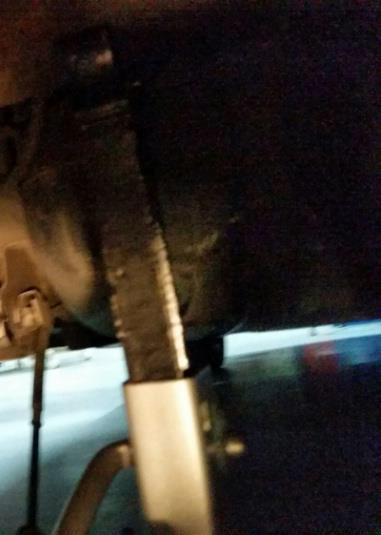
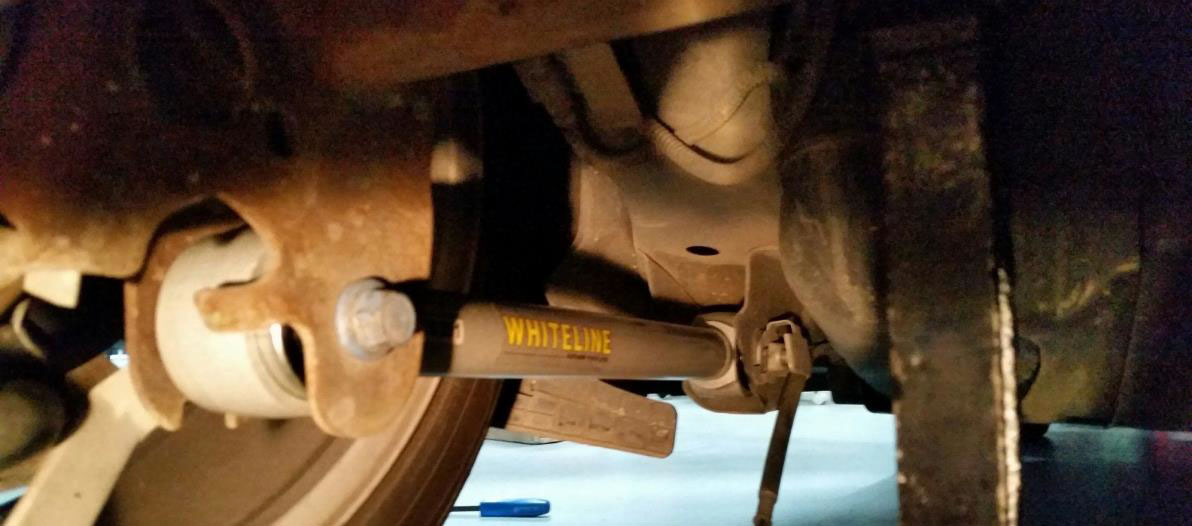
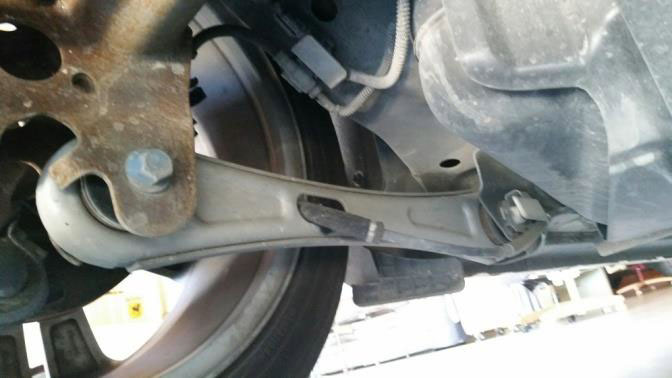
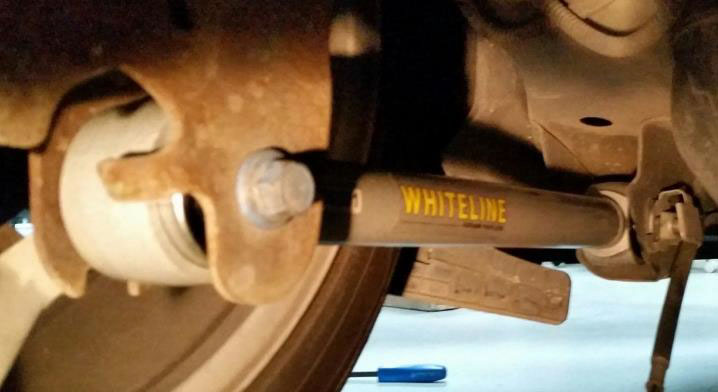
Before:
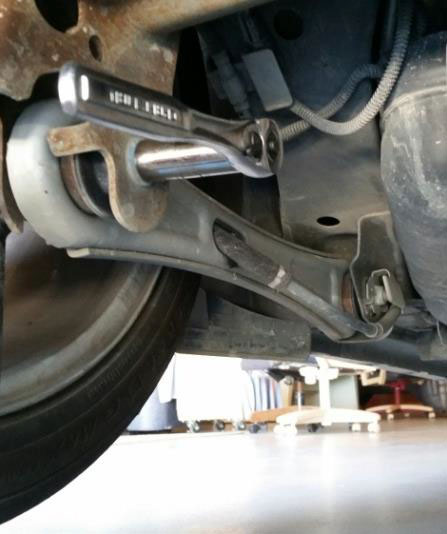
After:
Installation Instructions written by AmericanMuscle customer Joseph Cooksey 6.13.15

