FREE 1 to 3-Day Delivery on Orders $149+ Details
How to Install BMR Single Adjustable Rear Lower Control Arms - Poly Bushings & Rod End - Hammertone on your Mustang
Tools Required
- Hydraulic jack and jack stands
- Pry-bar
- Sockets and wrenches – 13mm, 18mm, 1-1/8”

Shop Parts in this Guide
INSTALLATION:
1. Lift vehicle and support with jack stands under the frame rails.
2. For ease of access, remove both rear wheels/tires.
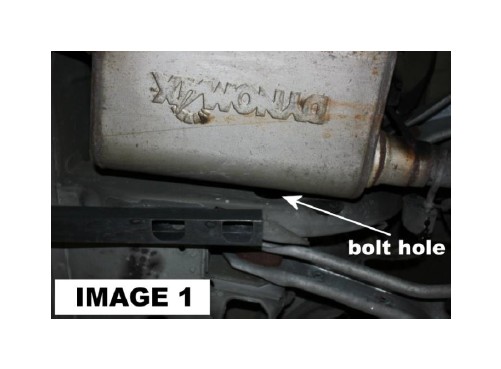
3. As shown in IMAGE 1, some exhausts may block accessibility to the lower control arm bolts in the frame rail. If this is the case, remove the exhaust before proceeding.
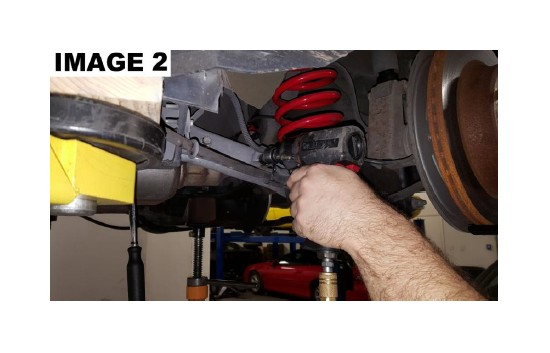
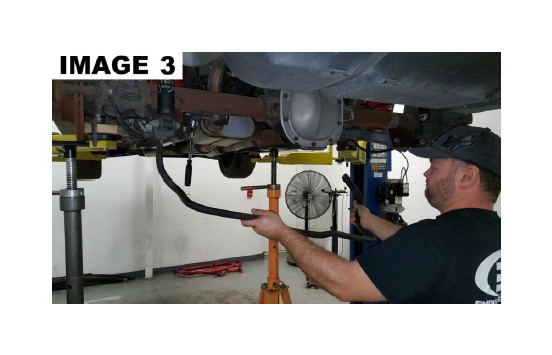
4. Using a 13mm wrench or socket, remove the 4 bolts on the sway bar. Remove the sway bar and set it aside. (IMAGE 2 and 3)
5. Support the rear end with the jack, then remove the lower shock bolts using a 19mm or 21mm wrench (most were 21mm but it has been reported that some years used 19mm nuts).
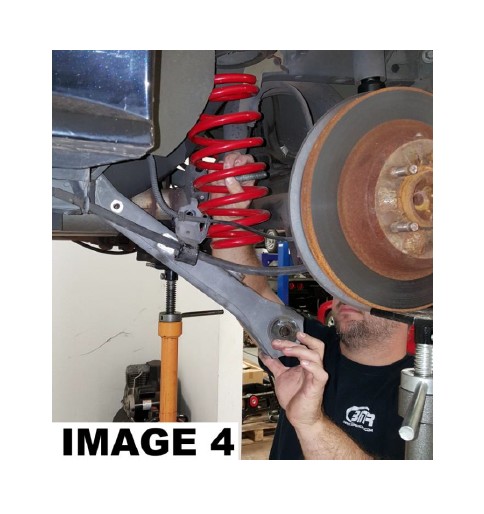
6. Once the shocks are disconnected, carefully lower the rear end until the springs can be removed. (IMAGE 4)
7. With the springs and sway bar removed, un-bolt the lower control arms one side at a time using an 18mm wrench and socket.
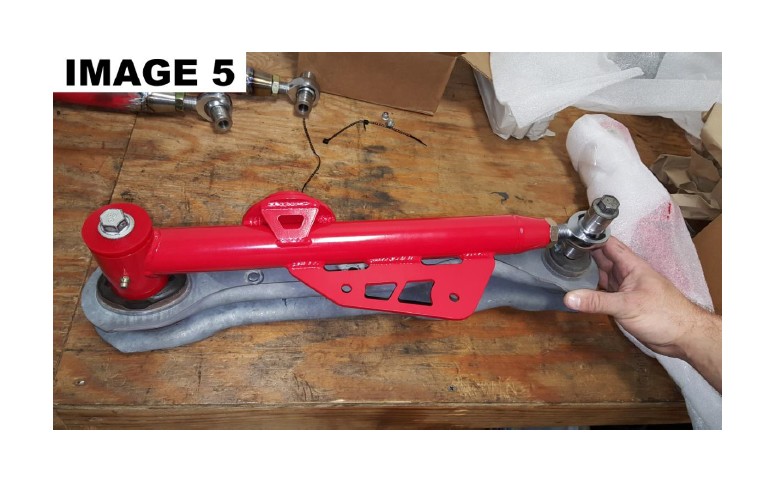
8. Using the stock control arm as a guide, adjust the BMR control arms to the stock length as shown in IMAGE 5 below.
9. Install the control arms using the factory hardware. Tighten the mounting bolts to 83 ft/lbs.
10. Tighten the jam nuts on the BMR control arms using a 1-1/8” wrench
11. Re-install exhaust, if necessary.
12. Re-install wheels/tires then lower vehicle.