 2024-2026
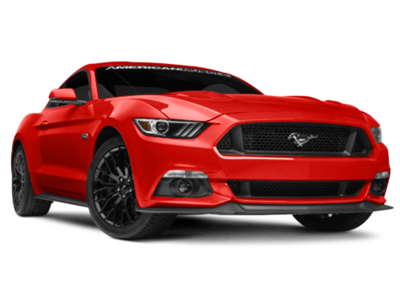 2015-2023
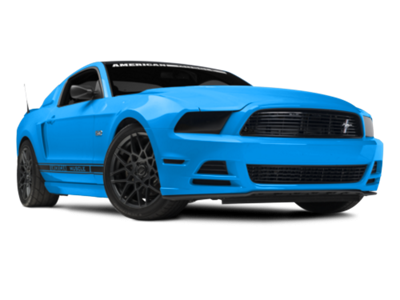 2010-2014
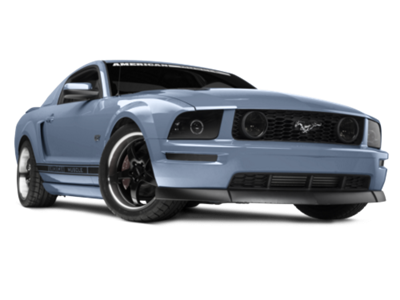 2005-2009
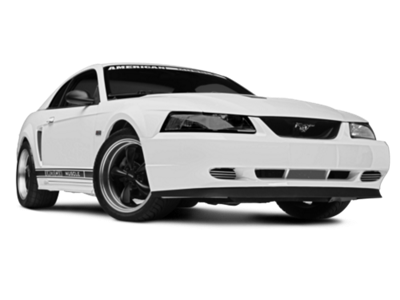 1999-2004
 1994-1998
 1979-1993


Installation Time
(approx) 1 Hour
Difficulty Level:
Simple installation for anyone.
Installation Guides
 FREE 1 to 3-Day Delivery on Orders $149+ Details

Features, Description, Reviews, Q&A, Specs & Installation

CA Residents:  WARNING: Cancer and Reproductive Harm - www.P65Warnings.ca.gov
Installation Info
Installation Time
(approx) 1 Hour
Difficulty Level:
Simple installation for anyone.
Installation Guides
What's in the Box
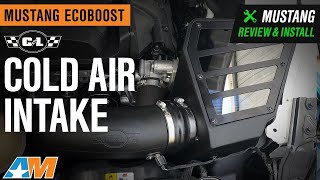
| Year/Model: | 2015-2017 EcoBoost | Filter Placement: | Engine Bay |
| Material: | High Density Polyethylene | Finish: | Black |
| Manufacturer: | C&L | Computer Tune Required: | No |
Tech Guides:
