 FREE 1 to 3-Day Delivery on Orders $149+ Details
How to Install Rear Lower Control Arms on Your 1979-1998 Mustang
Installation Time
4 hours
Tools Required
- 18mm shallow socket
- 18mm deep well socket
- 18mm Wrench
- Torque Wrench
- Plastic or wood Hammer
- (4) Jack Stands
- Wheel chocks
Shop Parts in this Guide
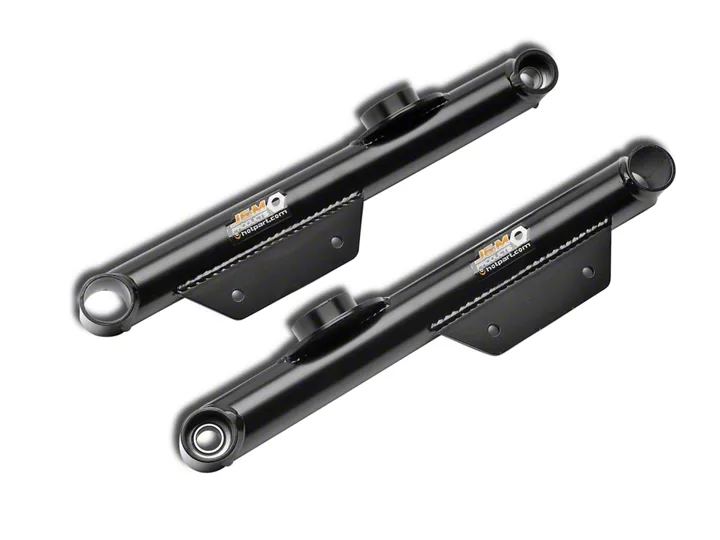
- J&M Street/Race Rear Lower Control Arms; Black (79-98 Mustang)
- J&M Weight Jack Street Performance Rear Lower Control Arms; Black (79-98 Mustang)
- Maximum Motorsports Rear Lower Control Arms (79-98 Mustang)
- J&M Street Performance Rear Lower Control Arms; Black (79-98 Mustang)
- QA1 Rear Lower Control Arms (79-04 Mustang, Excluding 99-04 Cobra)
Installation
Installation Instructions:
1. Chock the front wheels to prevent car from rolling. Break the lug nuts loose while car is still on the ground.
2. Jack the rear end up evenly from the rear differential. Support the chassis on jack stands.
3. Raise the rear axle just above full drop and support the axle with jack stands.
4. Remove the rear wheels.
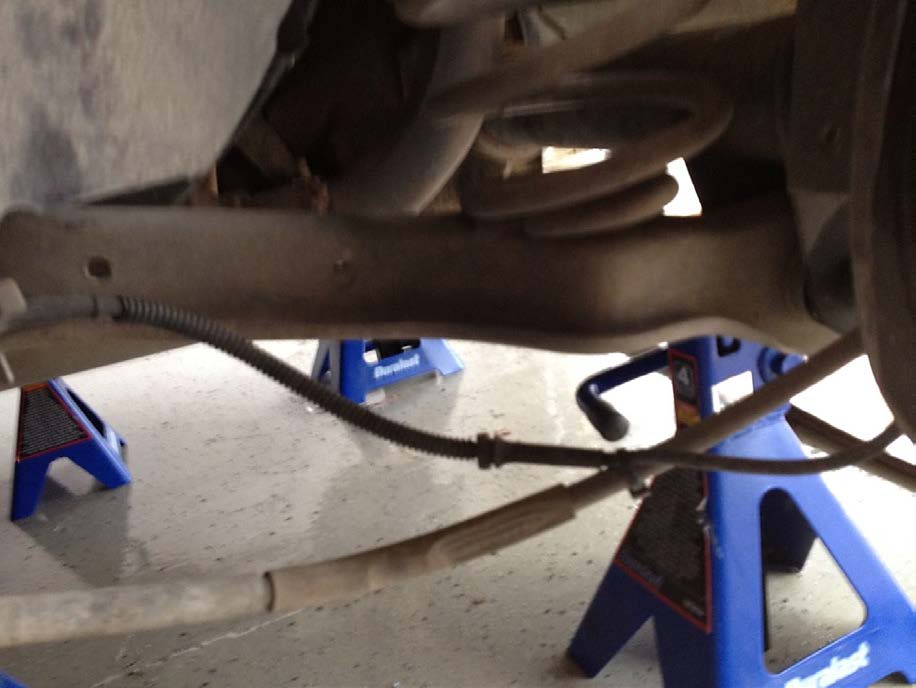
5. Remove the (4) bolts – (2) on the outer side of each control arm – that connect the sway bar to the lower control arms. 1994 cars might have a clip for the ABS wire and a parking brake bracket. Remove these as well.
6. Loosen the driver side lower control arm axle bolt with 18mm socket and wrench. Do not remove at this point.
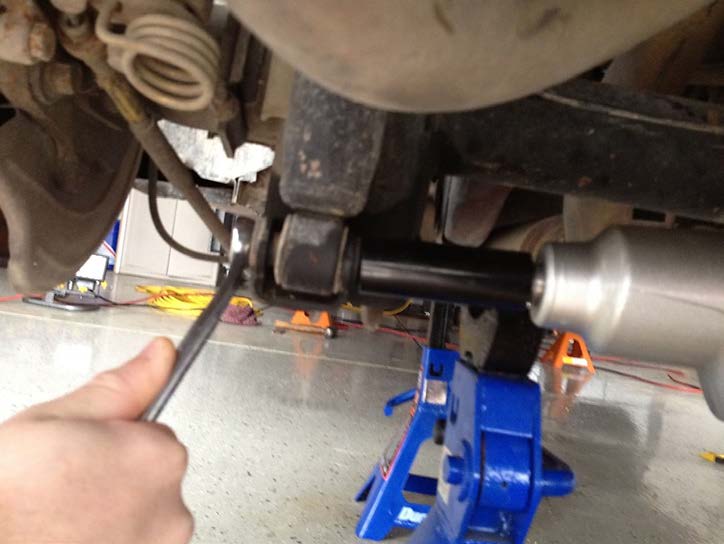
7. Support the control arm with a jack at the axle mount and remove the control arm bolt.
8. Slowly lower the jack lowering the control arm. Do not lower too quickly because the spring is compressed and could dislodge and fly out. Remove the spring when it is fully uncompressed.
9. Remove the front control arm bolt at the body. This can be accomplished with a 18mm deep well socket on the side closest to driveshaft and a shallow well socket on the opposite side. NOTE: sometimes removal of the exhaust is necessary if an aftermarket system is installed to access this bolt.
10. Install the (3) piece poly-ball bushing:
A. Apply silicon grease (provided) to the long metal sleeve.

B. Slide the poly-ball bushing onto the sleeve.
C. Grease (1) of the outer bushings and slide it onto the shaft mating it with the ball.

D. Using a soft hammer (plastic or wood), drive the ball and bushing into the control arm from the opposite side.
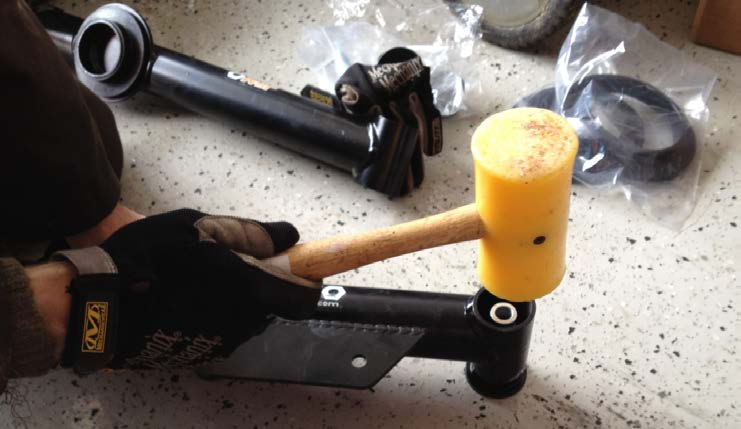
E. Insert the last bushing in the opposite side, mating it with the ball in the center.
F. Apply grease to inside of the bushing. NOTE: you can use the axle bolt to help compress both sides of the (3) piece bushing into place.
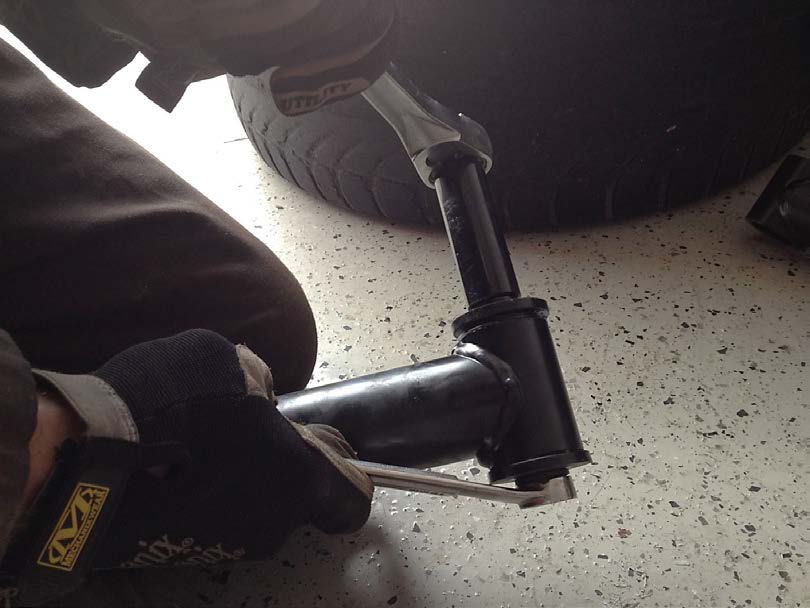
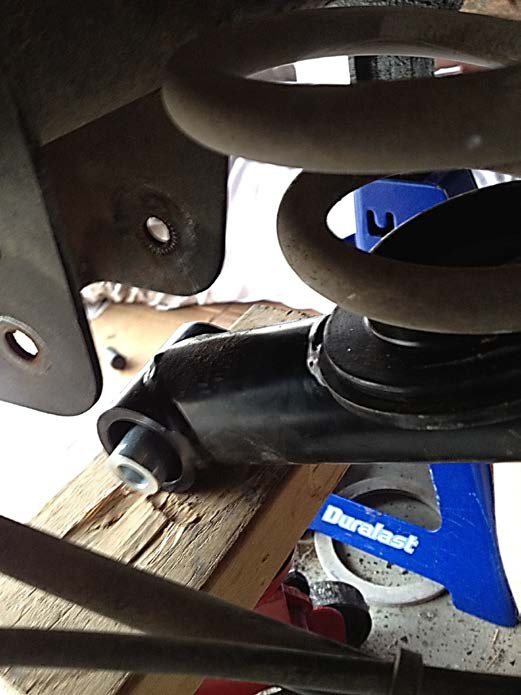
11. Install the (2) piece metal bushing on the axle side of the new control arm.
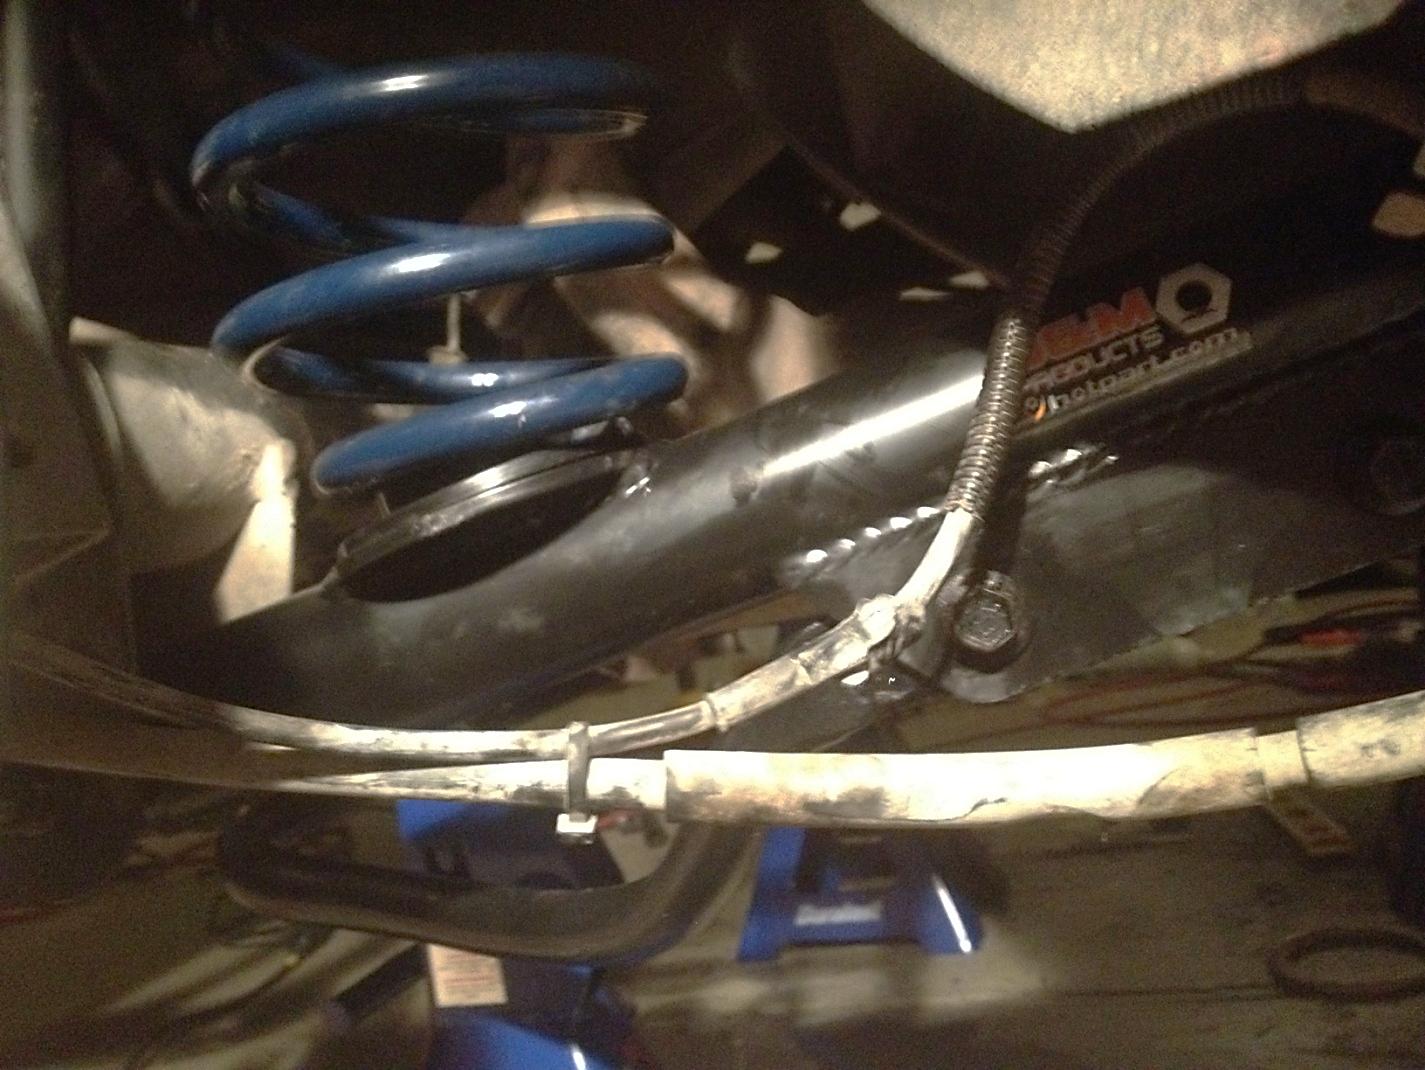
12. Reverse steps 5-8 and install the new control arm. Torque both bolts to 86 ft/lbs. For easier installation, you can grease the outside of the bushings. Repeat steps 5-11 for the passenger side control arm.
13. Re-install the sway bar with the (4) bolts.
14. Re-install the wheels.
15. Lower the car to the ground and torque the lug nuts on wheels.
Installation Instructions written by AmericanMuscle customer Anthony Farnsworth 3.23.12

