 FREE 1 to 3-Day Delivery on Orders $149+ Details
How to Install a Pypes Muffler-Delete Axle-Back Exhaust on your 2005-2010 Mustang GT, GT500
Installation Time
1 hours
Tools Required
- Floor Jack
- Jack stands
- Standard Socket Set and a deep 15 mm socket
- WD-40
- Someone willing to help

Shop Parts in this Guide
Installation
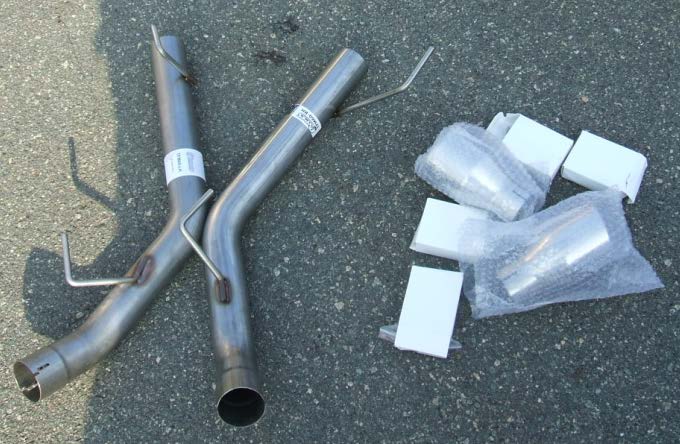
1. Once you have received your package make sure it came with all the necessary parts for the installation. You should have:
- (4) Clamps
- (2) Pypes Exhaust Pipes
- (2) Exhaust Tips
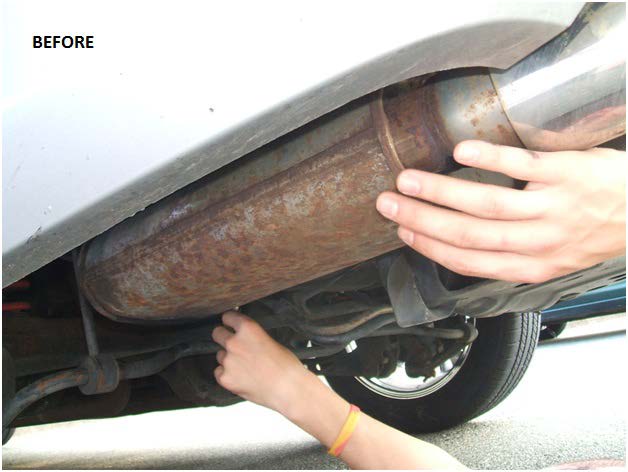
2. Now you need to begin taking the existing exhaust off your Mustang. I used a jack to raise the car a bit to give me some room to work with. Note: If you raise the car make sure the parking brake is on and the car is on a level surface. You should use jack stands.
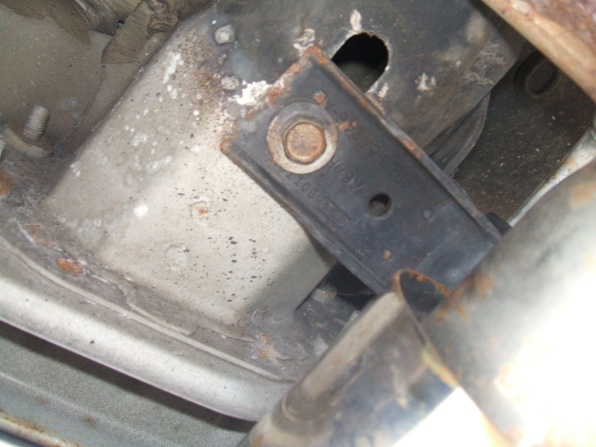
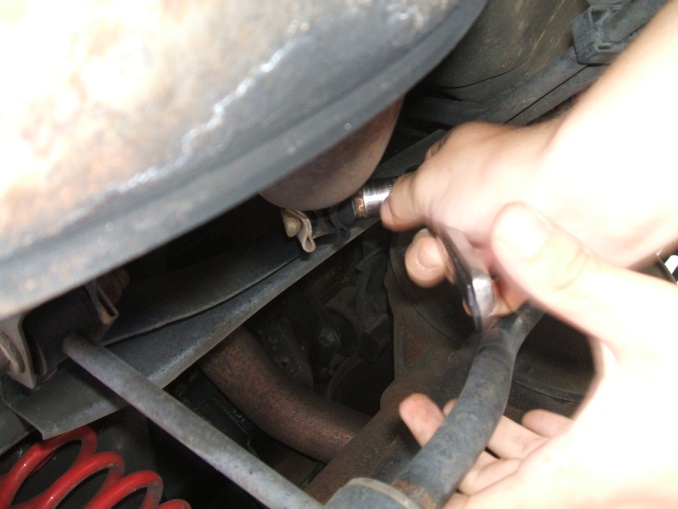
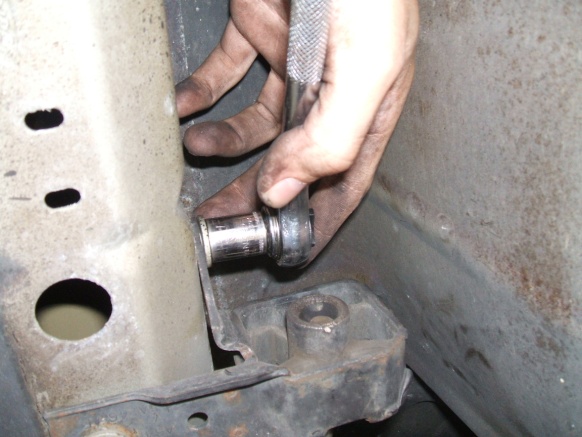
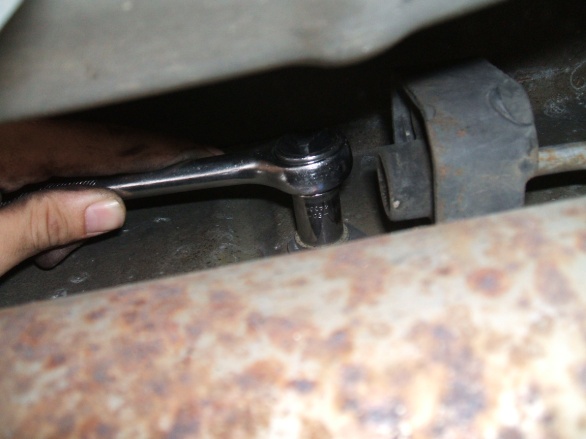
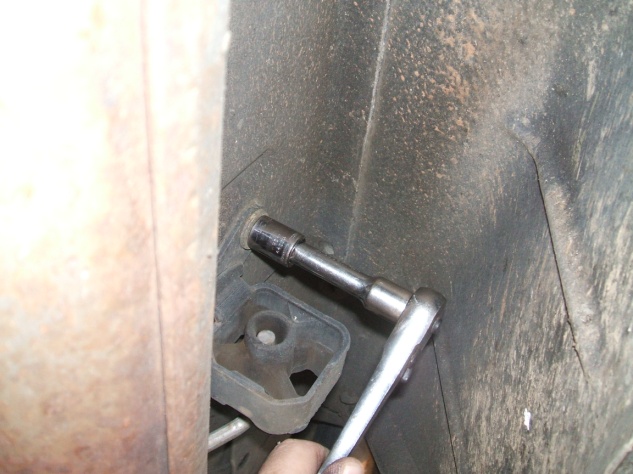
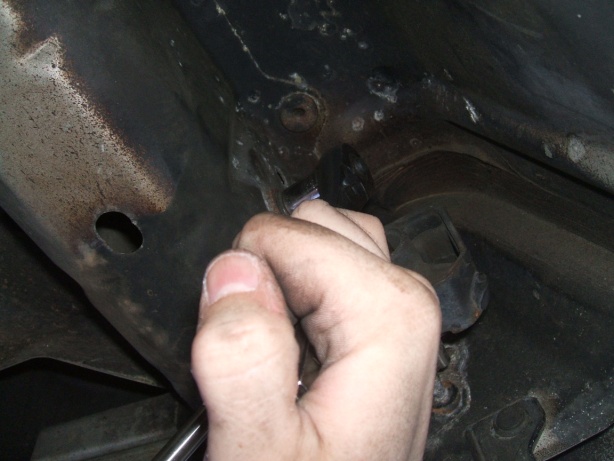
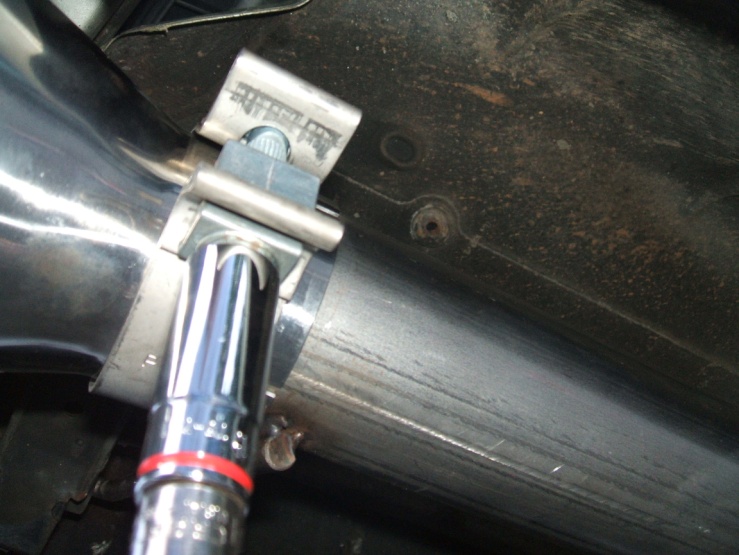
3. Take the bolts off of the 2 hangers on the driver side. Each hanger should have (2) bolts. Using a 13mm socket remove them. Note: This is where you may need the WD-40 to get the bolts to break free due to possibly being rusted on.

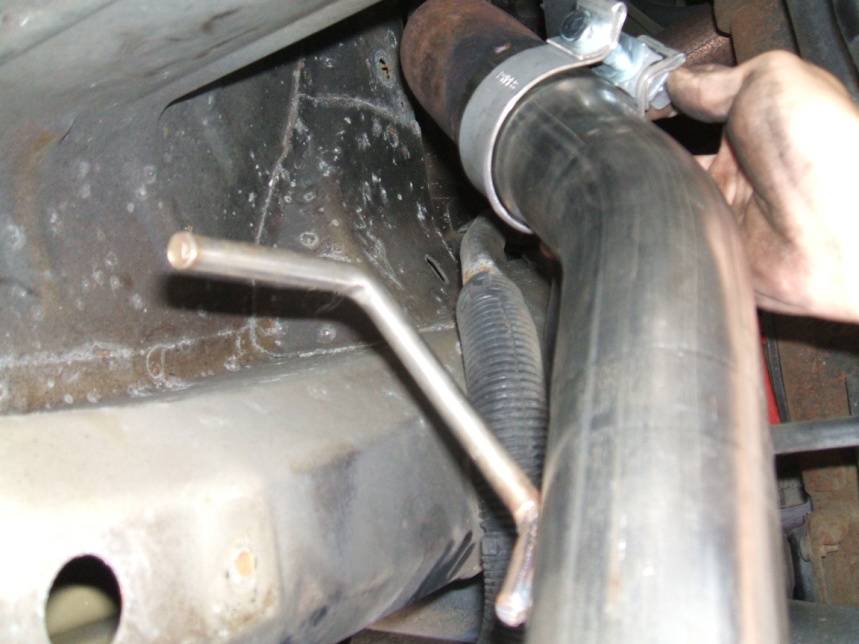
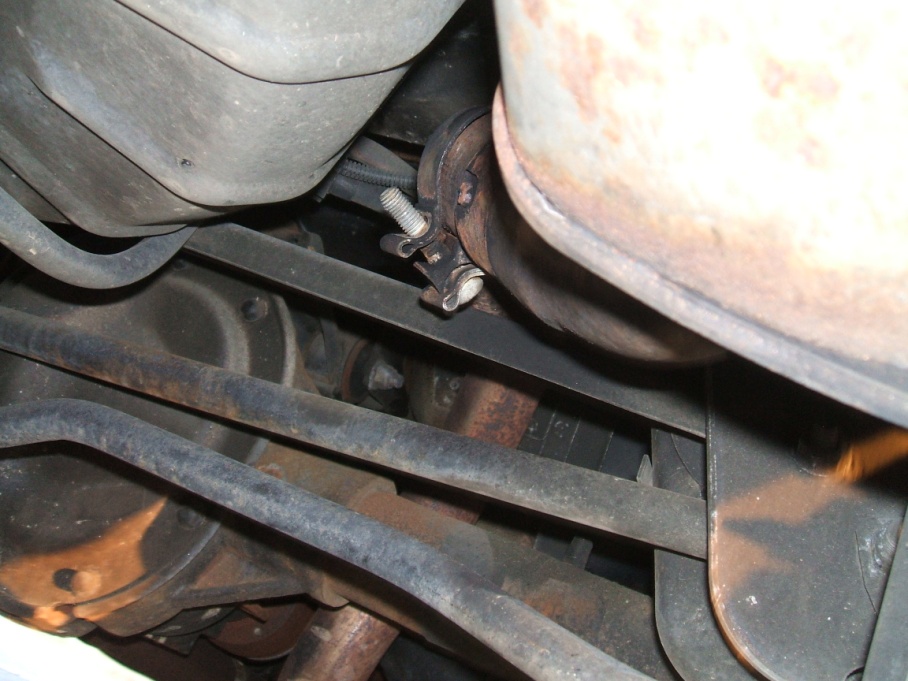
4. Once you have those hangers off use the 15mm socket to loosen the clamp holding the muffler to the mid pipe. Once you do that the muffler should slide off of the mid pipe. Note: I did not need the 15mm deep socket for this part, a regular 15mm socket worked just fine
5. Now take the Pypes muffler delete system slide one of the supplied clamps over the end and attach it to the mid pipe on the car. Tighten the clamp enough to hold the exhaust on, but give it some play.
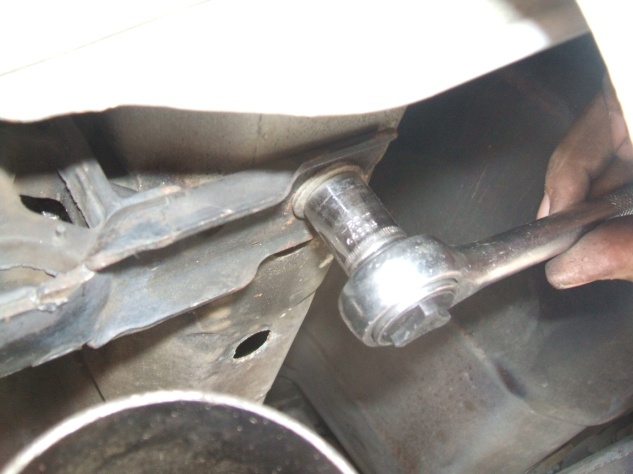
6. Now slide the hangers over the exhaust hanger bars and mount them back on to the frame rails. Again don’t completely tighten them down.
7. Make sure the mid pipe and muffler line up to your liking and are at the right height. Once you have verified that, you can tighten all the bolts and clamps. Note: Make sure clamp is extremely tight. Tightening the clamp is where I needed the 15mm deep socket.
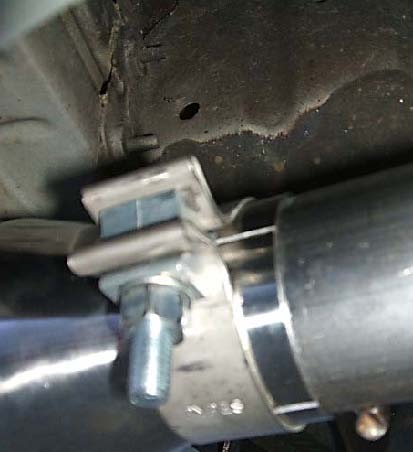
8. Now move over to the passenger side and remove the (2) hangers. Again there should be two 13mm bolts per hanger. Note: May need the WD-40 again for these bolts.
9. Once you have the hangers off loosen the clamp that connects the muffler to the mid pipe. Now it should slide right off.
10. Take the Pypes muffler delete system slide a clamp on the end of the pipe and attach it to the end of the mid pipe. Tighten the clamp enough to hold it on the mid pipe but don’t completely tighten it yet.

11. Now you can take the hangers and slide them over the exhaust hanger bars and attach them back to the frame rails. Again don’t completely tighten make sure they are positioned to your liking and then tighten them down. Note: Like many of the reviews have said fitment on the passenger side was an issue. The Pypes muffler delete system will fit without having to make any modifications, you just have to play with the hangers a bit. This is where it comes in handy to have help.
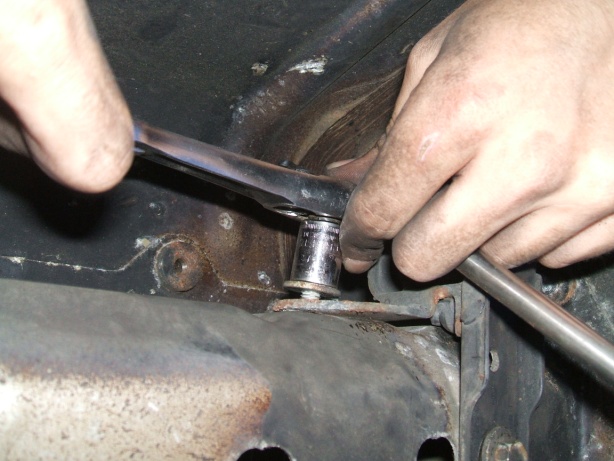
12. Once you have everything lined up the way you want it tighten all the bolts and the clamp as tight as possible. Note: I needed the deep 15mm socket again for the clamp
13. Take the (2) remaining clamps over the end of the Pypes system now take the exhaust tips and slide them over the ends of the Pypes system. Adjust them to your liking and then tighten the clamp as tight as possible. Note: Once again I need the 15mm deep socket for the clamps.
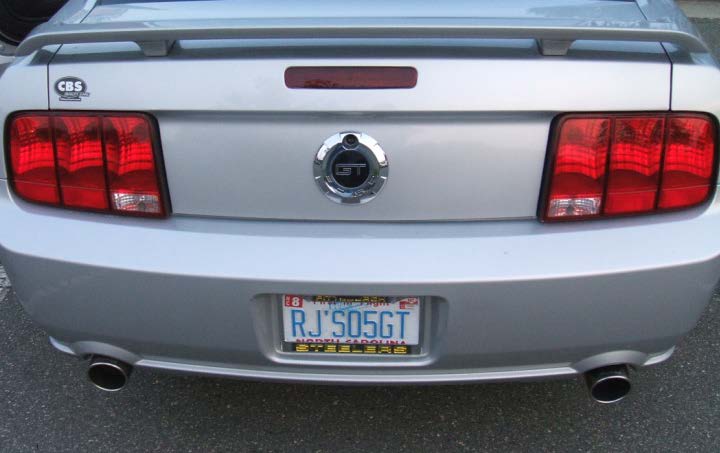
14. Set the car back down on the ground and enjoy your new Pypes Muffler Delete Axle Back exhaust system!
Installation Instructions written by AmericanMuscle customer Robert Hickey 5.14.12
