 FREE 1 to 3-Day Delivery on Orders $149+ Details
How To Install QA1 Caster Camber Plates On Your 1979-1989 Mustang
Installation Time
2 hours
Tools Required
- Socket for lug nuts (13/16 or 6 spline tool is the most common)
- 17mm socket
- 15/16 socket
- 3/4 socket
- 9/16 socket
- 15/16 wrench
- vise grips
- floor jack
- 2 jack stands
Removal Procedure:
Step 1: Engage parking brake.
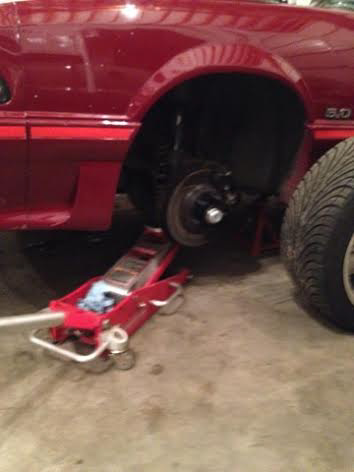
Step 2: Use the floor jack to lift the front end up until the tires are off the ground.
Step 3: Place a jack stand under the sub frame on each side of the car.
Step 4: Lower the front end onto the jack stands so they are supporting the front of the car.
Step 5: With a 13/16 socket or 6 spline lug tool remove all the lug nuts and pull both front tires off the hub.
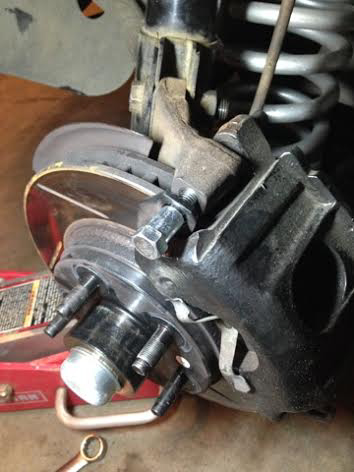
Step 6: With a 17mm socket remove the two bolts that hold the caliper onto the spindle. Repeat for both sides.
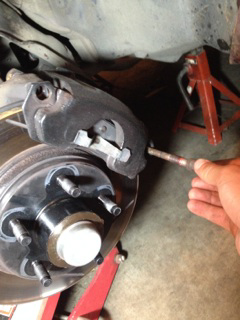
Step 7: Pull the caliper from the rotor and hang from a hole in the fender well with a bungee cord so the brake line is not supporting the weight.
Step 8: Pull the lever inside the car to release the hood, unlatch the hood from the front and use the hood prop to keep the hood open.

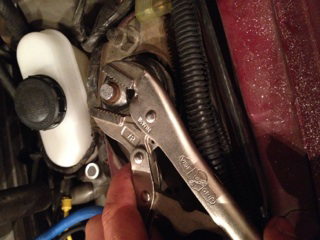
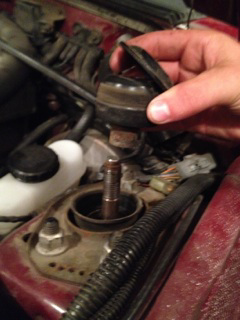
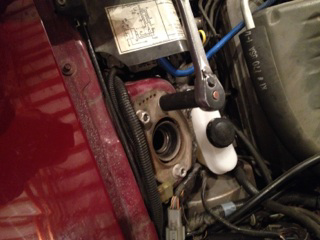
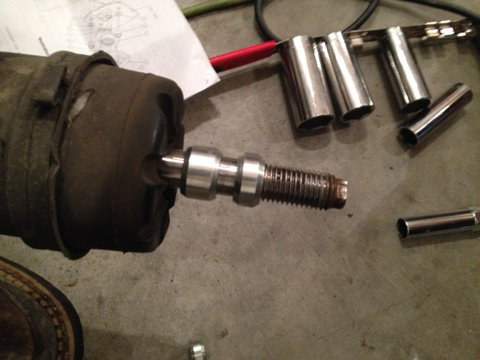
Step 9: Looking at the top of the strut from under the hood you will see a machined spot at the end of the threaded stud, Take the vise grips and clamp them on the end of the threaded stud.
Step 10: Take the floor jack, slide it under a front control arm and jack it up a 1⁄2 inch or so, just enough so the strut starts to compress.
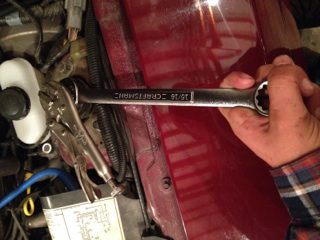
Step 11: While holding the vise grips take the 15/16 wrench and unscrew the nut holding the strut to the old caster camber plates.
Step 11 continued: With the nut off remove the top cap and bushing from the strut shaft.
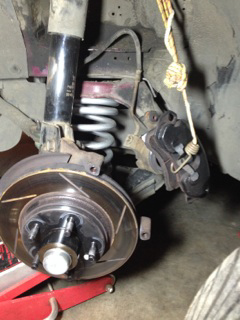
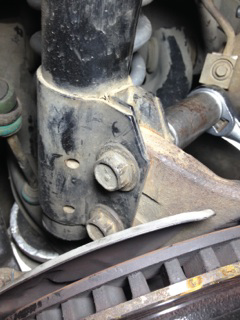
Step 12: Using a 15/16 socket on the nut and a 13/16 socket on the bolt that holds the strut to the spindle, Remove the two nuts.

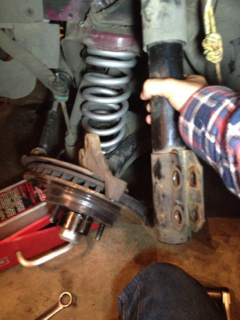
Step 13: With the two nuts removed, hold the strut with one hand and use the other to remove the two bolts that hold the strut to the spindle.
Step 14: Pull the strut down and out of the car.
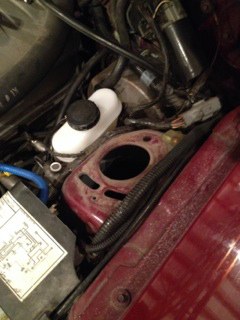
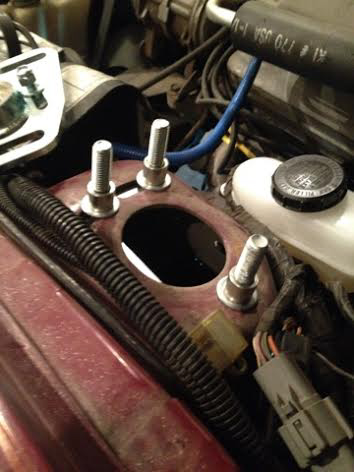
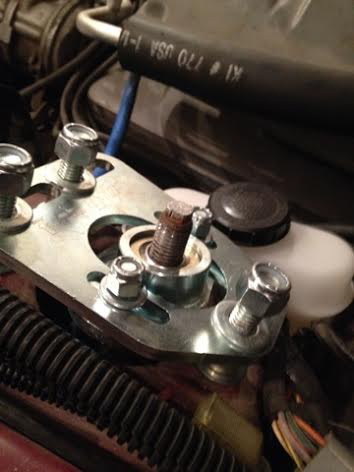
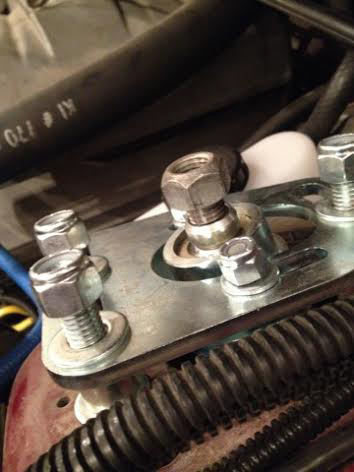
Step 15: With the 9/16 socket remove the three nuts holding the stock caster camber plates to the strut tower.
Step 15: Pic continued.
Installation Procedure:
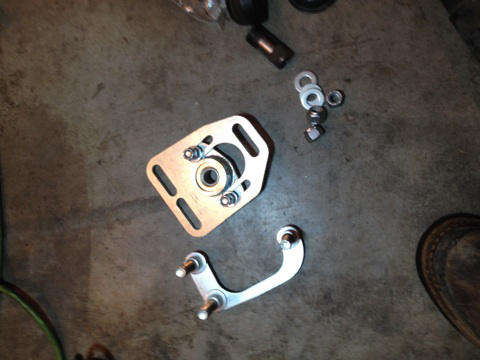
Step 1: Disassemble the new Caster camber plates, keep all pieces separated and remember the order they were in.
Step 2: Take the Half circle, L-shaped, Lower plate and put it up through the holes on the strut tower from the bottom.
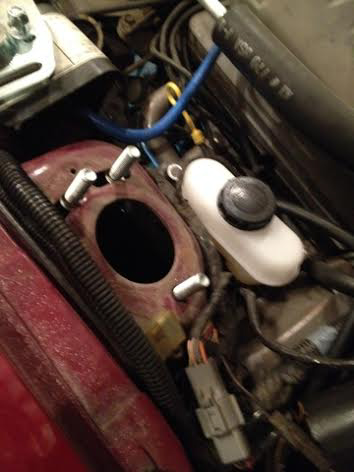
Step 3: place 3 washers and each stud followed by the 3 spacers.
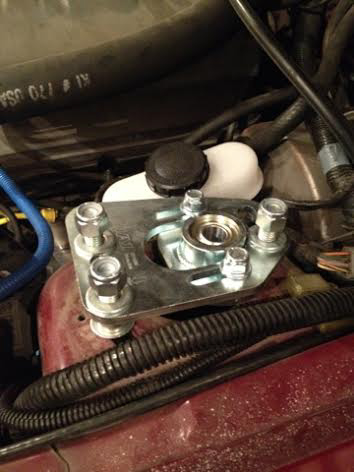
Step 4: Take the upper caster camber plate and meet it up with the lower plate. Slide it down onto the three studs.
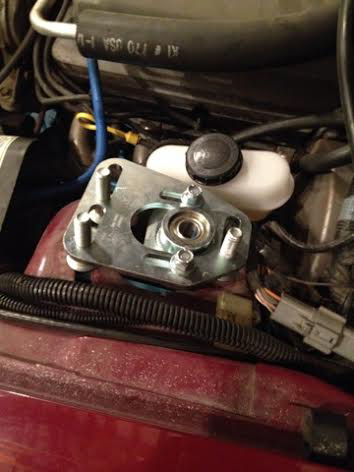
Step 5: Place 3 more washers on each stud followed by 3 nuts.
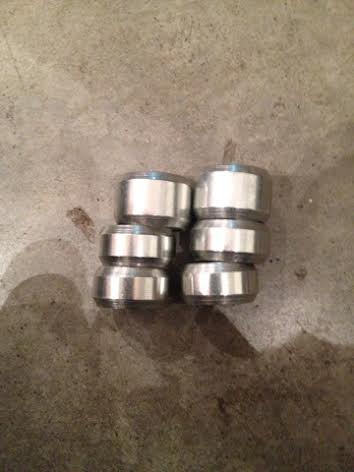
Step 6: There are 6 spacers that came with the Caster Camber plates, Organize the 6 spacers. There should be 2 long spacers and 4 short spacers.
Step 7: Slide a long spacer followed by a short spacer onto the strut.
Step 8: slide the strut up through the caster camber plate.
Step 9: Slide one short spacer followed by a nut over the strut shaft. Thread the nut on as far as possible by hand.
Step 10: Take the bottom of the strut and line up the two holes with the holes on the spindle and insert both bolts and thread on both nuts.
Step 11: Using the 13/16, and 15/16 socket tighten the nuts to 165 ft-lbs.


Step 12: Center the strut in the caster camber plate and tighten the three 13/16 bolts. Torque to 65 ft-lbs
Step 13: Tighten the two 9/16 nuts. Torque to 40 ft-lbs
Step 14: Clamp the vise grips back onto the strut shaft and use the 15/16 wrench to tighten the bolt.
Step 15: Take the brake caliper and slide it back over the rotor lining up the two bolt holes.

Step 16: Insert the two bolts and tighten using a 17mm socket.
Step 17: Place the wheel back onto the hub and thread the lug nuts onto the lugs. Torque to 95 ft-lbs
Repeat removal procedure steps 6-15 and installation steps 1-17 for both sides.
Finishing Procedure:
Step 1: Using floor jack lift the front end of the car off the jack stands and remove. Lower the car back to the ground.
Final step: Take your car to get professionally aligned and enjoy your new caster camber plates.
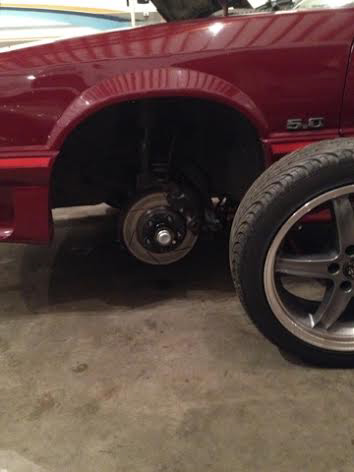
Before and After Pics


Installation Instructions written by AmericanMuscle Customer Vance Clark 10.30.2014

