 FREE 1 to 3-Day Delivery on Orders $149+ Details
How to Install Raxiom Vector V2 LED Tail Lights (10-12 All) on your Ford Mustang
Installation Time
25 minutes
Tools Required
- Flathead Screwdriver
- Interior Trim Remover Tool (Optional)
- Ratchet
- 13mm Socket
- 11m Socket

Shop Parts in this Guide
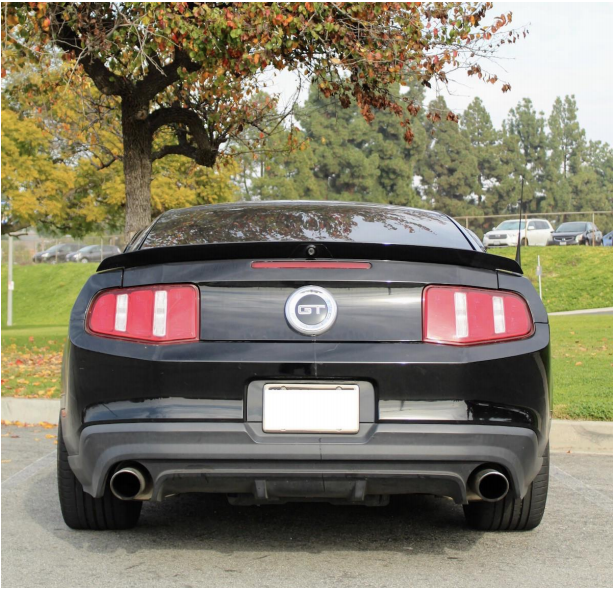
Before Picture
Installation Steps
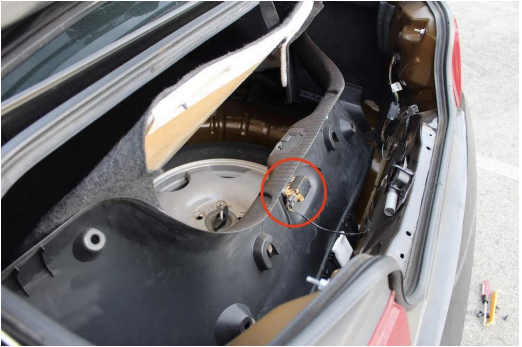
1) Open the Trunk. Find the big plastic trim piece on the very rear of the trunk.
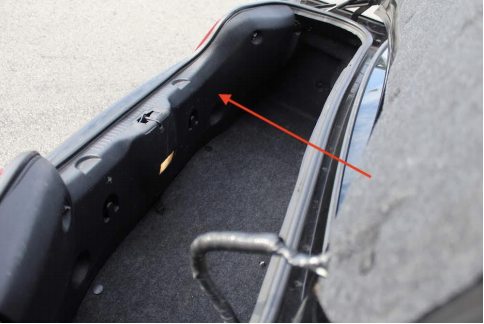
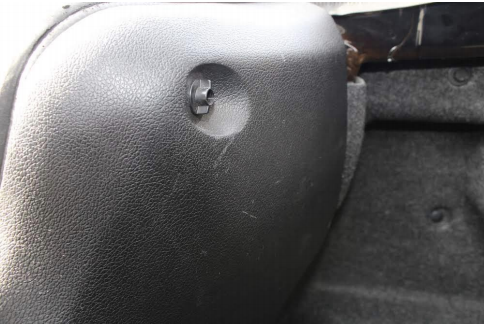
2) Remove the 2 twist off nuts (1 on drivers side, 1 on passenger side) simply by twisting them off with your hands.
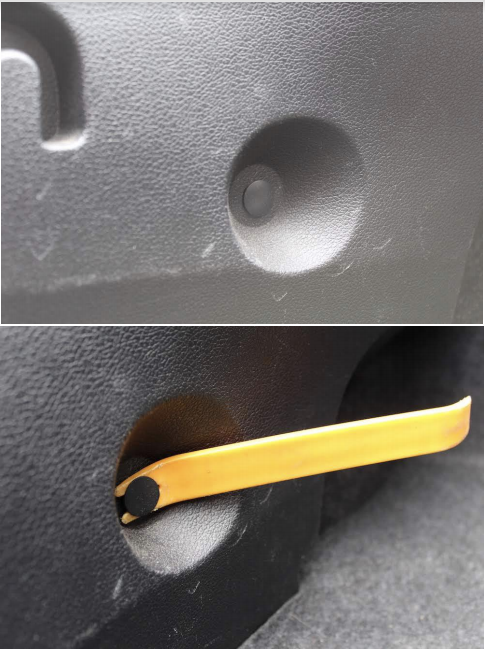
3) Remove the 2 interior trim plastic screws (1 on driver side, 1 on passenger side) by using a flathead screwdriver or an Interior Trim Remover tool.
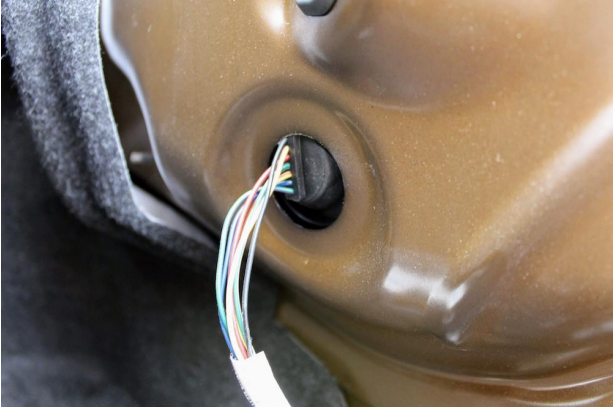
4) Be careful of the trunk light wire that is attached to the plastic piece. Simply lift the trim piece carefully until the wire harness is exposed and unclip the harness by pressing on the tab.
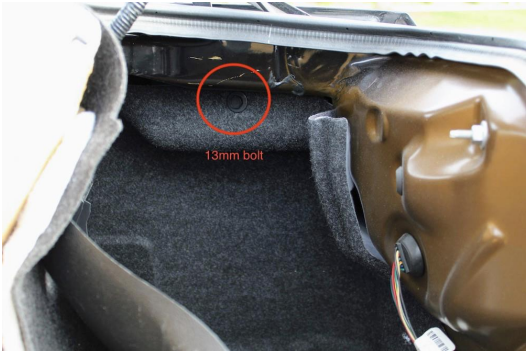
5) Remove (1) 13mm bolt found in the corner of the trunk near the tail lights. It is at the top on each side.
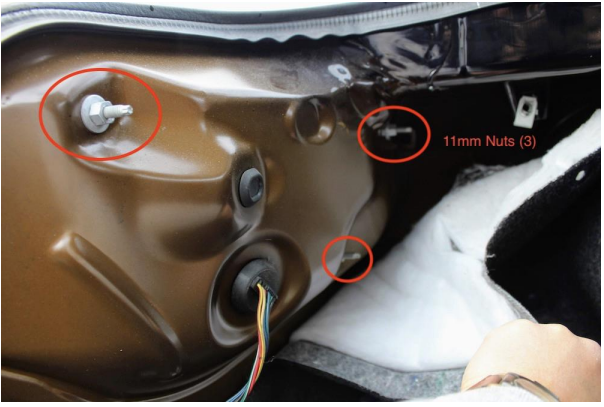
6) This should allow you to pull back the soft trunk lining. It will expose (3) 11mm nuts that you can remove to unbolt the taillight. There are 3 nuts on each side.
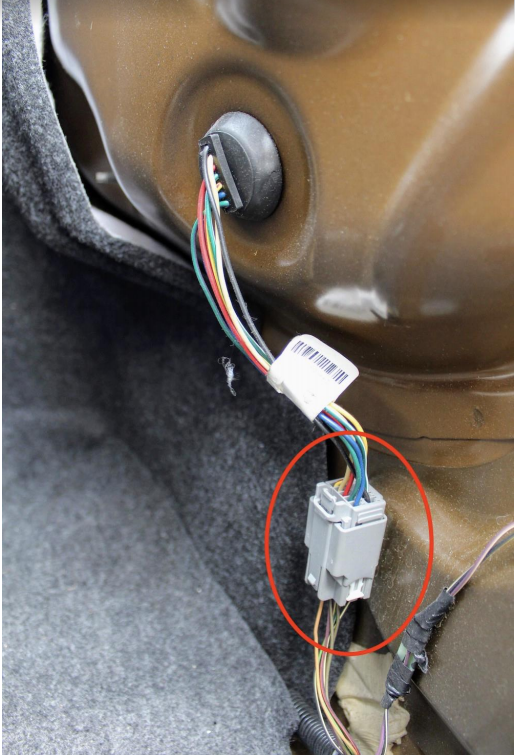
7) Unclip the tail light harness (1 on each side).
8) Push the rubber grommet through the hole (1 on each side) using your finger. This will allow you to pull on the tail light and remove it from your car.
9) Install the new Raxiom Tail lights by reversing the steps above. Tighten the bolts and nuts until snug. Do not overtighten.
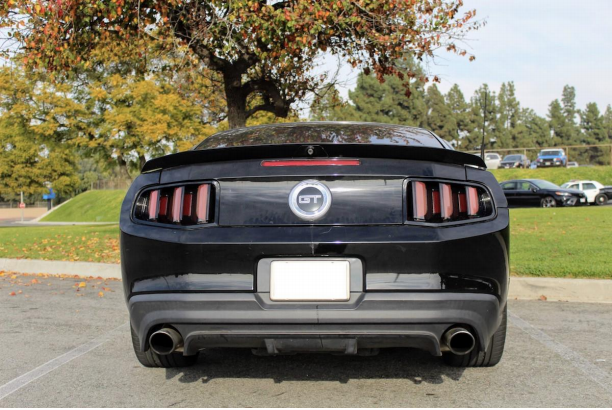
After Picture
Installation Instructions Written by AmericanMuscle Customer David Lee 01/1/2019

