 FREE 1 to 3-Day Delivery on Orders $149+ Details
How to Install a SR Performance Lowering Springs - Coupe in your 1979-2004 Mustang
Installation Time
4 hours
Tools Required
- Pry Bar
- Hammer
- 13mm Socket
- 18mm Socket
- 19mm Socket
- Socket Extension
- Adjustable End Wrench
- E12 - Socket for Brake Caliper
- T45 - Socket for Brake Caliper
- WD 40
- Jacket
- (2) Jack Stands
- Electrical Tape
- Needle Nose Pliers
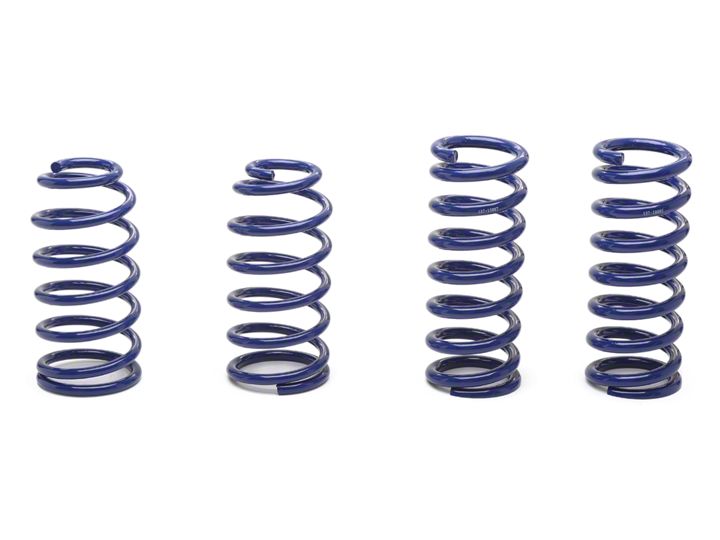
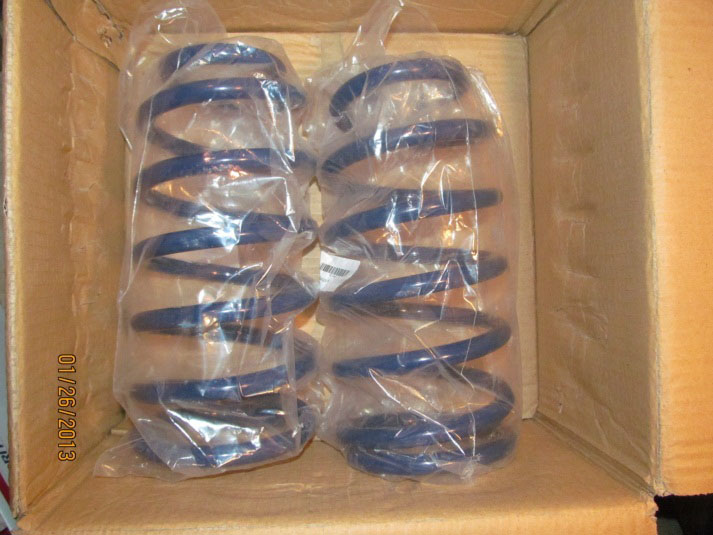
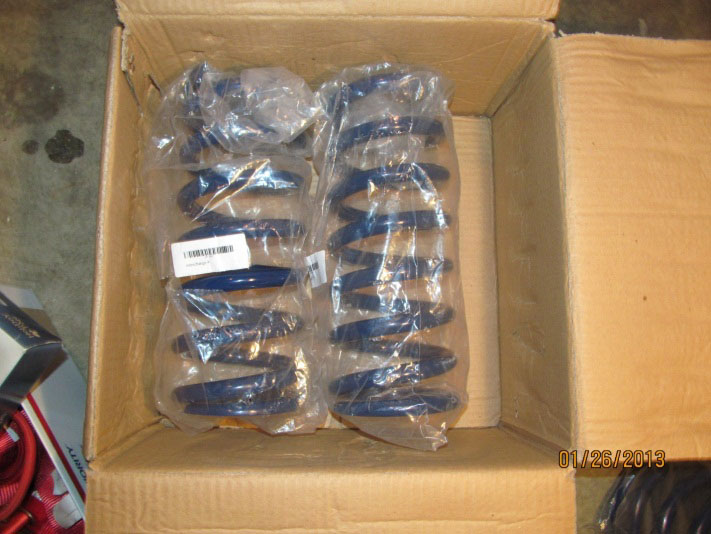
Shop Parts in this Guide
TIME: I would allow a full day to install both rear and front springs
Tools Required:
• Pry bar
• Hammer
• 13mm socket
• 18mm socket
• 19mm Socket
• Socket Extension
• Adjustable End Wrench
• E12 – Socket for brake caliper
• T45 – Socket for brake caliper
• WD 40
• Jacket
• (2) Jack Stands
• Electrical Tape
• Needle Nose pliers
Installation Instructions:
1. Start out by loosening the lug-nuts on each tire.
2. You will then jack up one side of the car and install jack-stand under the car. Make sure your emergency brake is on. You will do the same for the other side. Remove the rear tires.
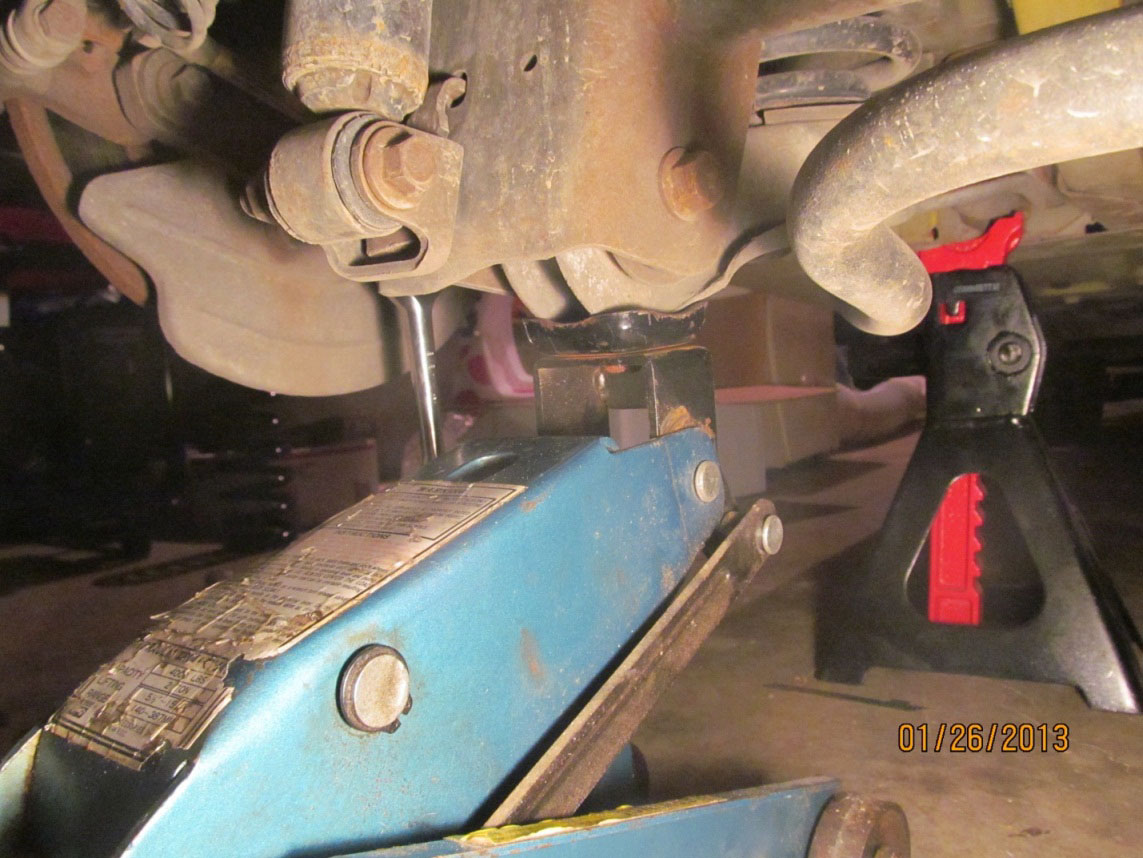
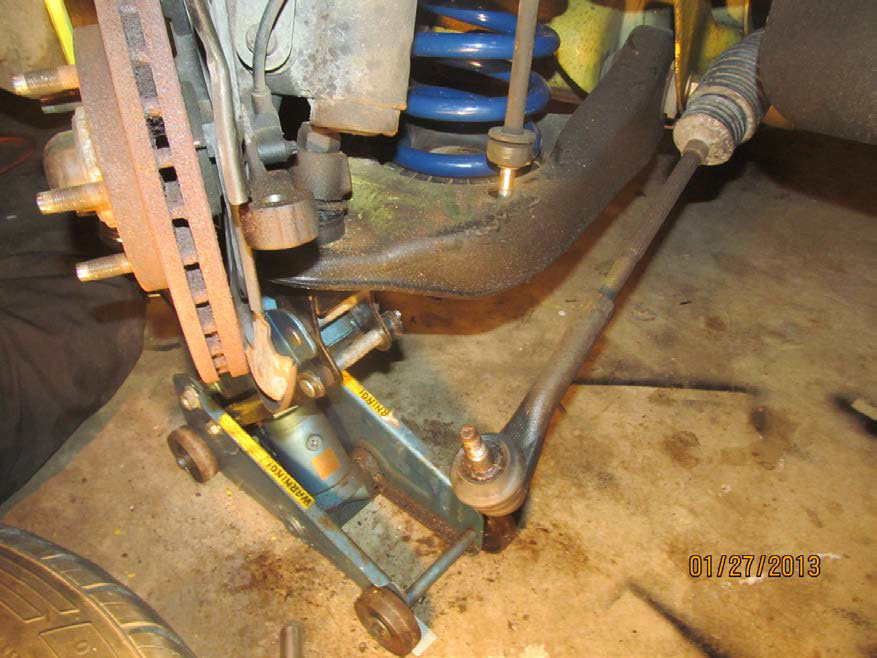
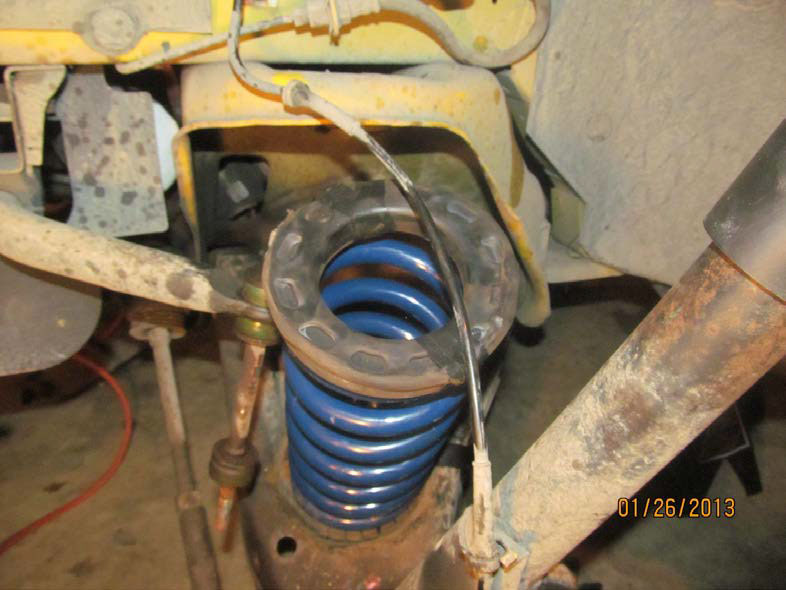
3. Put a jack under the control arm to lower the spring out and to take the pressure off the sway bar bolts and control arm bolts (picture of the jack under the lower control arm below). I sprayed the sway bar bolts and Lower control arm bolts with WD40 to make the bolts easier to remove. I removed the two sway bar bolts first (bolts shown below). These bolts are 13mm. The nut is attached inside the frame of the sway bar so no wrench is required on the back side.
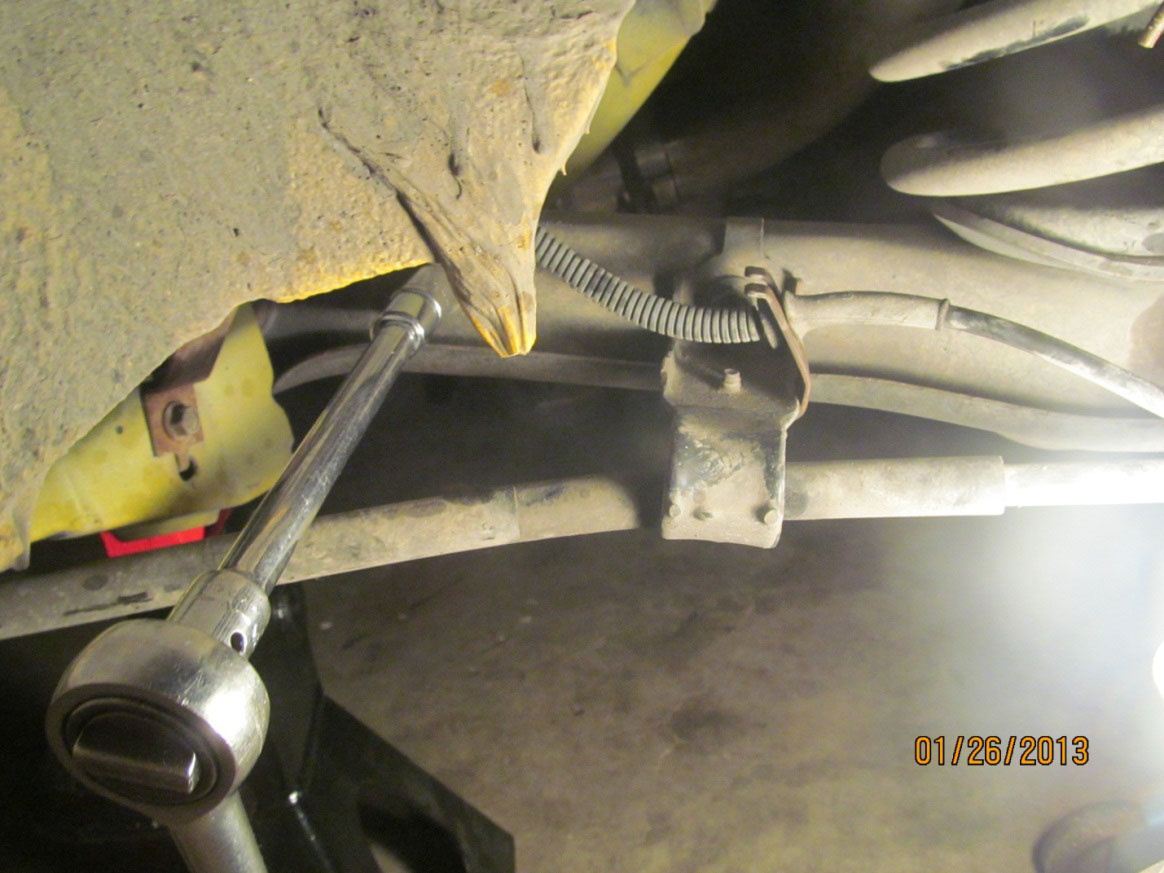
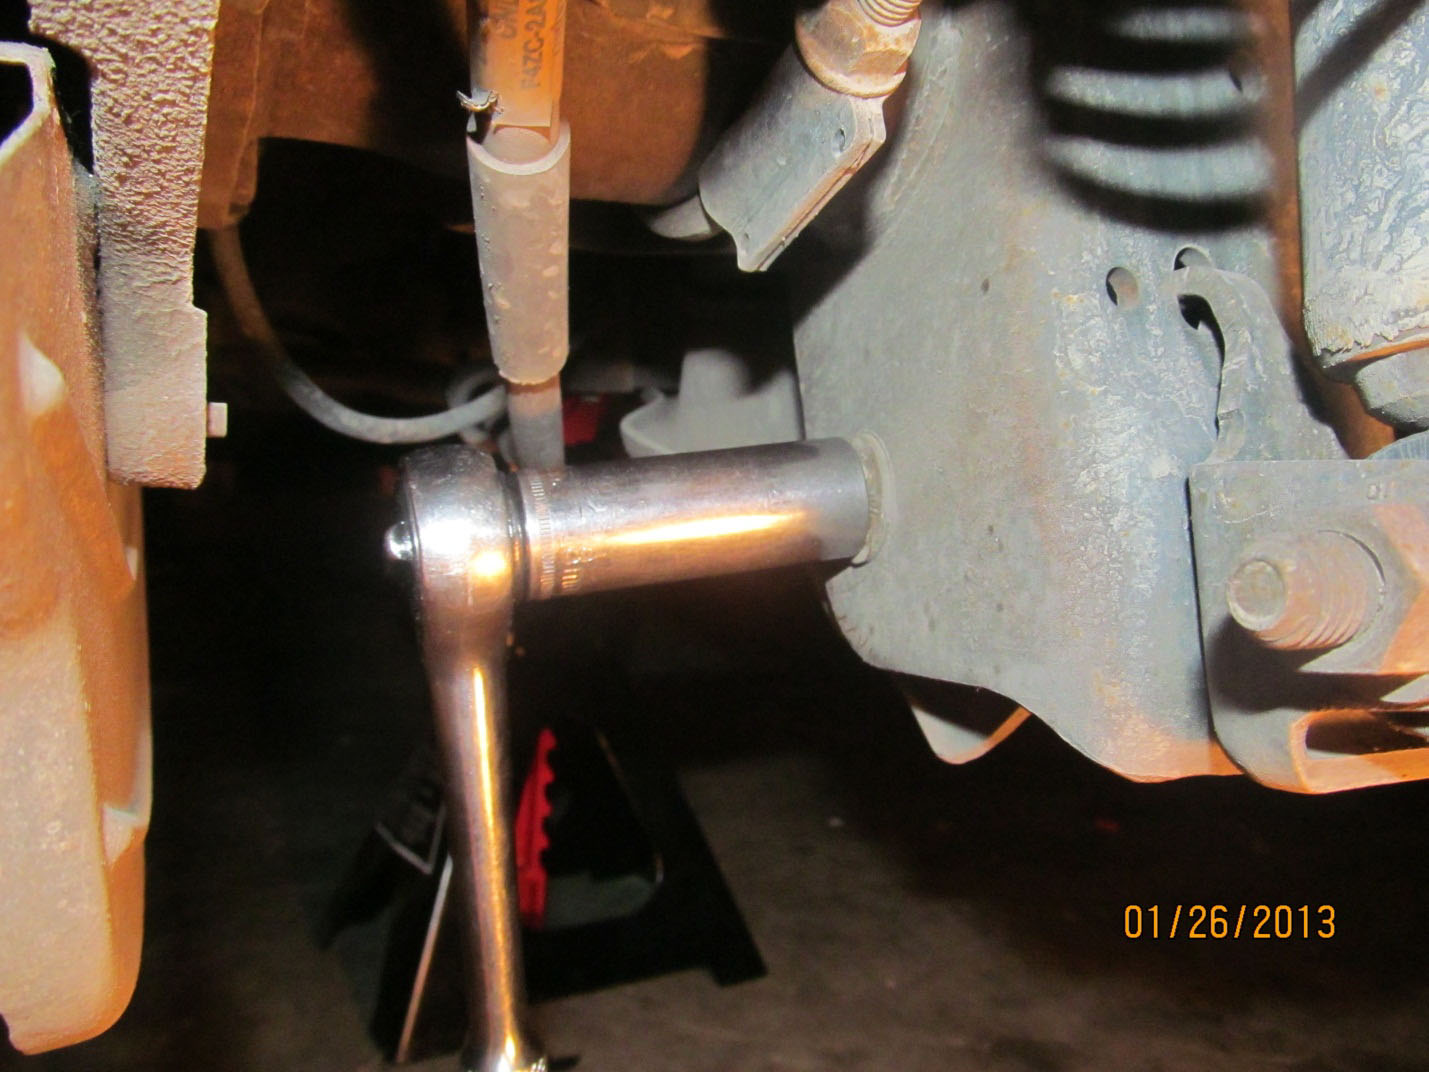
4. Once the sway bar bolts are removed you will need to loosen the Control Arm Bolt (shown below). You will use a 18mm socket
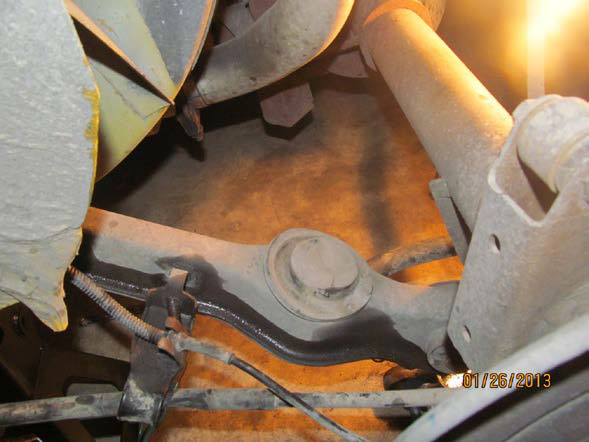
5. You will now slowly lower the control arm to remove the old spring (stay back in case the spring pops out because of the tension). Picture below shows the bottom bracket where the spring sits.
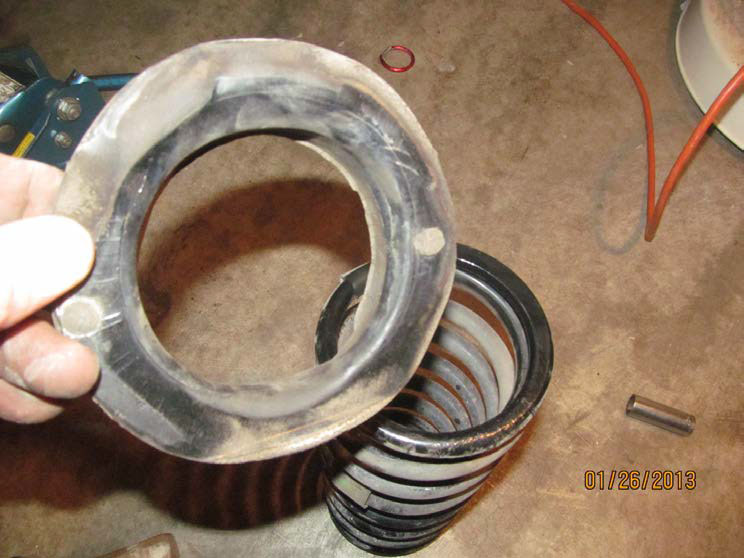
6. You will need to replace or remove your isolator from the factory springs. I used the factory isolator with my new springs (picture of isolators below)
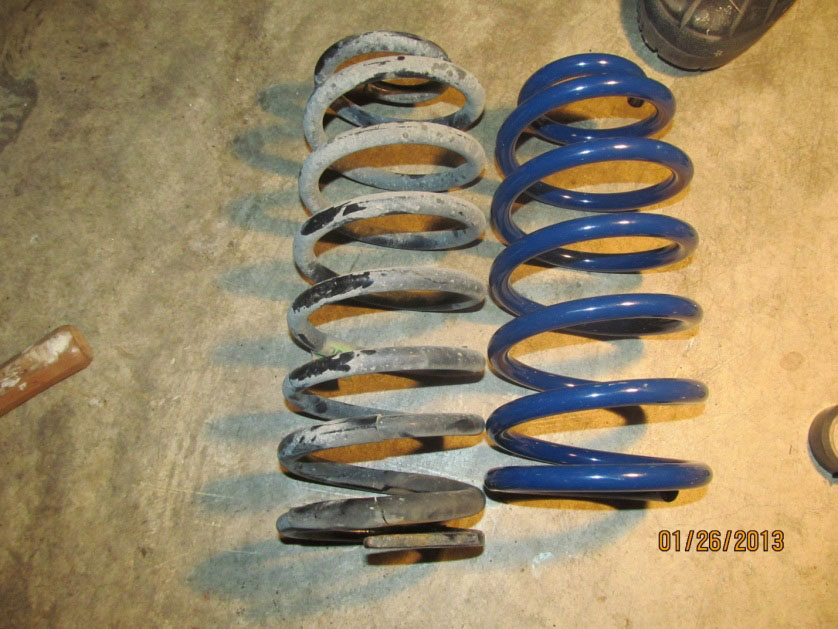
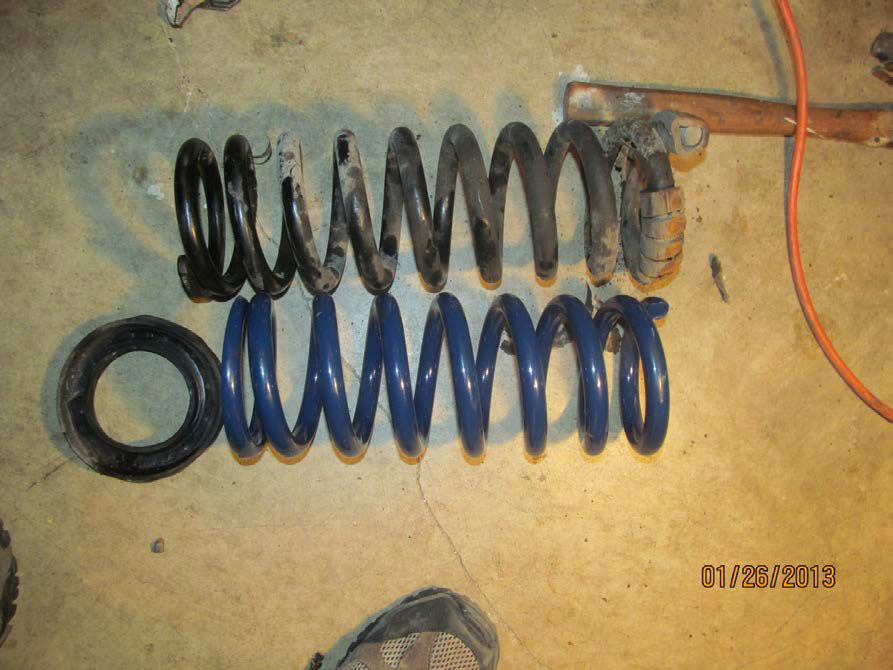
Picture below shows the difference in factory and SR Lowering Spring

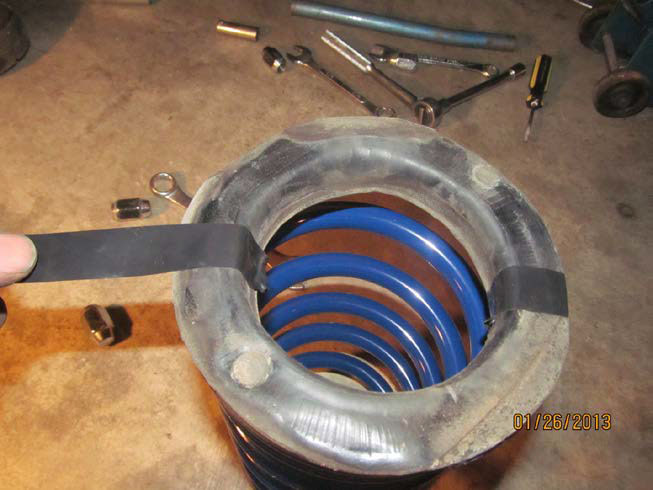
8. When installing the new springs take some tape and secure the isolator to the top of the spring to hold it in place as shown below.
9. Sit the new spring on the bottom spring support and slowly begin raising the control arm until the bolt holes are aligned. This will raise the new spring into place. You may need a long pry bar to move the rear end a little to align the bolt holes. Install the Lower Control Arm bolt first. Then lift up the control arm to align the holes an install the two bolts. You can lift the control arm by hand. The Lower Control arm bolt should be torqued to 110. This will complete your install of the Rear Spring.

Front Spring Installation:
10. Start out by loosening the lug-nuts on each tire. You will then jack up one side of the car and install jack-stand under the car. Make sure your emergency brake is on. You will do the same for the other side. Remove the front tires.
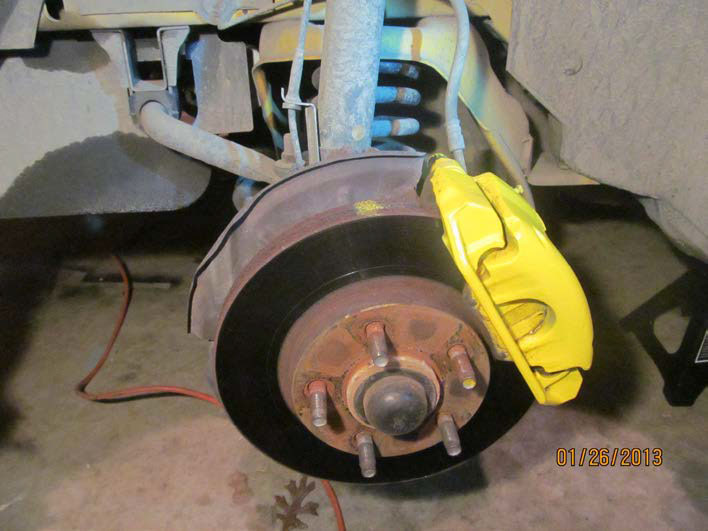
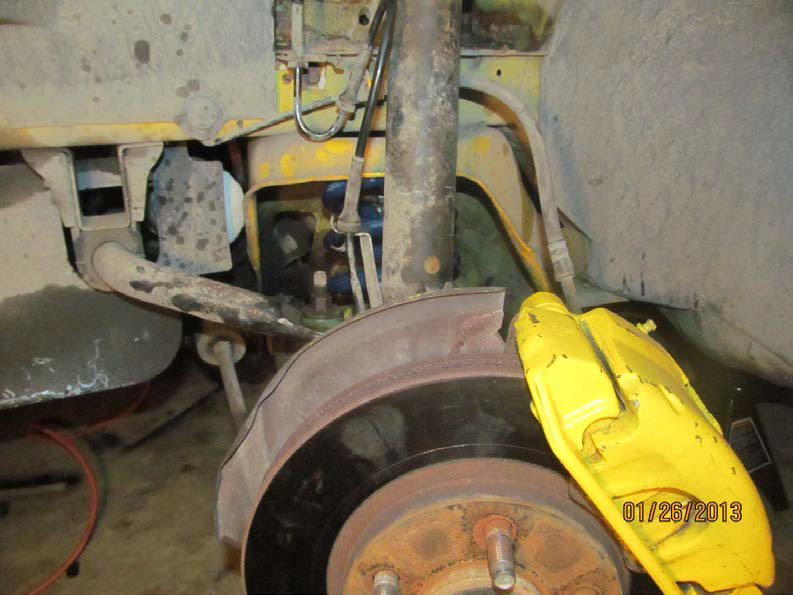
11. Start by removing the front brake calipers (shown below). Tie the caliper up out of your way.
12. Put a jack under the front sway bar. Then remove the nut from the bottom of the front sway bar (below picture of the sway bar).
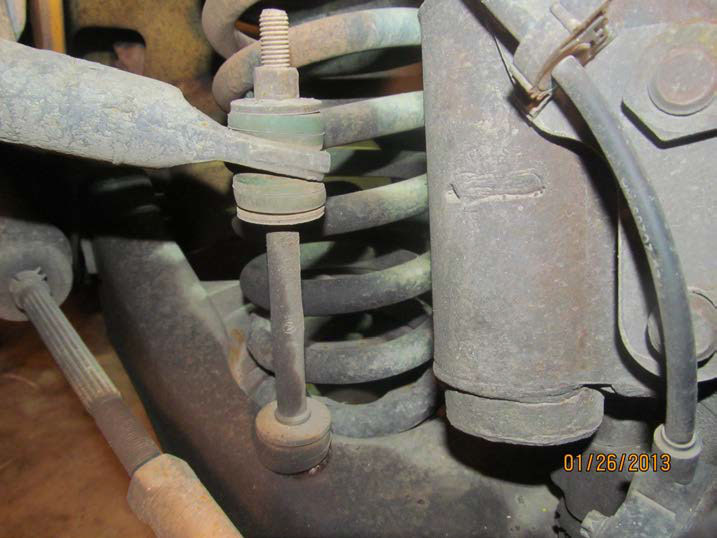
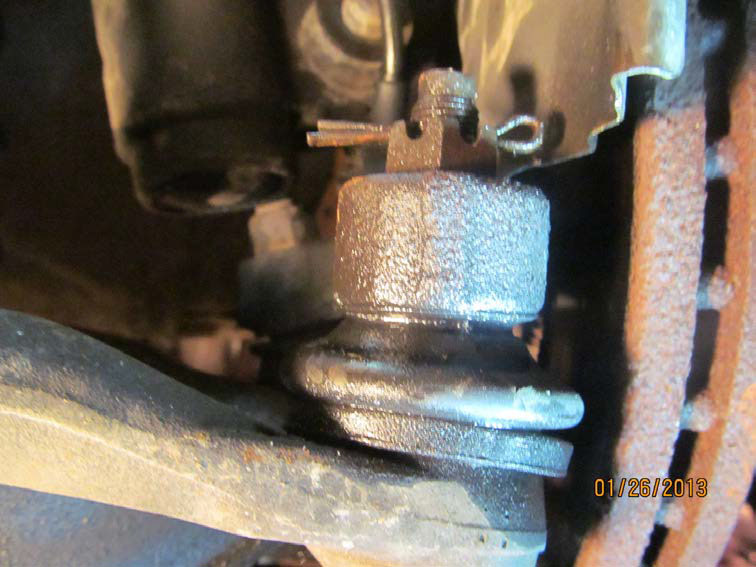
13. You will the need to remove the tie-rod bolt to drop down the tie-rod (nut shown below). You will first have to remove the cotter-pin.
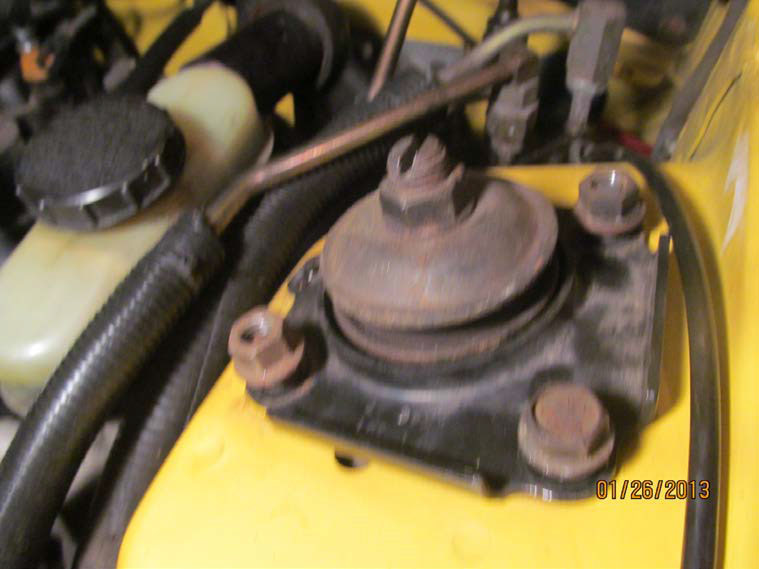
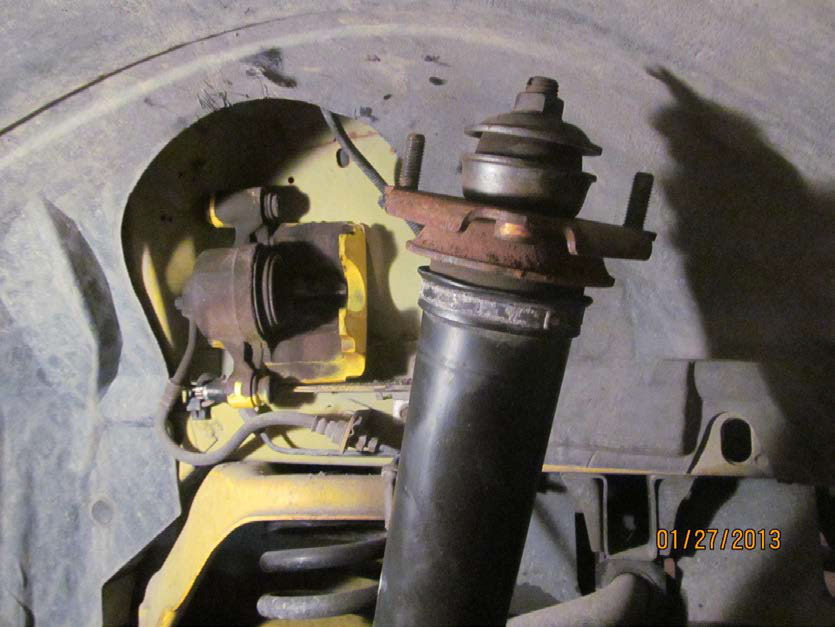
14. Then open the hood and remove the strut assembly bolts and nuts (15mm socket). See below picture for bolts.
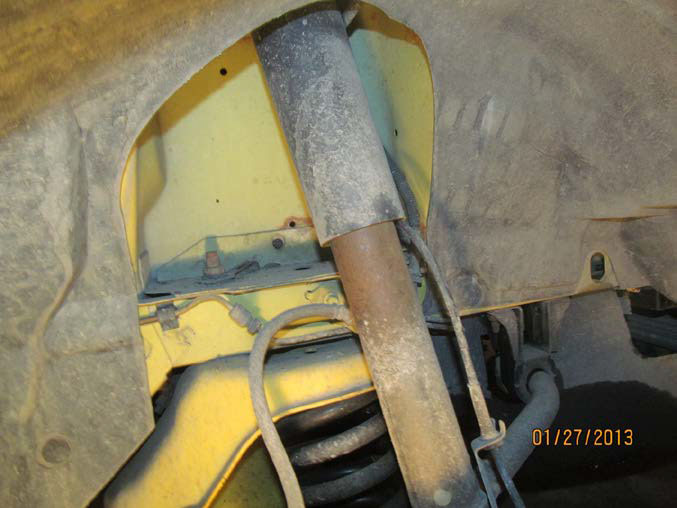
15. After the strut bolts are removed you can slowly start lowering the Control Arm to remove the spring. Thee strut will lower into the fender well. It will drop below the fender well. (strut shown below)
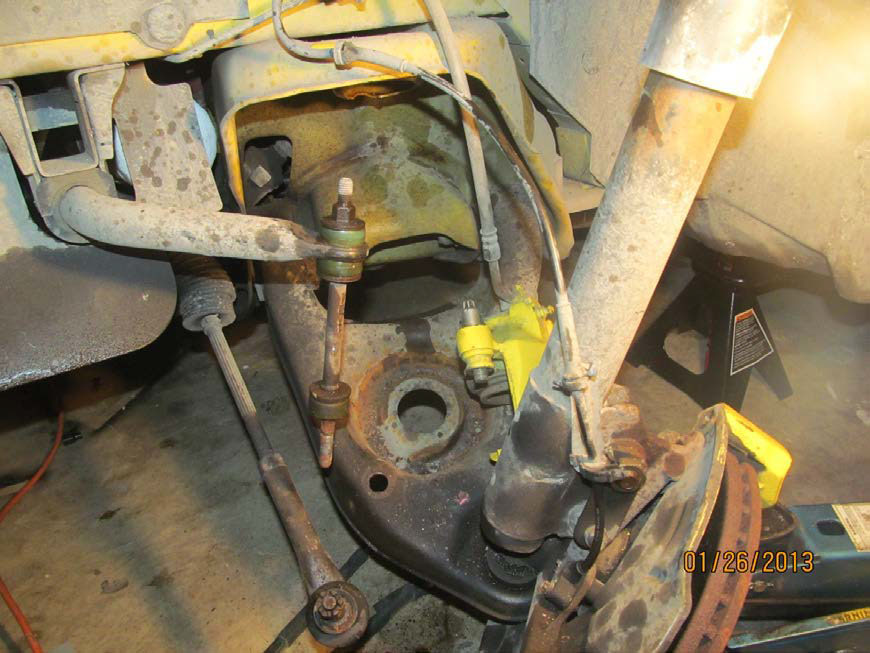
16. See photo below of the Control Arm lowered and tie rod unbolted and sway-bar bolt out of frame.
17. Strut Assembly lowered when tie-rod and sway bar disconnected.
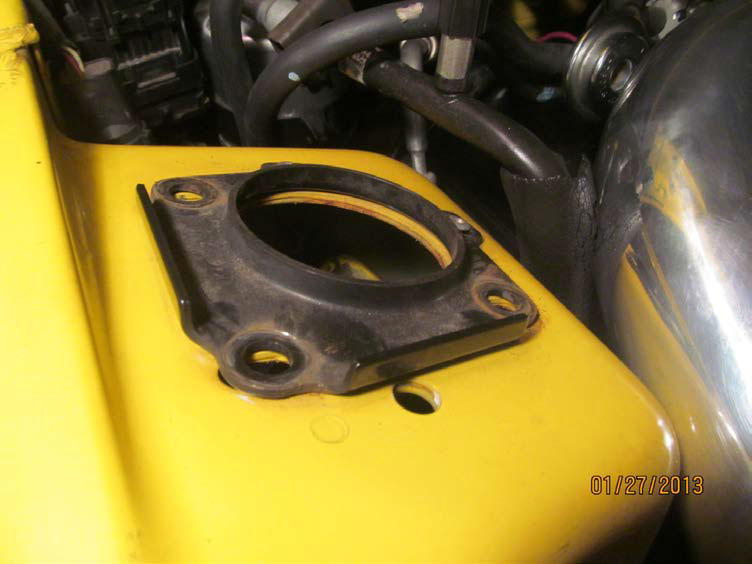
18. Under the hood with strut assembly lowered.
19. Factory front spring and SR front spring shown below
20. Be sure to remove top and bottom isolators to install on new spring or purchase new isolators.
Photo of bottom isolator on factory spring
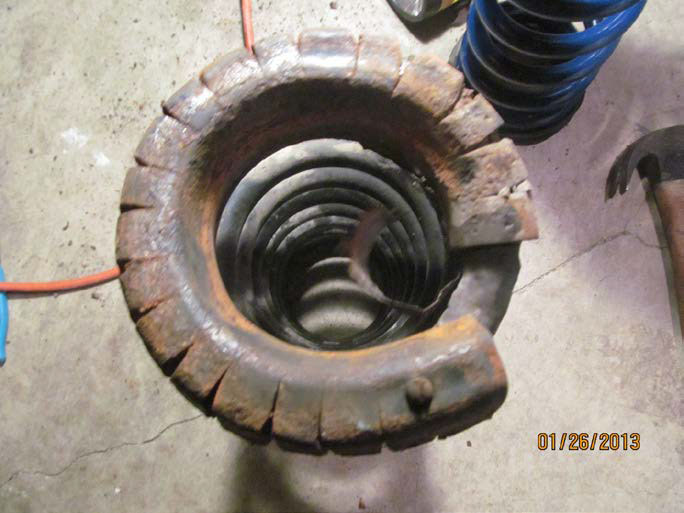
Photo of top isolator on new spring

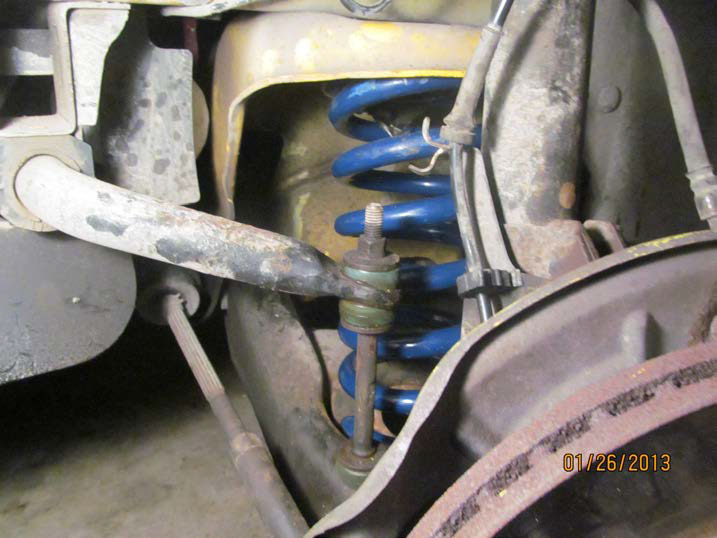
21. Sit new spring on lower base and raise Control Arm to lift up spring. You may need a pry bar to align the sway bar bolt and nudge your spring into the top bracket.
22. Once the spring is lifted into place make sure you install the sway bar washer and bolt, install and tighten the tie-rid bolt (make sure you re-install the cotter pin). Install the strut bolt and nuts in the fender well. Last you will re-install the brake caliper. Make sure you use a C-clamp push your caliper piston back as far as it will go to enable the brake pads to be re-installed (if new brake pads are needed now would be the time to install them). When brake caliper is in place and tight you’re almost done.
23. You can now put your tire back on. Then snug down your lug nut and lower your car. Make sure you tighten your lug nuts once the car is lowered.
Photos of finished product (lowered SR Springs on car)
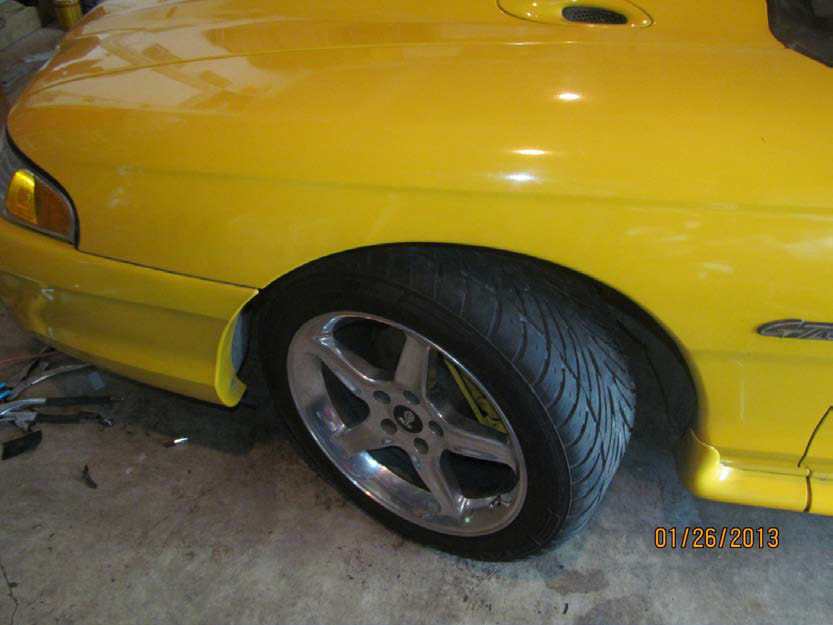


Picture before being lowered with SR Springs: You can see the gap between fender and tire is bigger than after installing SR Springs. Car looks a whole lot better with SR Springs (less gap between fender and tires). I love my SR Springs. Another quality American Muscle product. Enjoy your new SR Springs.

Installation Instructions Written By AmericanMuscle Customer Jeffery Pritt 2013

