 FREE 1 to 3-Day Delivery on Orders $149+ Details
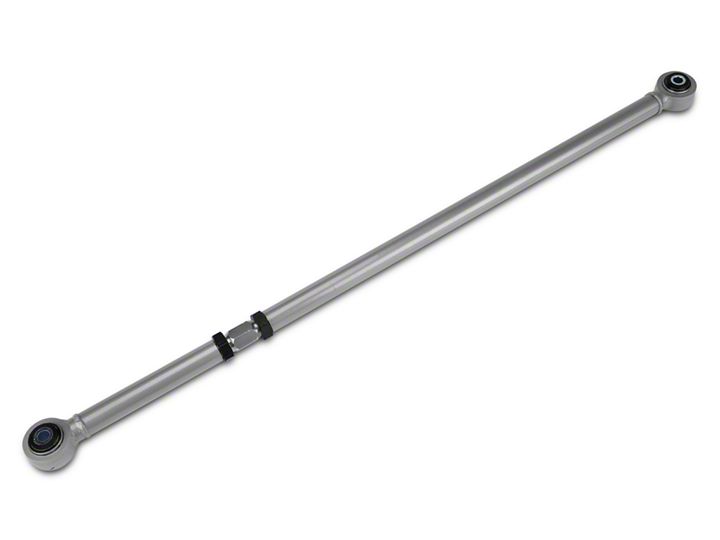
How to Install Whiteline Panhard Bar - Adjustable on your Mustang
Installation Time
1 hours
Tools Required
- 1/2” Drive Torque Wrench
- 1/2” Drive 21mm, 19mm, 18mm, 15mm, Wheel Lock (if applicable)
- 1/2” Drive Socket Wrench
- 18mm Box Wrench
- Rubber Mallet
- Small and Large Pry Bars
- Adjustable Wrench
- Loctite
- Lithium Grease
- Floor Jack and Jack stands
- Drive on Ramps
- Wheel chocks
Shop Parts in this Guide
NOTE: Removal of wheels is not necessary. I did so to use air tools, and for installation of other aftermarket components afterwards. Items Highlighted in bold are the only tools necessary to do the job without removing wheels.
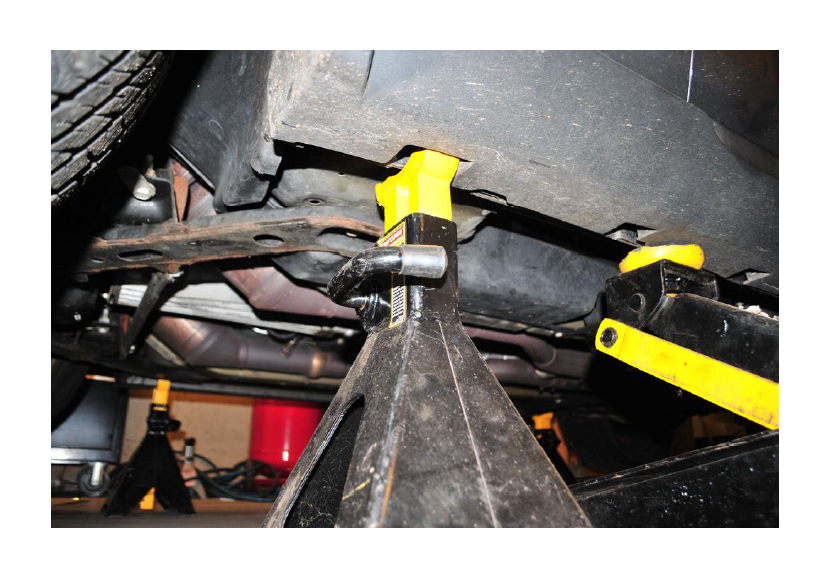
Lifting Vehicle
1. Place wheel chock in front of front wheel(s).
2. Carefully place your floor jack underneath the rear differential. Be careful to not damage the face of the diff cover with the jack cup.
3. Once the vehicle is off the ground, locate the openings in the rocker covers exposing the jacking points on the pinch welds, and place jack stands here.
4. Carefully, and slowly lower the vehicle on to the jack stands. Remove floor jack.
5. Give the car a good push side to side to ensure its seated correctly.
Removal
1. Removal of rear wheels is entirely optional to you. It will give you more space, and allow you clearance to use air tools if you have access to them.
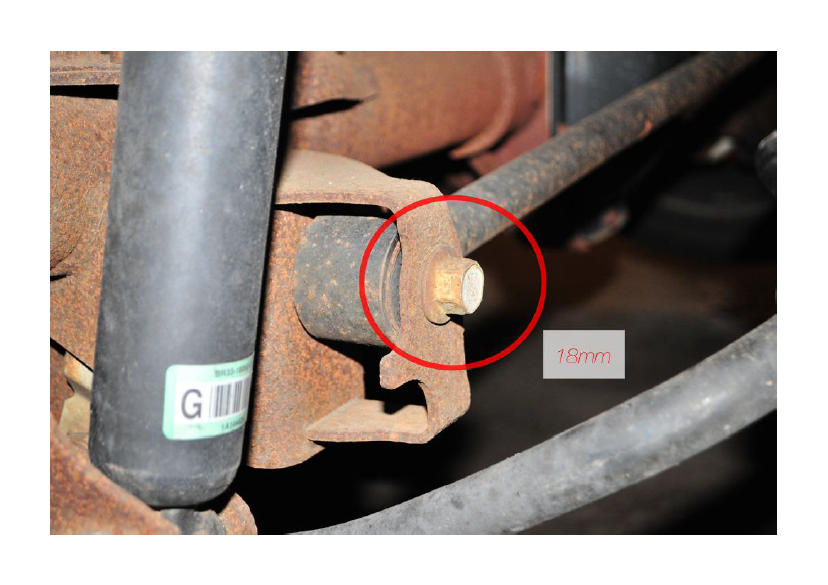
2. Locate and remove 18mm bolt/nut on the driver side of vehicle and save them. You will be reusing all factory hardware for this installation. (Note: Some vehicles may have a cap over this. Mine did not)
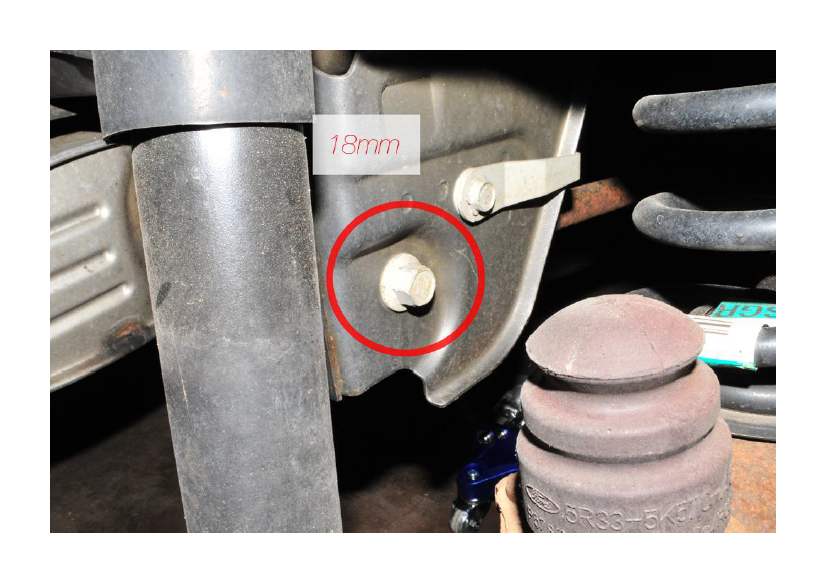
3. Locate and remove the 18mm bolt on the passenger side.
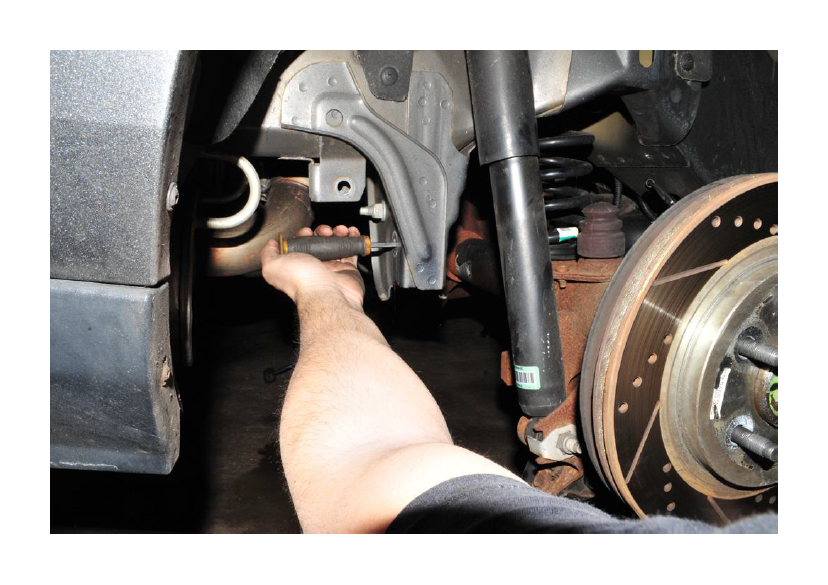
4. Now with both bolts removed insert a pry bar between you and the end of the panhard bar, and carefully pull back towards you to pry the panhard bar down and out. It should fall right out.
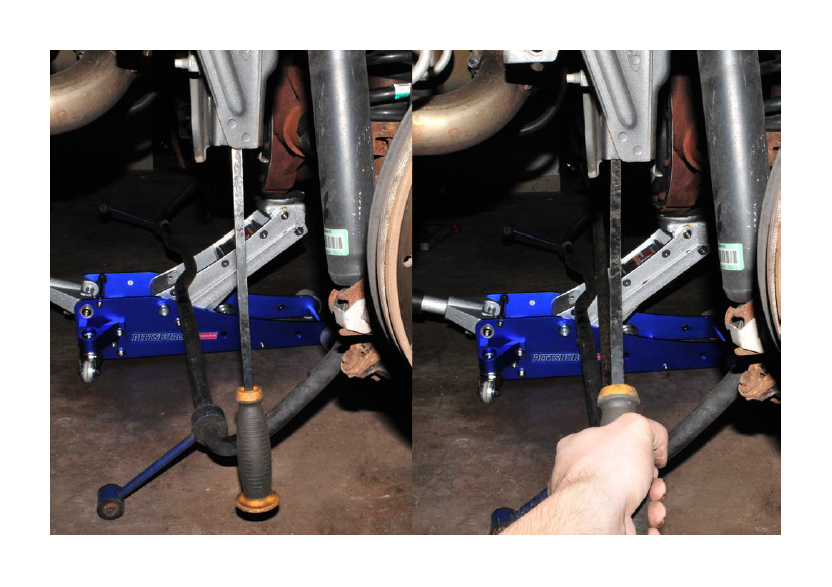
5. Remove stock Panhard Bar from vehicle.
Pre Installation
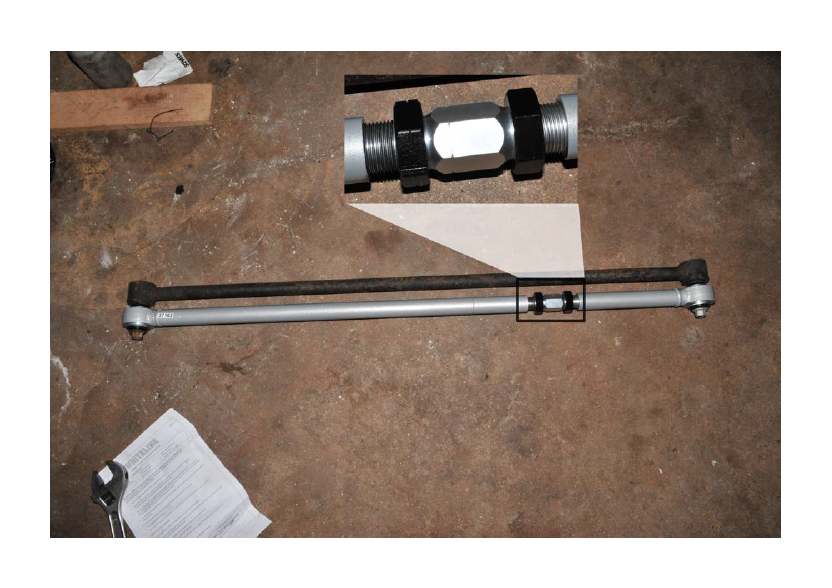
1. Take the stock bar and place it above the new bar. Now, making sure there is an equal amount of threads on both sides of the adjustable nut, adjust the new bar until it is the same length as the stock one. (Note: Little trick to make it easier, put the stock bolts you removed through the holes at each end as shown in the photo below.) Now Apply loctite to the exposed threads and tighten the jam nuts by hand. You will tighten these down once the bar is on the car. Once tightened remove the bolts.
Installation
1. Install new bar in to car, starting with the driver side first. For easier installation, I recommend putting some Lithium grease on the bushings along the outside faces of the bushings. Only use LITHIUM grease, as chassis lube can prematurely wear polyurethane.
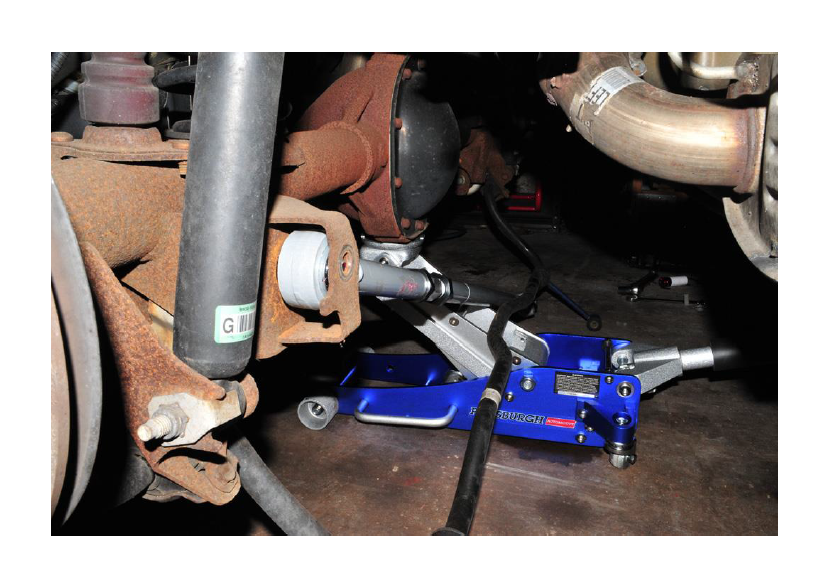
2. Install bolt, and tighten by hand. DO NOT TORQUE yet.
3. Once driver side is secure, install passenger side into bracket. If you're having difficulty pushing it in, use a rubber mallet to lightly tap it in.
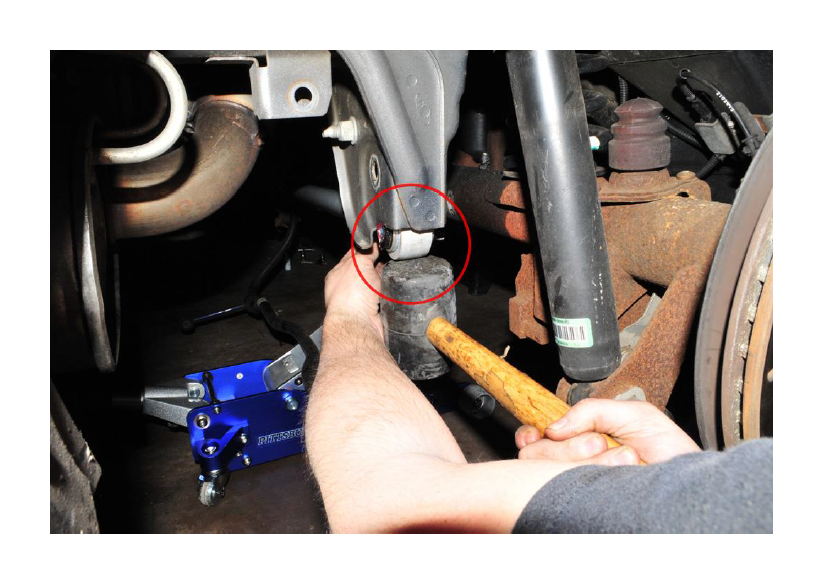
4. Once the bar is completely in, if bolt hole is not lined up enough to fit the bolt, a trick is to use a small pry bar, or screwdriver to pry it in to place.
5. Insert bolt and tighten by hand. Now torque both bolts to 129 lb/ft. If you matched the new bar to the stock bar as shown above you shouldn't need to measure the difference to adjust the rear end. Using a adjustable wrench, or a 38mm wrench tighten the jam nuts firmly down.
6. Check your work, and reverse listed steps to lower the car.
7. Go out for a drive and enjoy your new MUCH more rigid Panhard Bar!

