 FREE 1 to 3-Day Delivery on Orders $149+ Details
How to Install Ford Radiator Overflow Tank (01-04 4.6L) on your Ford Mustang

Shop Parts in this Guide
Installation Instructions
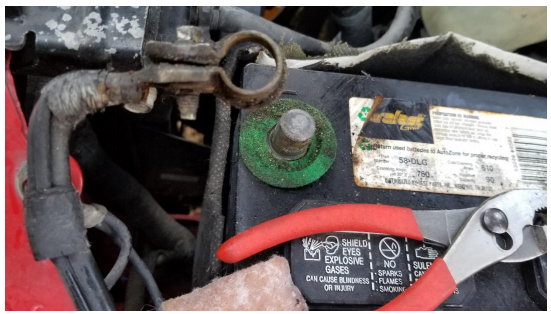
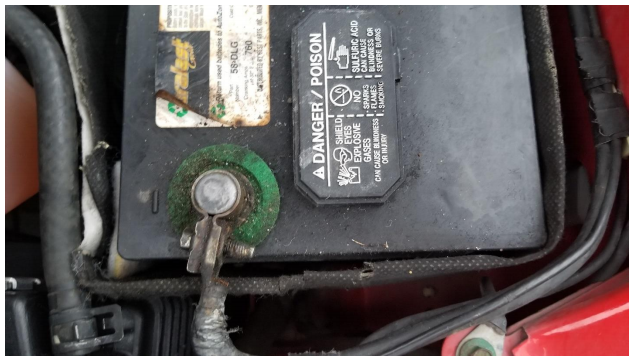
1. Disconnect the negative battery terminal from the car. This will require an 8mm socket to loosen the bolt on the terminal plug.
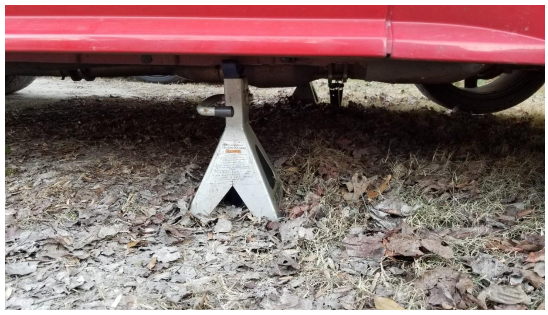
2. (Optional) Raise the vehicle to better access the radiator drain plug which will need to be taken out later.
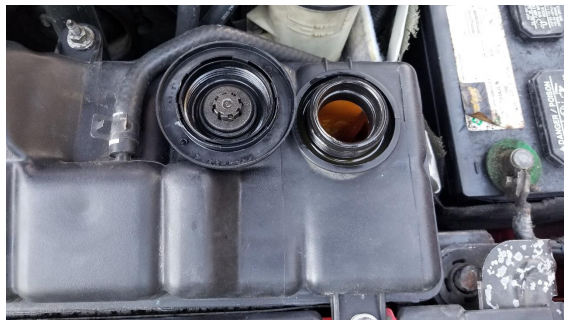
3. Remove the coolant reservoir cap to allow the coolant to drain freely.
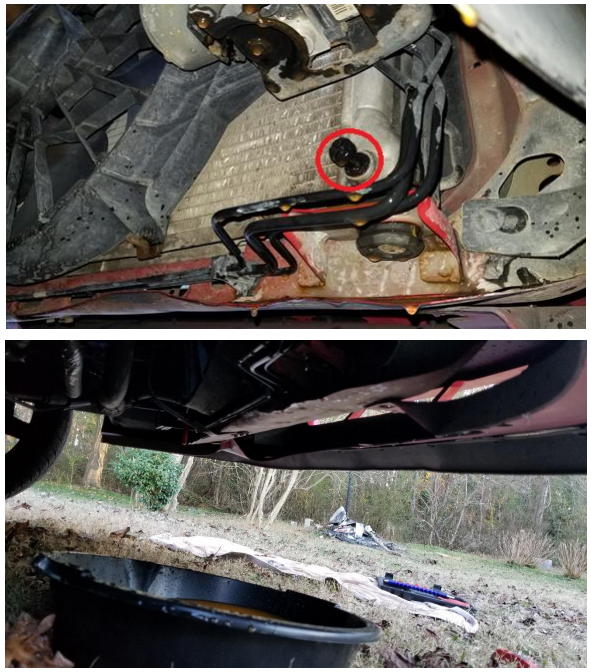
4. Loosen the radiator drain plug (highlighted in red) located on the bottom passenger side of the radiator. You can use either a flathead or a phillip head screwdriver to loosen. It will not pop out all the way but will begin draining. Be sure to use a catch pan to collect the old coolant. After done draining, the coolant reservoir should be empty.
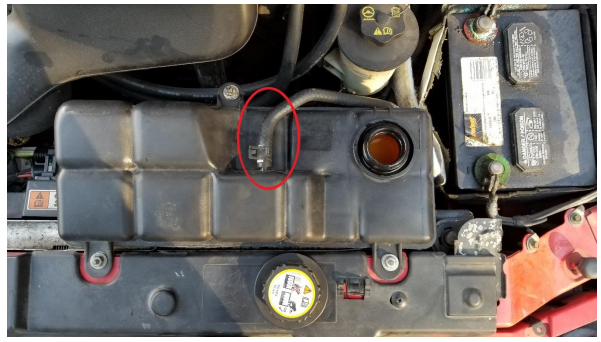
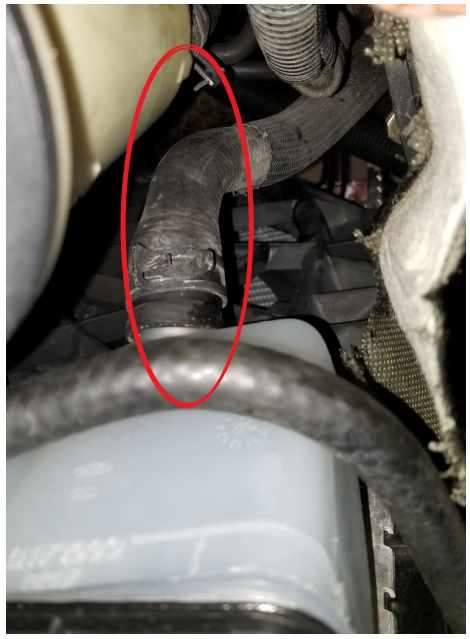
5. Remove the small top hose attached to the top of the coolant reservoir. A pair of pliers may be used to pinch and remove the clamp holding it on.
6. Now remove the second, larger hose located at the bottom driver’s side of the coolant reservoir. A clamp will also need to be removed with a pair of pliers.
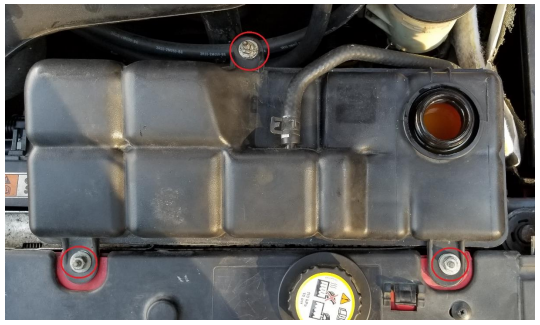
7. Loosen the three 11mm bolts on top of the coolant reservoir with a 1/4" ratchet and remove them. The coolant tank will then pull straight up out of the engine bay.
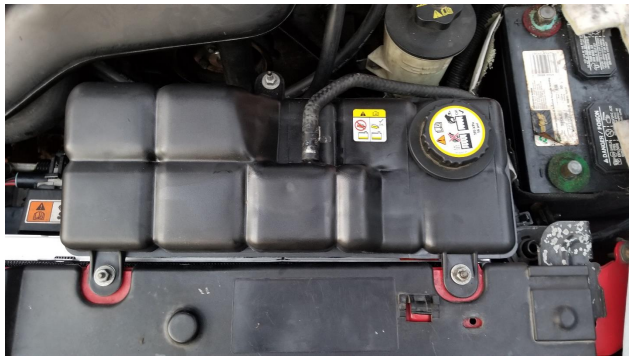
8. To install the new coolant reservoir slide it over the three holes where the bolts were removed earlier. Reinstall the three 11mm bolts and connect the two hoses into the same position. The clamps will need to be pinched again and slid into position at the end of the hose. The tank can now be refilled and reservoir cap reinstalled.
9. Reconnect the battery terminal by tightening the 8mm bolt on the post.
Installation Instructions Written by AmericanMuscle Customer on 1/2/18.
