 2024-2026
 2015-2023
 2010-2014
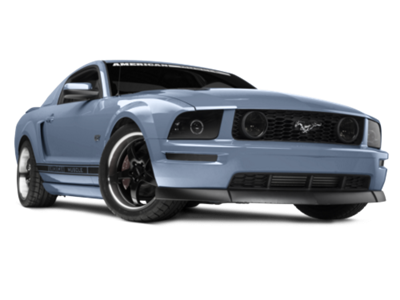 2005-2009
 1999-2004
 1994-1998
 1979-1993


Installation Time
(approx) 1 Hour
Difficulty Level:
Simple installation for anyone.
 FREE 1 to 3-Day Delivery on Orders $149+ Details

Features, Description, Reviews, Q&A, Specs & Installation
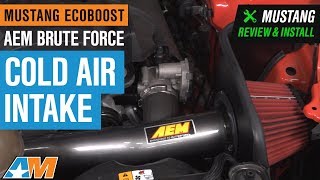
Enhanced Airflow Performance. The AEM Induction Brute Force Cold Air Intake in Gunmetal Gray is designed to improve your engine's airflow, enhancing power and efficiency. It replaces the stock intake system to deliver cooler air to your engine, which contributes to better combustion and increased horsepower. This product is ideal for enthusiasts seeking optimal performance and reliability.
_x000D_Construction and Appearance. The intake features durable materials engineered for longevity and resistance to heat and wear. Its gunmetal gray finish provides a sleek, professional look that complements the engine bay, maintaining superior functionality through precision craftsmanship.
_x000D_Installation. Installation is straightforward and requires minimal mechanical skill. No drilling or permanent modifications are necessary, allowing for a clean and reversible upgrade.
_x000D_Warranty. This product includes a comprehensive warranty to ensure customer confidence and satisfaction.
_x000D_Application. Specifically engineered to fit 2015-2017 Mustang EcoBoost models, ensuring perfect compatibility and optimal performance with these vehicles.
Note: Coupon codes cannot be applied to this product.
CA Residents:  WARNING: Cancer and Reproductive Harm - www.P65Warnings.ca.gov
Installation Info
Installation Time
(approx) 1 Hour
Difficulty Level:
Simple installation for anyone.
What's in the Box
| Year/Model: | 2015-2017 EcoBoost | Filter Placement: | Engine Bay |
| Material: | 6061 Aluminium | Finish: | Gunmetal Gray |
| Manufacturer: | AEM | Computer Tune Required: | No |
Tech Guides:

