 FREE 1 to 3-Day Delivery on Orders $149+ Details
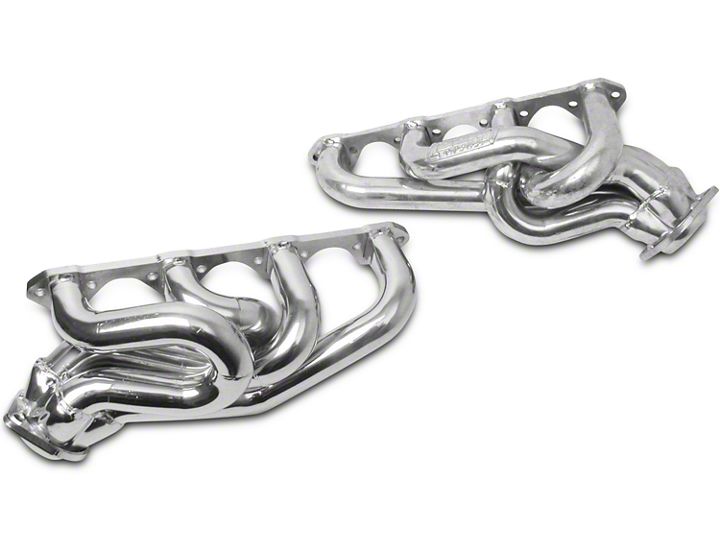
How to Install BBK 1-5/8 in. Ceramic Equal Length Shorty Headers (94-95 GT, Cobra) on your Ford Mustang
Shop Parts in this Guide

Follow these instructions carefully to ensure correct fitment and operation.
STEP 1: Disconnect the negative battery terminal and place the front of the vehicle securely on jack stands.
STEP 2: Remove the hose clamp at the throttle body, unplug mass-air sensor, and remove the 2 screws holding the top of the air box and sensor bracket from the front of the strut tower then remove the entire assembly.
STEP 3: Remove the air-injection routing tubes by disconnecting the 2 vacuum lines at the diverter valves, remove the hose clamps from the back of the air pump and remove the 2 clamps connecting the hoses to the steel lines (near rear of valve cover) and remove the entire assembly.
STEP 4: Remove all of the spark plugs and the dipstick tube. NOTE!!! On (94-95) Mustangs the EGR tube on the passenger side exhaust manifold needs to be removed before removal of the exhaust manifold.
STEP 5: Working from under the vehicle (use caution) remove the nuts connecting the H-Pipe backward a few inches to gain clearance for the header installation.
STEP 6: Remove the stock headers and clean off any gasket material from the gasket surface on the cylinder head. (The exhaust manifolds can be removed the inside of the engine compartment).
STEP 7:
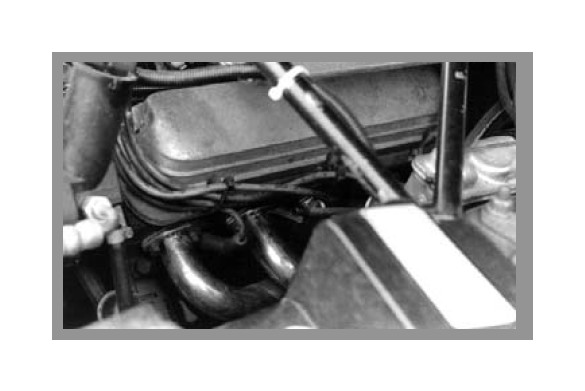
Before re-installing, the dip stick will require clearance.
STEP 8:
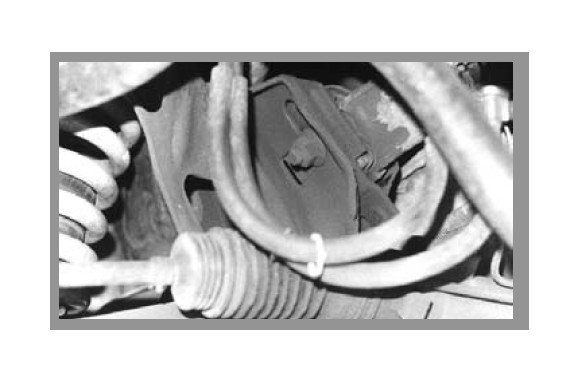
To avoid damage to the header coating or paint in the engine compartment it may be necessary to raise the right side of the engine while installing the passenger side BBK Header. The motor mount is connected to the vehicle with 1 nut, easily accessible from under the front of the vehicle.
STEP 9: Remove the nut and jack up the engine up using a floor jack or hoist being sure to place the jack as not to damage or harm any part of the engine. Once the engine is in the raised position place an appropriately sized block of wood between the motor mount and the frame (this will hold the engine in an upward position in the event of jack or hoist failure).
STEP 10: Set the BBK Header into place and start all the bolts by hand, then lower the engine back into position in the frame, tighten the mount nut to a factory specification. Torque all the header bolts to the Ford specification. NOTE!!! Before tightening the engine mounts make sure the engine is sitting evenly and both studs are all the way through the engine mounts leaving enough clearance between the steering shaft and BBK Header to prevent rubbing and vibrations.
STEP 11: Re-install the spark plugs and wires.
STEP 12:
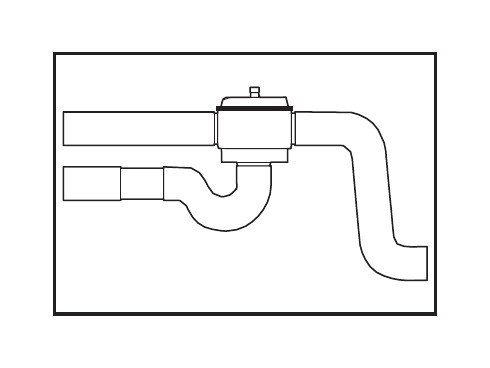
Before re-installation, the air injection tubes must be modified as shown above using the hose and clamps provided in the kit.
