 FREE 1 to 3-Day Delivery on Orders $149+ Details
How to Install BMR Performance Lowering Springs - Front & Rear (15-19 GT w/o MagneRide) on your Ford Mustang
Installation Time
3 hours
Tools Required
- Lift/Jack with Jack Stands
- Impact Gun and/or 1⁄2” Ratchet
- 1⁄2” Extensions (may come in handy in a few spots)
- 3/8” Ratchet
- 3/8” Extensions (may come in handy in a few spots)
- 13mm Socket
- 15mm Socket
- 18mm Socket
- 21mm Socket
- 22mm Socket
- 24mm Socket
- 14mm Wrench
- 17mm Wrench
- Clip Removal Tool
- Deadblow Hammer
- Spring Compressor
- Prybars

Shop Parts in this Guide
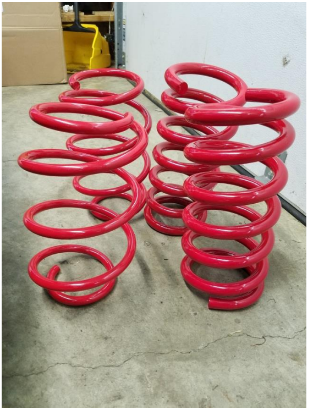
Notes: This install was done with the performance springs from BMR, but install should be the same for the other model springs that they offer. Also note, this install was done on a 2017 performance package GT, so there may be a few small differences here or there, but the same steps exist regardless. All torque specs are listed on the last page for all critical areas.
Front Install
1. First go ahead and pop the hood, jack up the car, and secure on jack stands. Please
ensure the jack stands are in the proper locations.
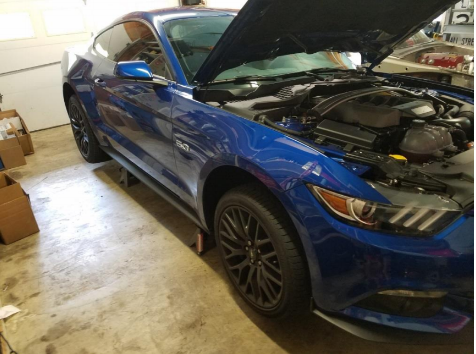
2. Now let’s go ahead and remove all of the wheels. Or you can remove them as you go, no matter.
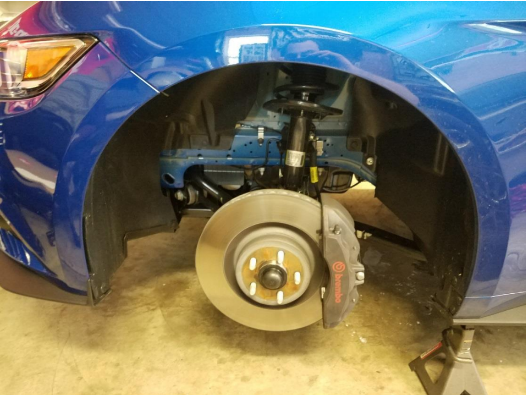
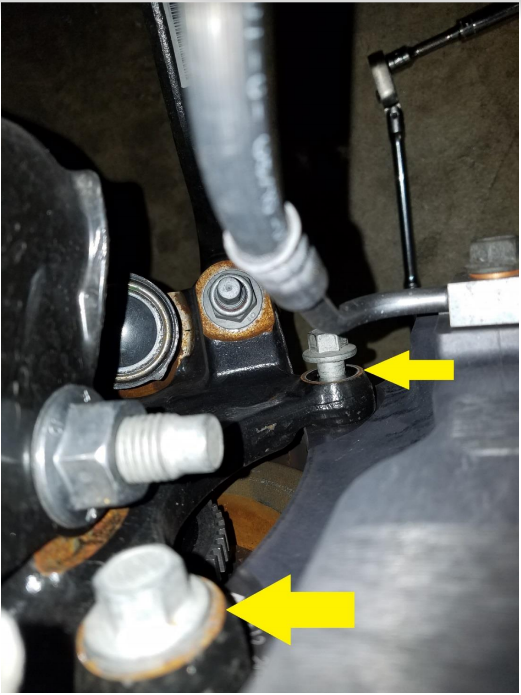
3. Disconnect the end link from the strut body. To do this, you will want to use a wrench
to hold the nut on the backside of the flange it is attached to and then remove the nut facing you. Once removed, push the end link out of the strut flange.
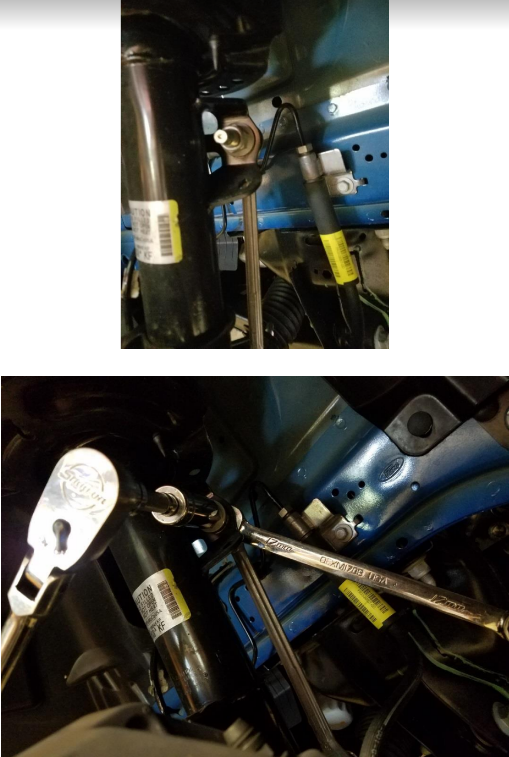
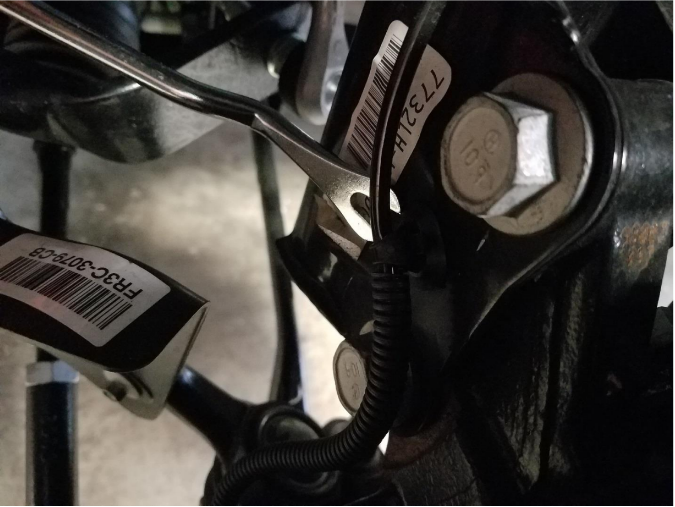
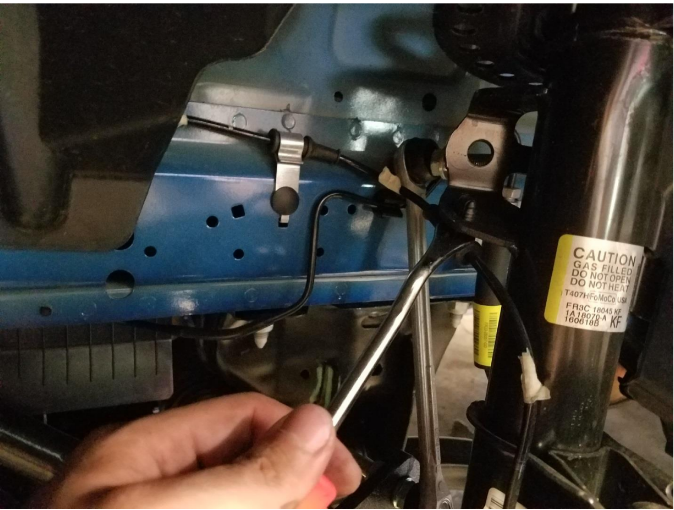
4. Now we want to get the abs harness off of the strut. It has two clips that hold it in place. Using the clip removal tool, remove those. I then routed the harness around the
lower brake/ball joint shield to stay out of the way so it wouldn’t get damaged during
install.
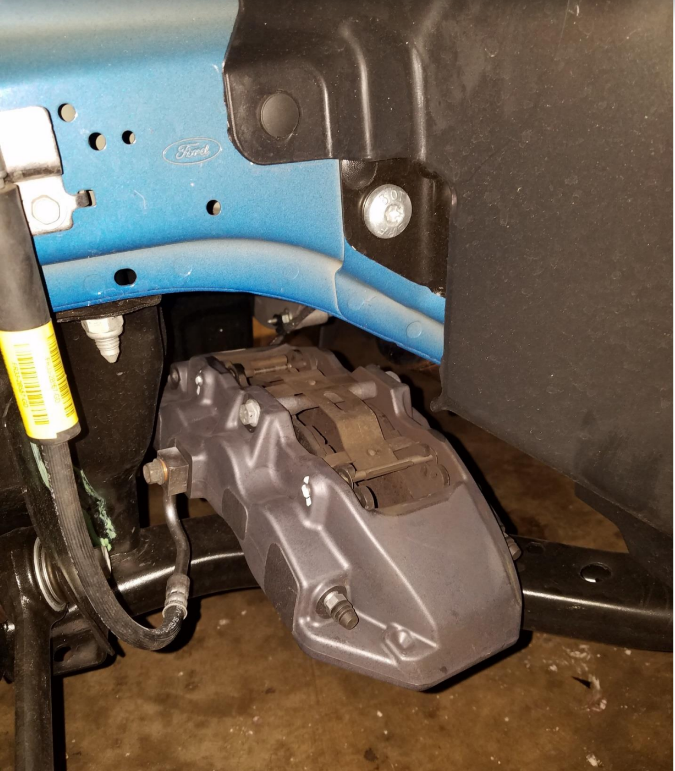
5. Now remove the two bolts that hold on the caliper. It will be on the back side of the
caliper. Once remove take the caliper and set it aside but make sure there is not strain
on the brake line. Setting in on the frame rail worked well for me. Now you will be hammering in the coming steps, so make sure it is balanced where ever it is, or grab
some rope to hold it firmly in place. The rotor also will now be loose with the caliper
removed, so pull it off the studs and set aside.
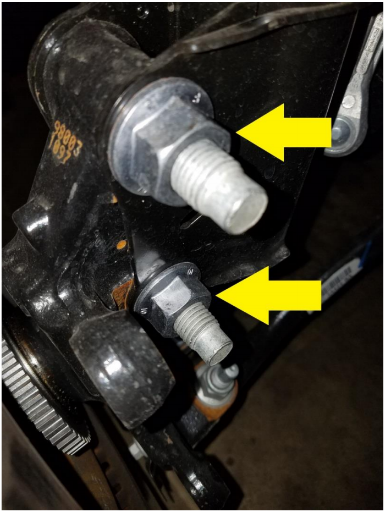
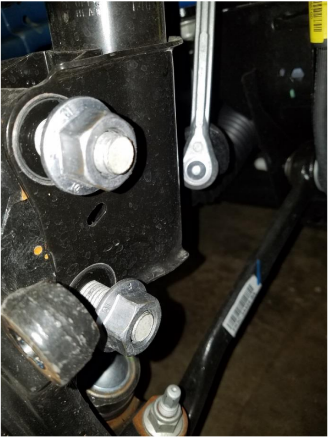
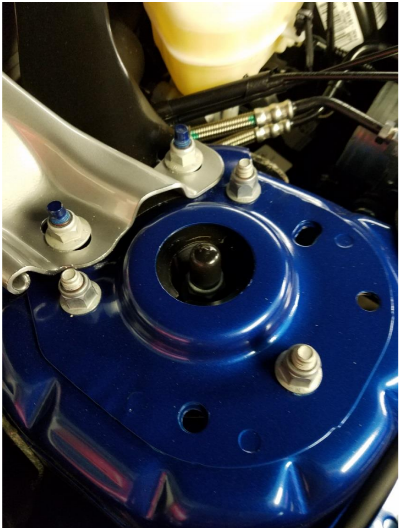
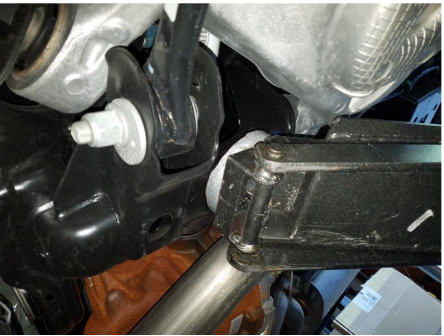
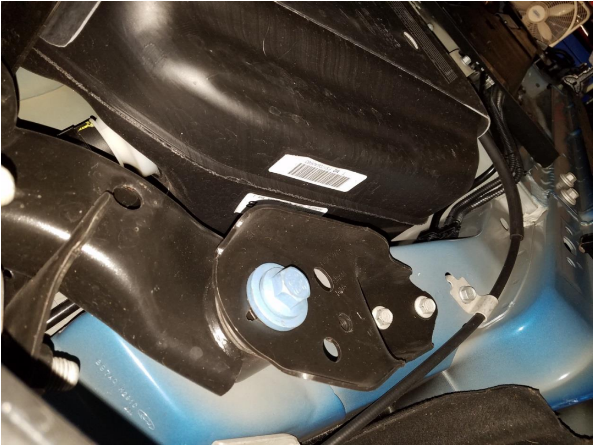
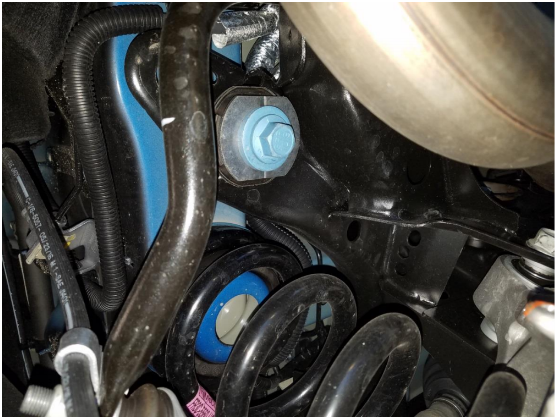
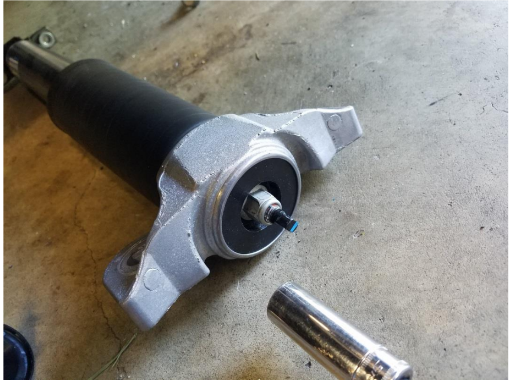
6. Loosen the two strut mounting nuts. But do not remove them totally from the bolts.
The bolts are splined near the head (so they cannot turn), so you must take the deadblow hammer and beat them out. The nuts are there to protect the threads so you
do not damage them. This step can be cumbersome if the bolts don’t cooperate. Sometimes it may be helpful to just barely loosen the top strut bolts in the engine bay
compartment to allow the strut to move some. Eventually they will break free. If you mushroomed the very tips, that’s okay, just file it down before reinstalling.
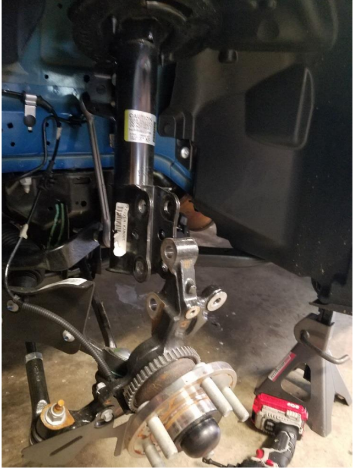
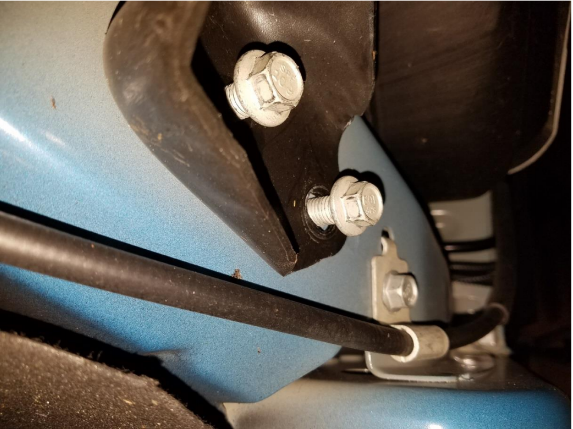
7. Now remove the top 3 strut mount nuts in the engine bay, but leave one of the nuts
barely threaded. You will want to have one hand holding the strut and the other to spin
off the last nut so the strut doesn’t fall into the wheel well and potentially break something.
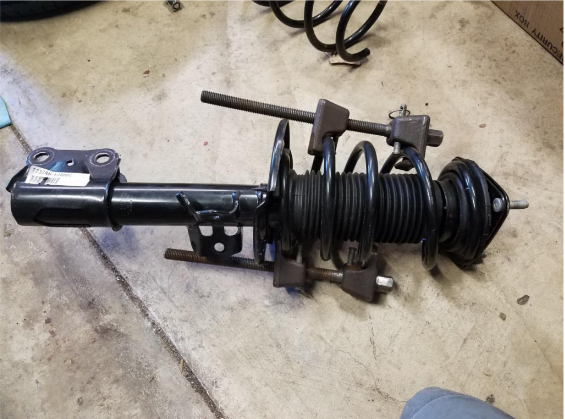
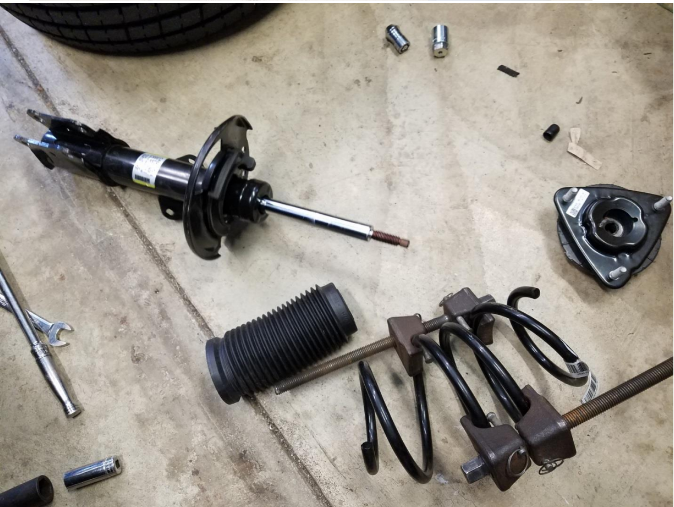
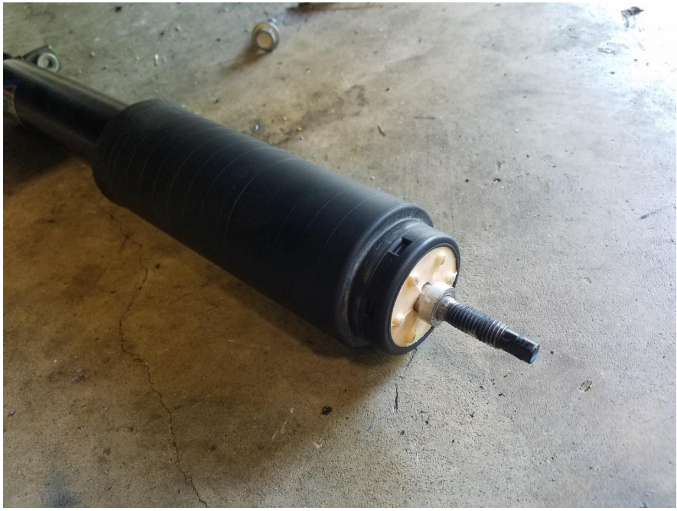
8. Now you will want to use the spring compressor to compress the spring enough to
‘unload’ the pressure off of the top hat to remove the nut. Use caution and if you are not comfortable with a spring compressor seek expertise!
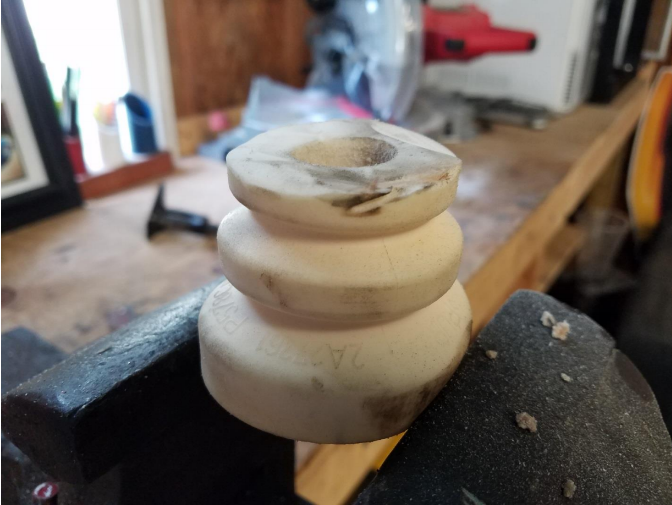
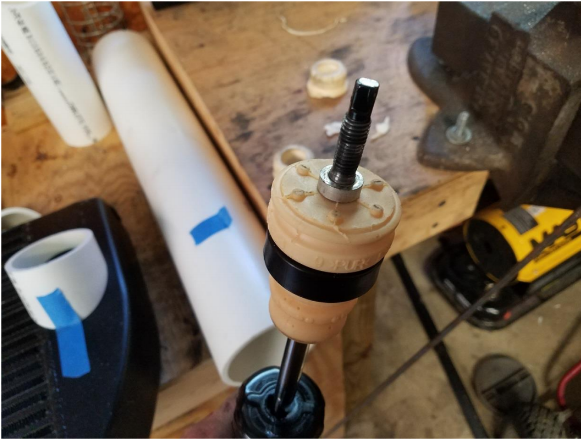
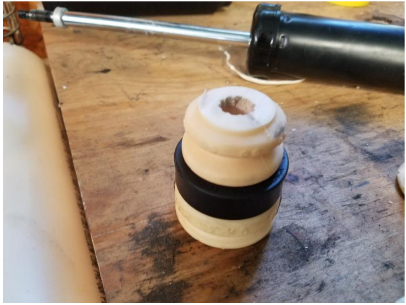
9. Now BMR instructs to cut the oem bump stop down. They want the front bump stops
overall height to be 1 7/8”.
10. Slide the bumpstop and dust boot back on the strut. Then compress the new spring and install it on the strut. Put the top hat back on and install the nut. I found it easier to tighten the nut on the top hat on the ground but to torque it completely when install in the vehicle. Take note that the spring sits properly in the rubber holders in the strut!
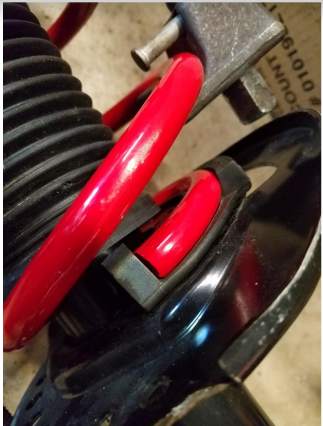


11. Now reinstall the strut with the new lowering spring in reverse order of taking it apart. A little tip once you get to installation of the caliper; the rotor will want to move around on you, so install one lug nut finger tight on the rotor as shown below to hold it in place. Once finished, repeat to the opposite front side.

Rear Install
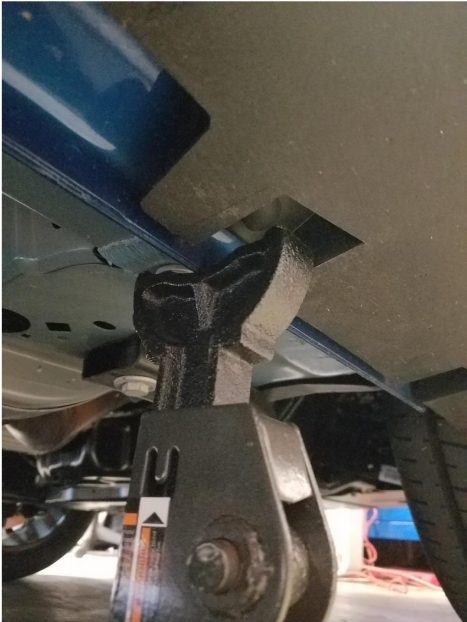
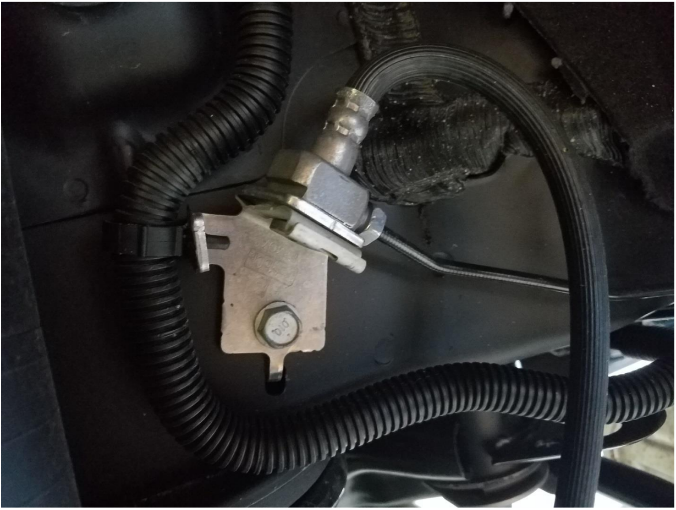
12. To remove the rear springs, we will be dropping the rear subframe, one side at a time. First remove this bolt shown to allow the brake line to move freely and not get stretched when the subframe drops.
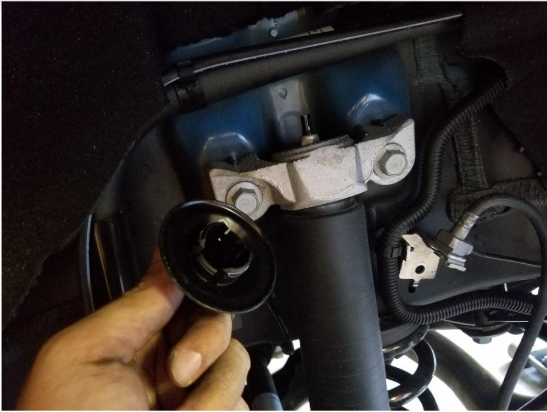
13. Remove the protective cap on the shock. Remove the upper shock bolts, followed by the lower shock bolts, and then completely remove the shock from the car.

Lower shock bolts
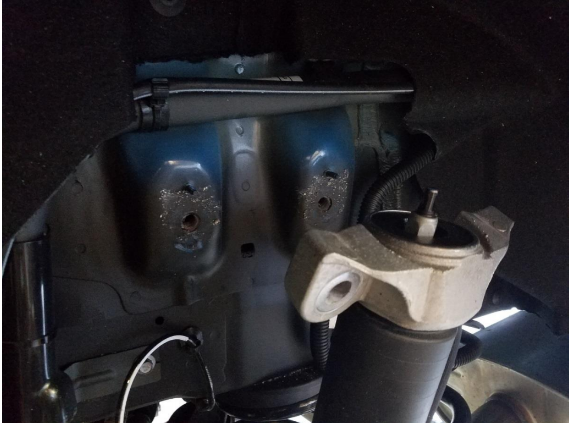
14. Now, place your jack (or a support stand if on a lift) under the subframe as shown.
Then, on the front subframe bolt, loosen (but do not remove) the 2 smaller bolts. This
will hold the bracket from falling down when removing the subframe bolt. Now remove
both front and rear subframe bolt.
Front subframe bolt
Loosened bracket bolts
Rear subframe bolt
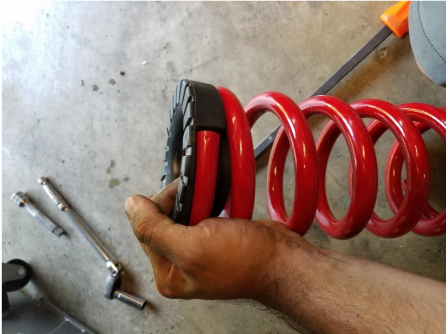
15. Now slowly lower the subframe as far as it will allow. Now using a pry bar, remove the old spring. It can be a bit difficult but if you pry down on the control arm it will allow
enough just enough room to get it out.
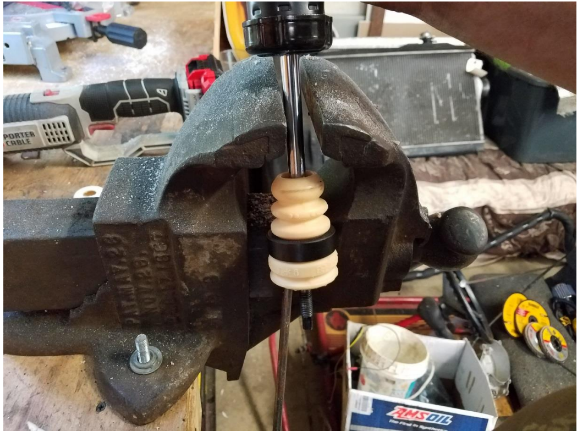
16. Now remove the top nut off of the shock body. Then pull off the top mounting bracket. Slide off the dust boot (the bump stop holds the dust boot in place, so give it a hard pull and it will come free). Then open a vise as shown below and swiftly pull up on the shock to allow the bump stop to slide over the nut. Then cut the bumps top down so its overall height is 2 3/8”. Reinstall the dust boot and snap into the bump stop. Then slide the top mounting bracket back on and tighten the top nut.
17. Once again make sure the spring is properly sitting in the rubber mounts. It may be
easier to install the upper rubber mount on the spring ahead of time and then install on
the vehicle, or leave the mount on the car. If you are struggling getting the new spring
in, try the other method and see if it helps.
18. Reinstall everything else in reverse order. Now is a good time to go back at each corner and double check everything is installed properly and you have no extra parts or bolts. Also a good time to double check everything is tight and torqued. Then reinstall wheels and lower back on the ground. The springs may take a few days to settle, and though some may claim it is not needed, it is wise to get an alignment within a few days of driving (once it seems the springs settled and they won’t get any lower) just to be safe.
Note: I was unable to find the factory specs for the front and rear subframe bolts, but use good reason. They are massive bolts and very tight when being broken loose. If I run across the torque spec I will have AmericanMuscle update this install guide.
Front Suspension Torque
3 upper strut nuts: 46 lb ft
Strut mount to spindle bolts: 184 lb ft
Brake caliper bolts: 85 lb ft
Sway bar end link upper nut: 85 lb ft
Rear Suspension Torque
Shock top nut: 22 lb ft
Shock lower bolts: 35 lb ft
Shock upper bolts: 66 lb ft
Installation Guide Created and Submitted by AmericanMuscle customer, Chris Kalnasy, 8/18/2016
