FREE 1 to 3-Day Delivery on Orders $149+ Details
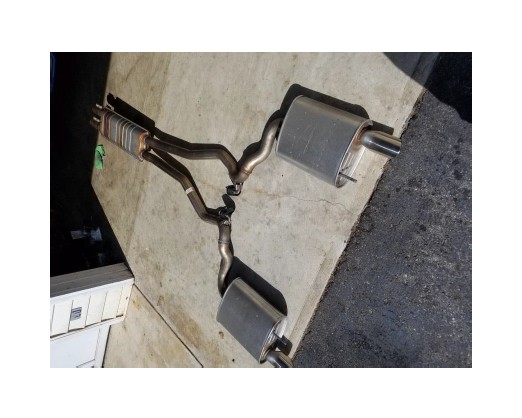
How to Install Heartthrob Cut and Clamp Resonator Delete - H-Pipe on your Mustang
Installation Time
2 hours
Tools Required
- Lift OR Jack with jack stands
- Ratchet
- 13mm Socket
- 15 mm Socket
- Extension
- Flat Blade Screwdriver
- Measuring Tape
- Marker
- Sawzall/Cutting Wheel
- File
Removal Procedures:
1. First go ahead and jack up the car and secure on jackstands. Please ensure the jackstands are in the proper locations.
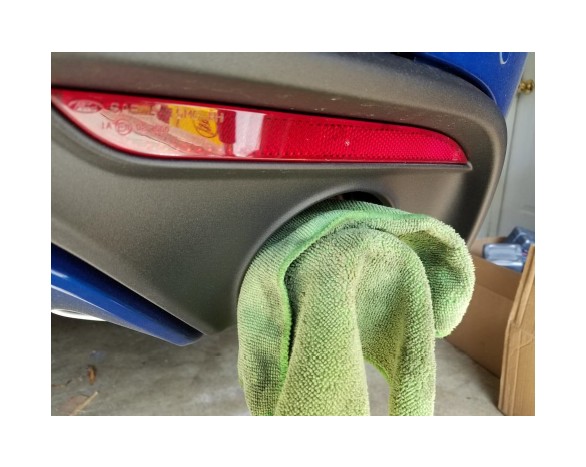
2. Make sure your exhaust it completely cool to the touch. Stuff a few rags above the tips at the back. You will be move the exhaust quite a bit in the coming steps, so this will ensure the tips don’t scratch the black plastic surround trim.
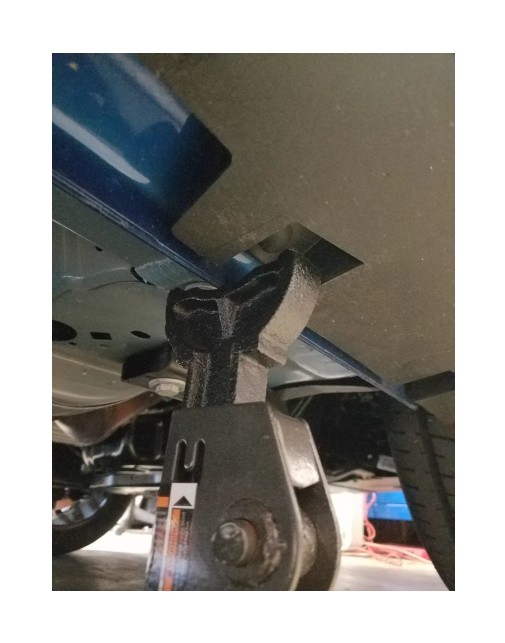
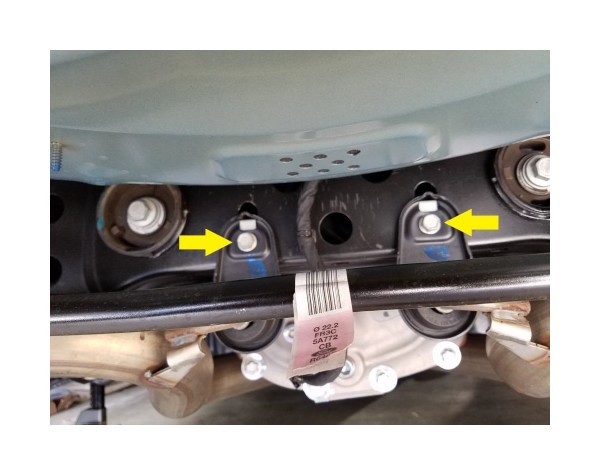
3. Go toward the rear end and remove the two exhaust hanger bolts. The small brackets have hooks on them so you can leave them hooked into the subframe. Just keep it in mind when you are going to remove the entire cat back that you will want to lift up enough for them to pop out.
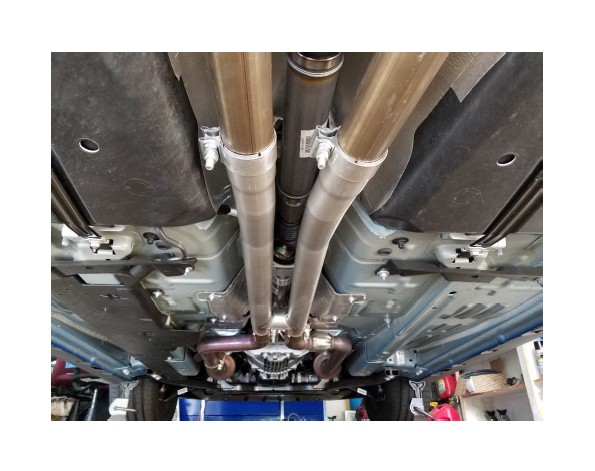
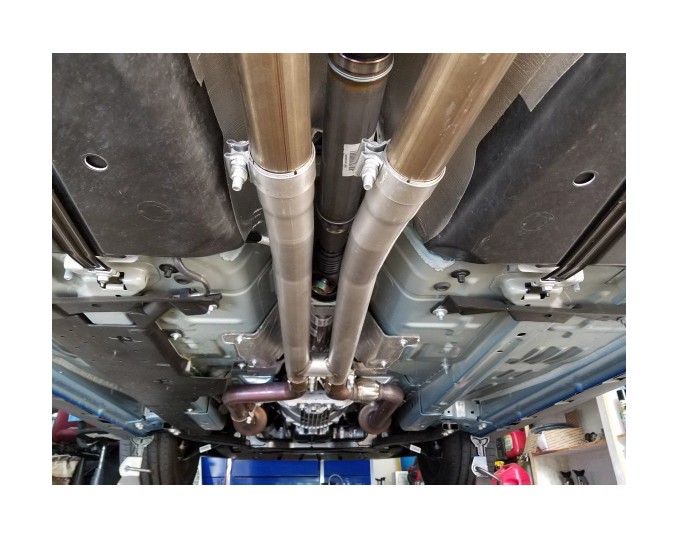
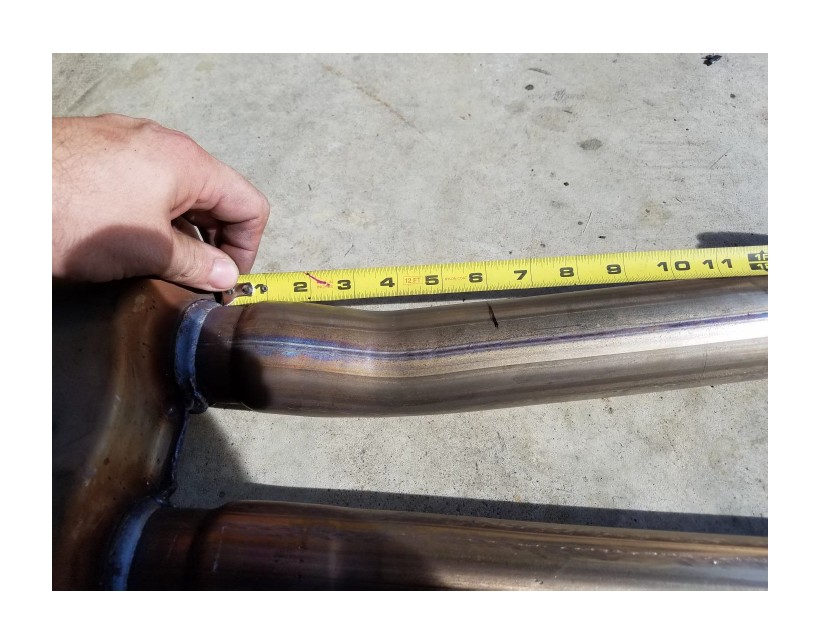
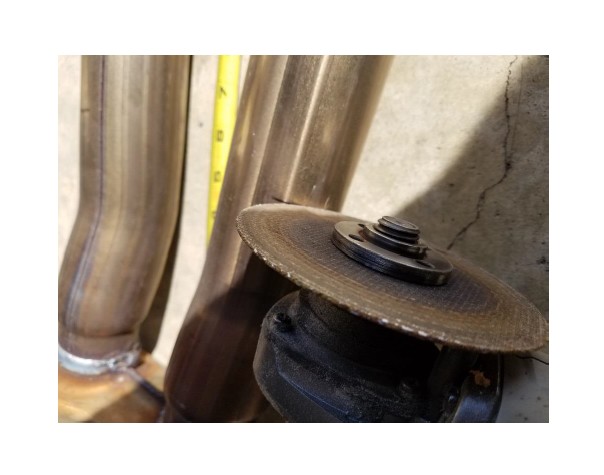
4. Now under the front of the vehicle, locate the front resonator clamps and loosen the nuts. You can leave them threaded on the studs, no need to fully remove. Proceeding forward, realize that the forward pipe (header), resonator, and clamp are all individual pieces. I chose to remove the resonator and clamp together as my clamp broke free from the header first. Once off of the vehicle I removed the clamp from the resonator.

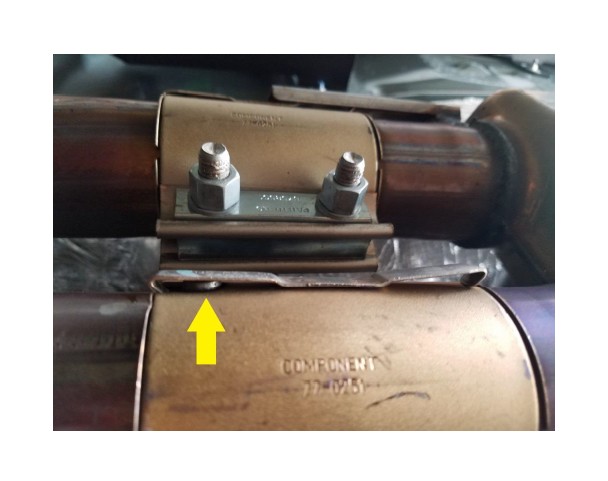
5. Now using the flat head, gently pry the tabs shown so that the clamp can slide over the round nub.
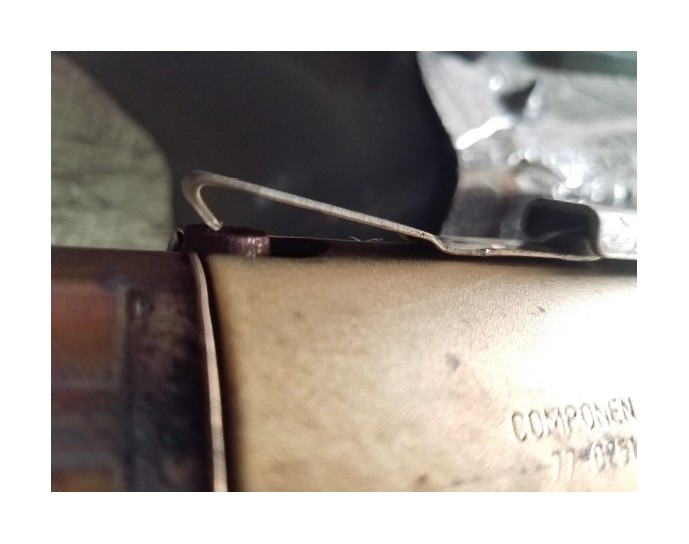
6. Now wiggle and gently pry enough to allow the clamp to slide off of the forward pipe.
7. Now very gently pick up on the exhaust so the middle hangers pop free from their hole (the bolts you removed in step 3). And then pull the exhaust toward the front of the car so it can slide off of the rear hanger under the bumper. Having a second person makes this step much easier.
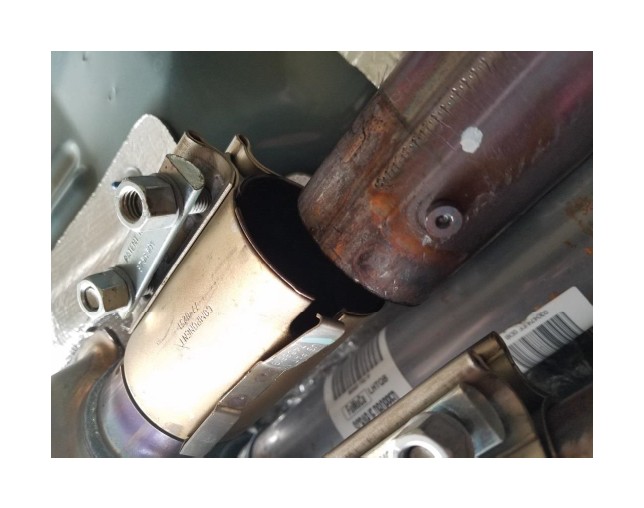
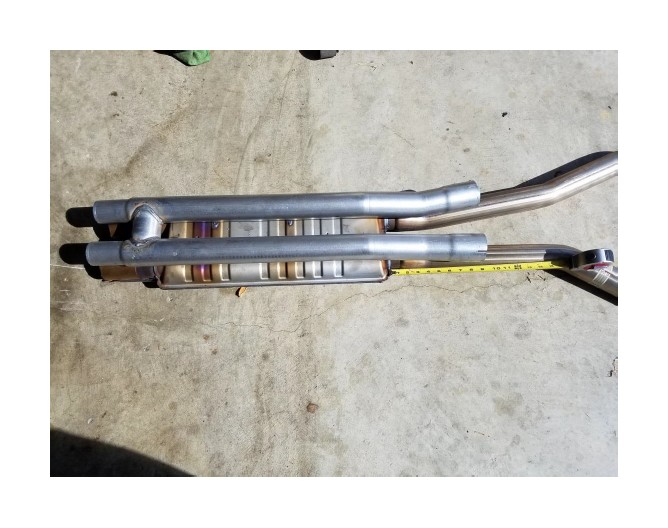
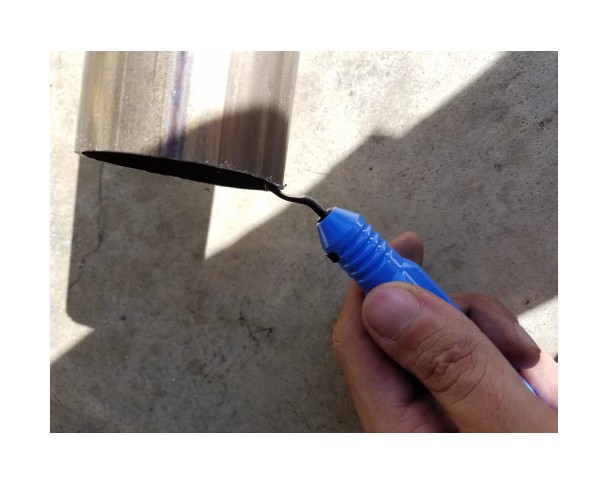
8. Now lay the H pipe on the resonator. You can begin to see where you need to cut the oem piping so it slides all the way into the expanded exhaust pipe section. According to Heartthrob, they want a cut made on both pipes 6” back from the rear of the resonator. I did this and actually found for mine, 6 ½” was needed to allow it to slide back on properly. Cut 6” first and see if that gives you enough.
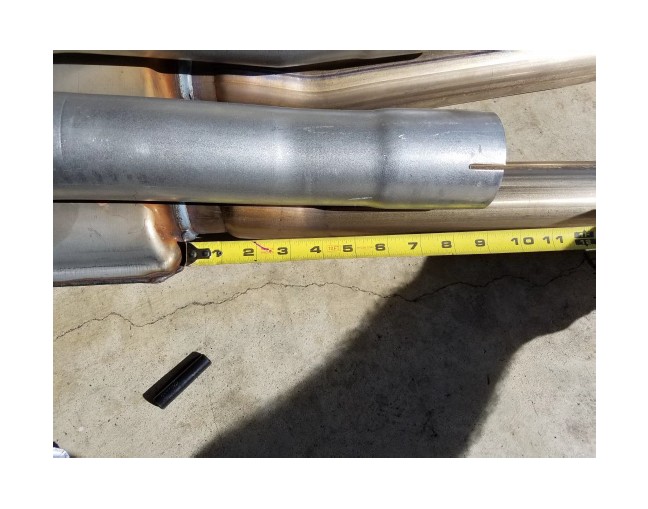
9. There is many different tools to cut the exhaust piping. I personally used a cutoff wheel to make a notch and then used a sawzall the rest of the way. Whichever you method make sure to clean up the burrs left behind with a file or deburr tool.
10. Now you are ready to mount the system back in the vehicle. Once again, this part can be done a few different ways. Either you can mount the resonator in place loosely first and then mount the rear section of the exhaust secondly. Or you can attempt to mount the entire cat back as one piece. Leave everything loose regardless of the method until it is all fitted properly. Make sure to slide the OEM clamps for the front joint of the H swap and new clamps for the rear joint on prior to slipping the exhaust together.
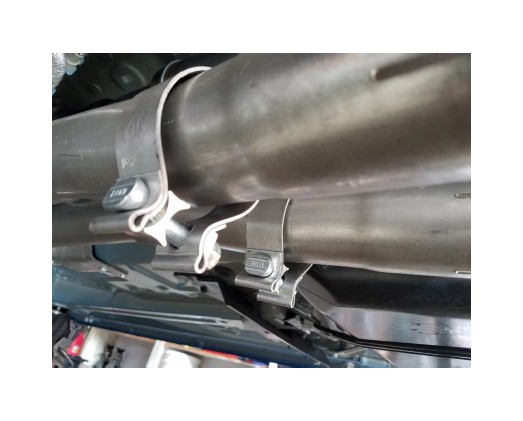
11. Go back and tighten all of the clamps as well as the hanger brackets. Start the vehicle and check for any exhaust leaks. Realize you may have a small odor for a few miles. That is just the new exhaust pipes burning off any grease or oils.