FREE 1 to 3-Day Delivery on Orders $149+ Details
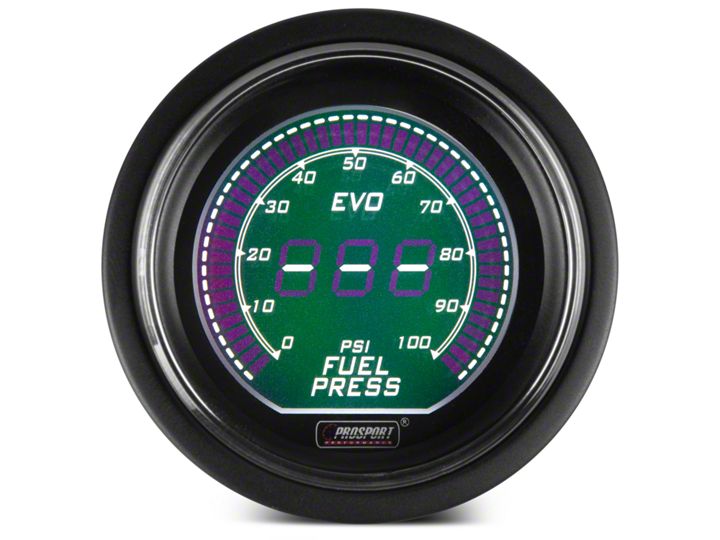
How to Install a Dual Color Fuel Pressure Digital Gauge - Electric, Green/White on your 1979-2015 Mu
Shop Parts in this Guide
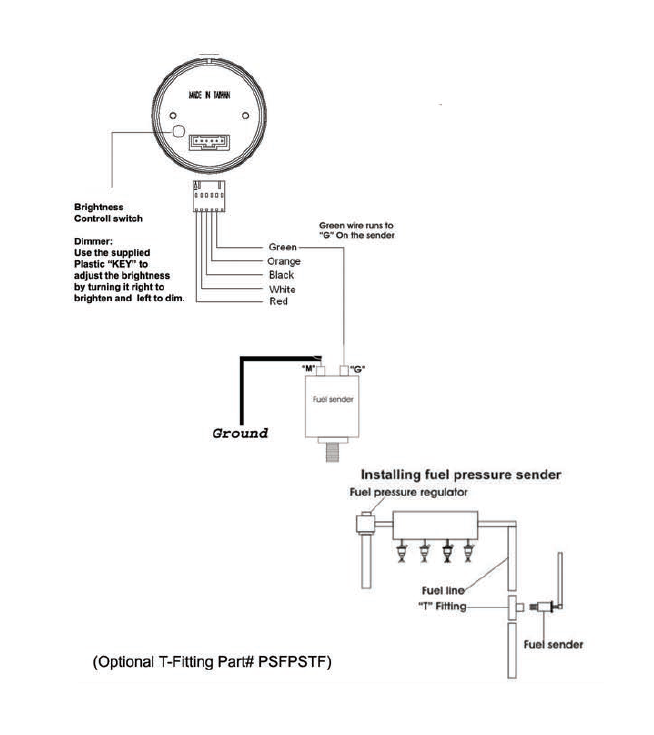
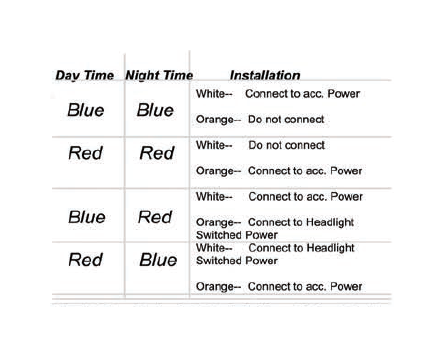
WIRING INSTRUCTIONS
Red Wire- 12v Accessory Power
White Wire- 12v Accessory Power
Black Wire- Ground
Orange Wire- 12v Headlight Switched Power
(This is a power source that only gets power when headlights are on)
Green Wire- Runs to the “G” Terminal on the pressure sensor
Installing the sensor:
You will notice there are two terminal posts on the
pressure sensor. Fuel pressure sender thread pitch is 1/8th NPT
It is suppose to become tighter when installing,
Please do not over tighten the sensor.
“G” is the signal wire (connect Green wire to “G”)
“M” is a ground. Please run a separate ground to this terminal
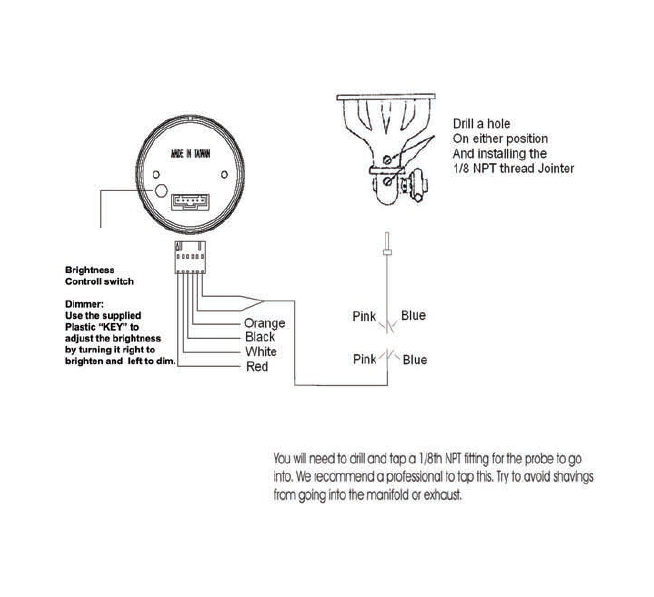
WIRING INSTRUCTIONS
Red Wire- 12v Accessory Power
White Wire- 12v Accessory Power
Black Wire- Ground
Orange Wire- 12v Headlight Switched Power
(This is a power source that only gets power when headlights are on)
Pink Wire- Connects to Pink wire on sensor
Blue Wire- Connects to Blue wire on sensor