 FREE 1 to 3-Day Delivery on Orders $149+ Details
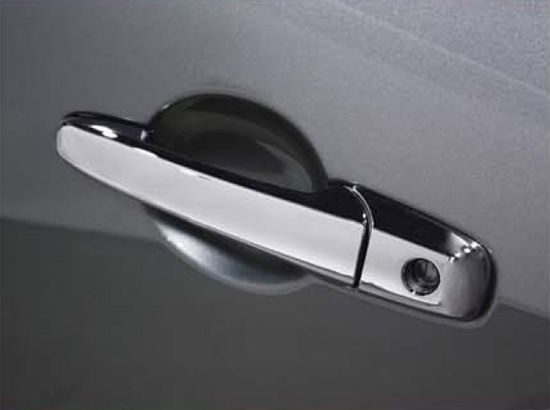
Chrome Mustang Door Handle Covers ('05-'11) - Installation Instructions
Installation
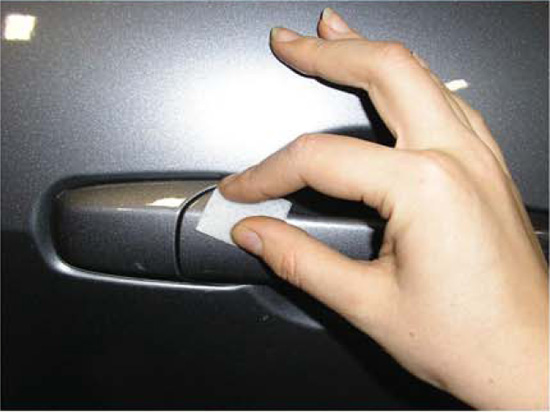
1. Use the alcohol pad included and clean the surfaces where the covers will be affixed to your door handles.
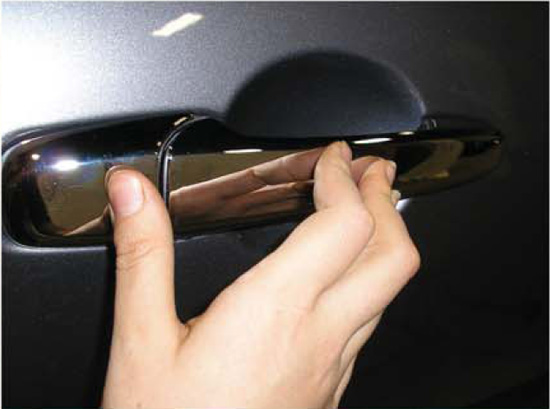
2. Before applying the covers make sure all of the backing is completely removed from the 3M bonding tape.
3. Once the backing tape is removed, position the covers on the handles to insure they are aligned properly. Each handle will require 2 pieces - 1 long piece and 1 short piece.
4. While positioning the trim, take care not to press down very hard on the trim during this step - you will want to be able to easily move the trim if it needs re-adjusting. Note that for the driver's side door, you should use the short piece that has the cut-out for the keyhole.

5. When you feel you have successfully lined the covers up with the form of the handle, press firmly along the entire surface of the covers to ensure a complete and sturdy bond is made with your door handle.
6. Repeat all four steps for the second cover piece on the opposite handle to finish the installation and enjoy!
Installation instructions provided by Manufacturer
