FREE 1 to 3-Day Delivery on Orders $149+ Details
How to Install Steel Craft HD Grille Guard on your Mustang
Installation Time
2 hours
Tools Required
- 15/16” socket
- 5/16” Allen Bit
- 9/16” socket
- 11mm socket
- 18mm socket
- socket wrench
Contents:
(3) - Pulleys
(4) - Allen Head Bolts
It is recommended that you have an additional person available to help during this installation, parts can be awkward to hold and support by yourself. Block wheels and set parking brake before beginning work.
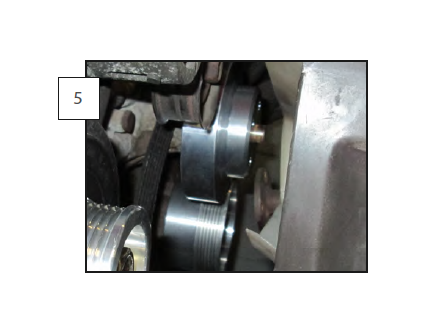
With the belt still attached, loosen the 15/16” nut in the center of the alternator pulley. Leave the nut loose, but in place.
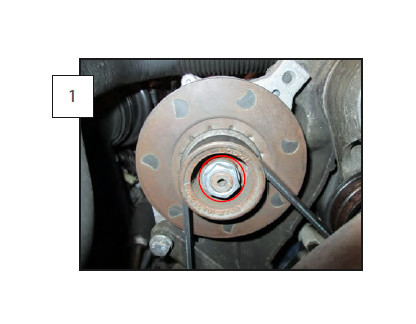
Loosen the (4) 11mm water pump / cooling fan bolts.
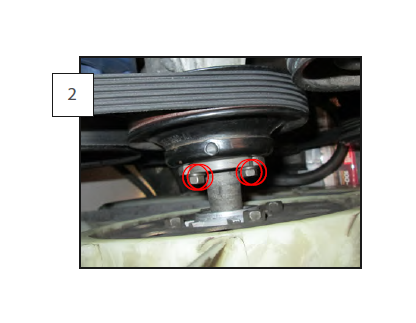
Loosen the (4) 9/16” crank pulley bolts in the crank pulley.
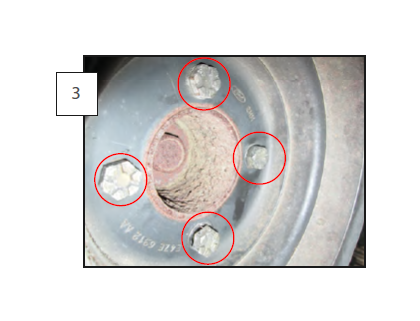
Attach a socket to the 18mm bolt, located in the center of the belt tensioner pulley and turn counter clockwise until the belt can be removed from all pulleys. Remove all hardware that was previously loosened.
Separate the fan from the water pump pulley by pulling it toward the radiator. Remove all 3 stock pulleys, by pulling them toward the front of the car and replace them with the 3 aftermarket pulleys.
The crank pulley will require the use of the (4) 4mm allen bolts included in the kit. Reinstall the fan back onto the water pump pulley and tighten all hardware. Reinstall the stock belt.