 FREE 1 to 3-Day Delivery on Orders $149+ Details
How to Install a Chrome LED Third Brake Light on Your 1999-2004 Mustang
Installation Time
30 minutes
Tools Required
- 10mm socket
- Alcohol for new waterproof gasket

Shop Parts in this Guide
Installation
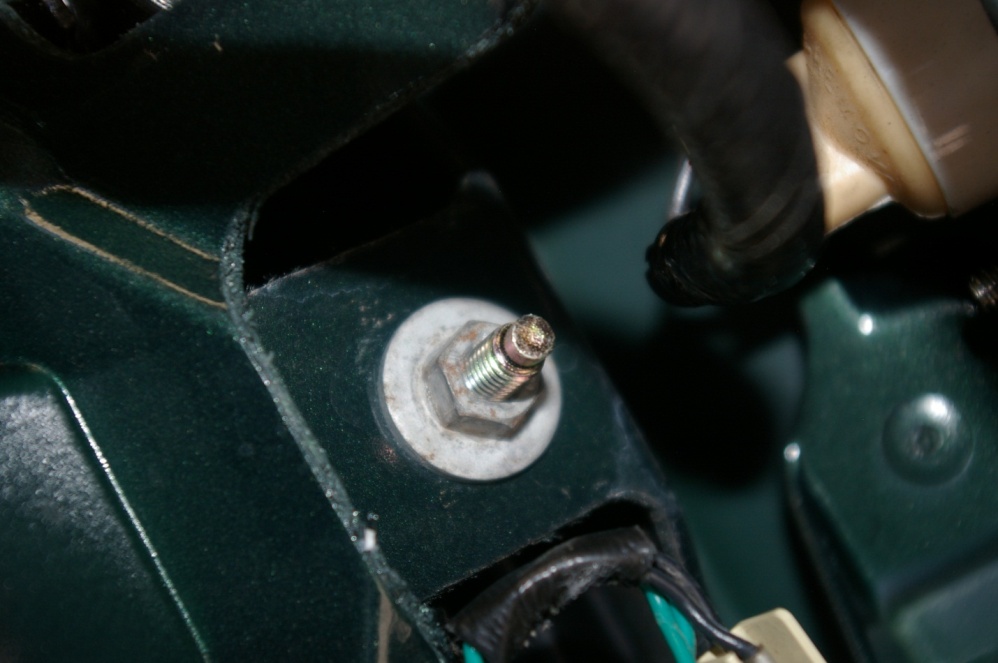
1. Open the trunk. Locate the (2) nuts that hold the 3rd brake light in place on the decklid and remove with a 10mm deep socket. You will need to save these to attach the new 3rd brake light.
2. Lift up the 3rd brake light and carefully disconnect the wiring harness by depressing the tab and pulling out.
3. Remove the brake light by lifting it all the way up.
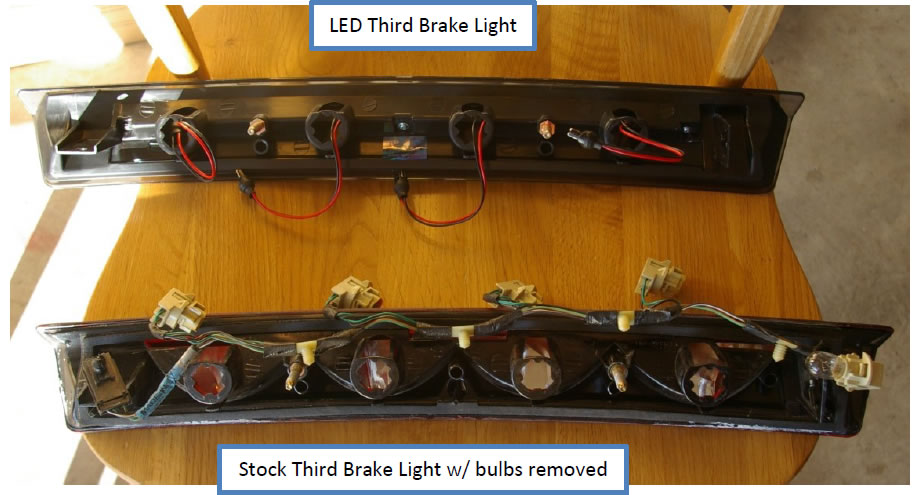
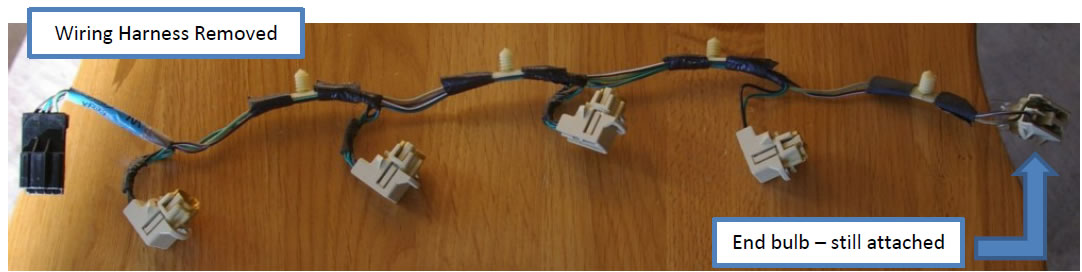
4. Carefully remove the wiring harness from the old light.
5. Remove (4) bulbs, leaving the light bulb on the end alone: this is your trunk light.
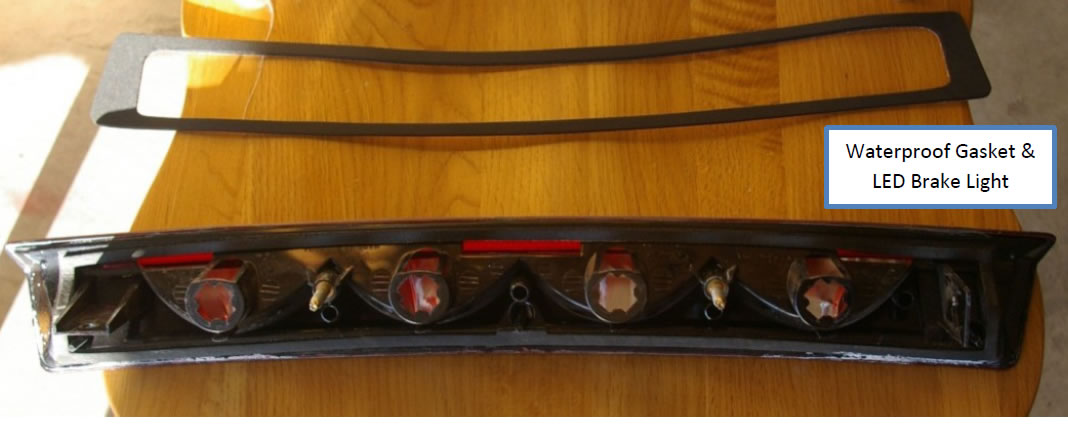
6. With the new brake light ready to go, clean the surface area of the light where the new waterproof gasket is to be attached & install.
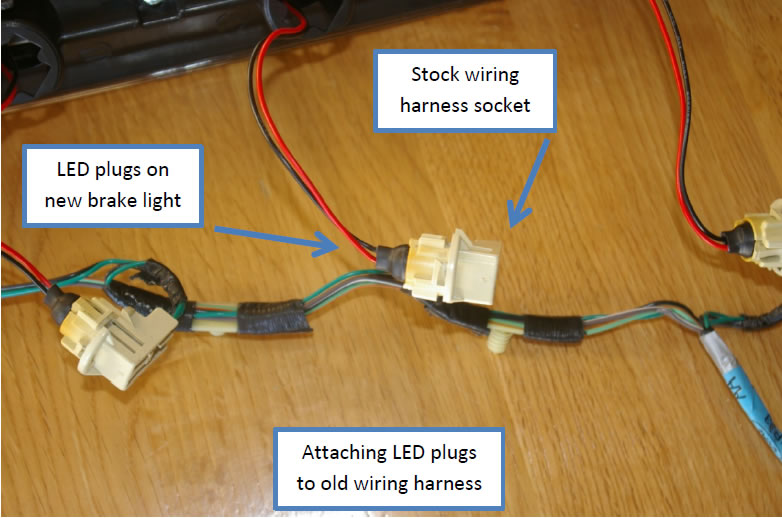
7. Now it’s time to attach the old wiring harness to the new LED brake light. Fasten the last socket with attached bulb to the end of the new brake light. Continue to attach each new LED plug into their corresponding sockets
8. Reinstall the harness into the LED brake light, making sure to tuck the extra wire away.
9. Reinstall the new brake light. This would be an ideal time to test light function before installing nuts.
10. Once everything is working properly, reinstall the (2) 10mm nuts that hold the brake light to the decklid.
11. Last but not least, plug in the connecting harness and you are all set.
Related Guides
-
Installation
-
Installation
-
Installation
