 FREE 1 to 3-Day Delivery on Orders $149+ Details
How to install a Barton Industries Shifter Bracket on your 2011-2012 Mustang
Installation Time
30 minutes
Tools Required
- (1) Car Jack
- (2) Jack Stands
- 10mm Deep Socket
- A long extension
- Ratchet
- Allen Wrench

Shop Parts in this Guide
Installation
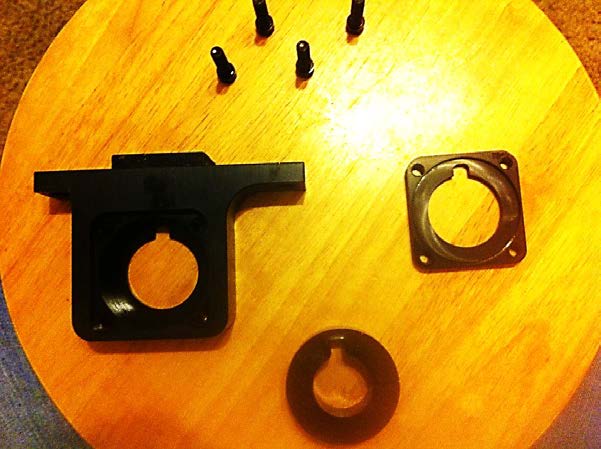
1. Prior to working on the vehicle itself, disassemble the Barton bracket by removing the (4) hex screws. You will have (4) hex screws, the bracket housing, a polyurethane bushing and a tail plate.
2. Jack up the vehicle. Make sure to use jack stands to ensure safety while working under the car.
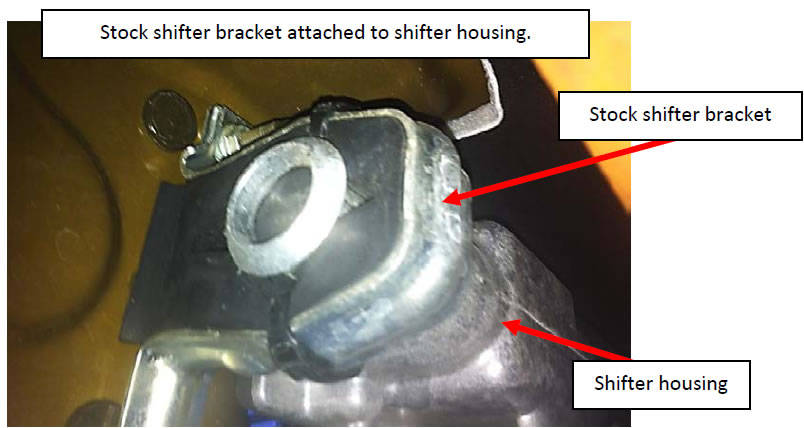
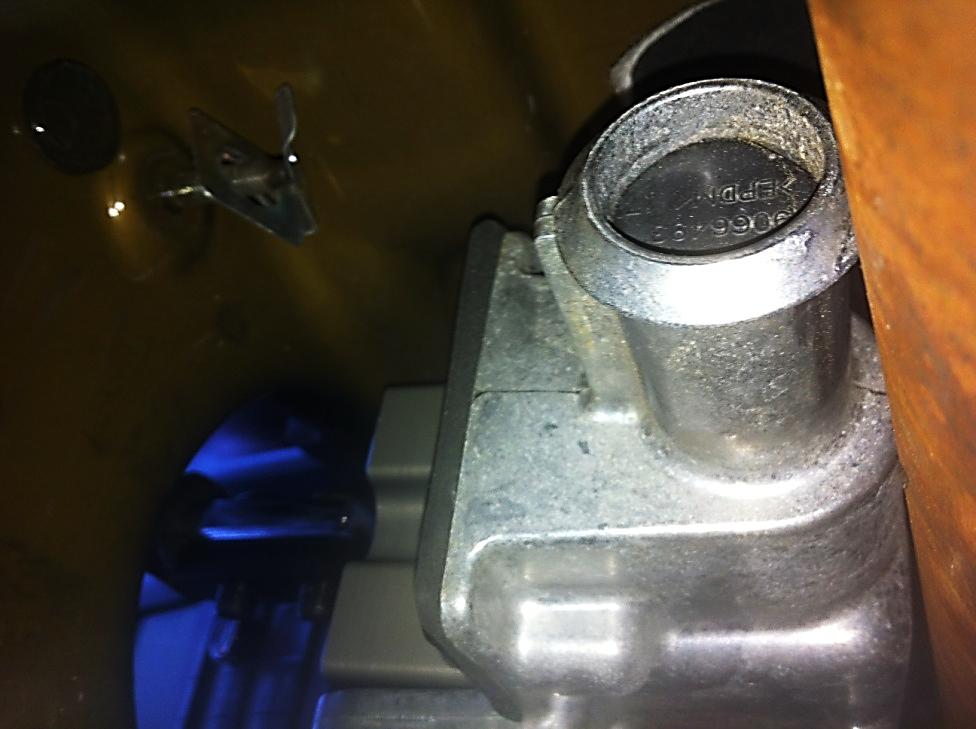
3. Locate the factory shifter bracket. It will look just like the photo above. You will need a 10mm deep socket in order to remove the (2) nuts holding the bracket in place. You might have to tug it a bit for the retaining clip to let it go. Once done, you can pull the factory bracket off the end of the shifter housing. See photo below.
Please Note: If you are installing a short shifter at the same time, now is the time to work on that back inside of the car.
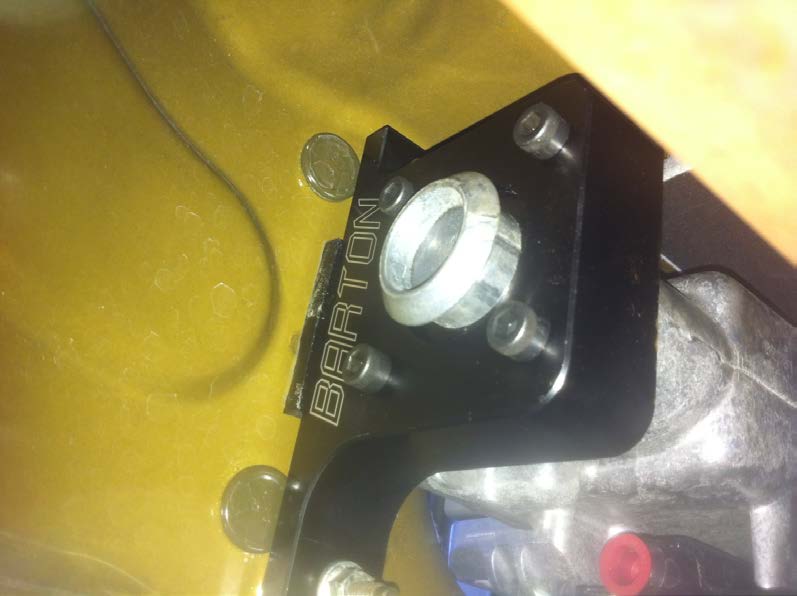
4. To assemble the Barton bracket, first slide the plate onto the shifter housing with the counter bore facing the back of the Mustang. Then install the polyurethane bushing, followed by the bracket itself. Make sure the plate and the bushing are lined up properly. You can also place a small amount of grease on the bushing to prevent any squeaking later on down the road.
5. Use the (4) hex screws to tighten the bracket onto the plate and bushing.
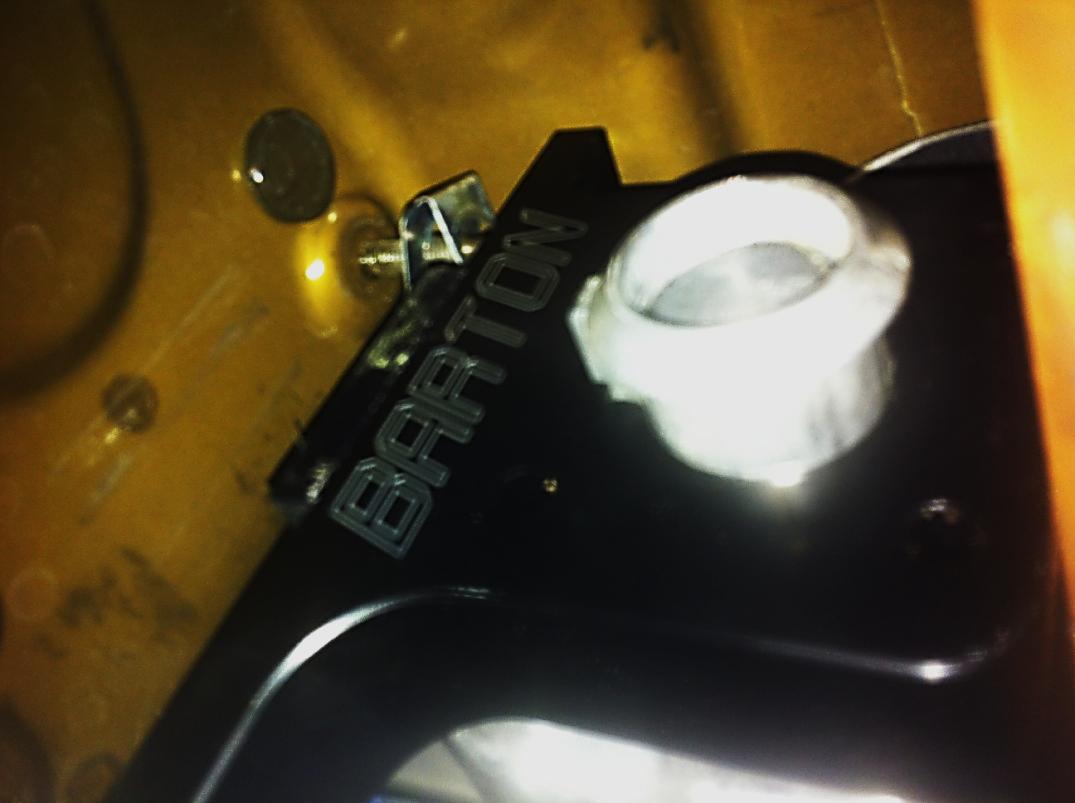
6. Lift up the entire Barton bracket onto the (2) studs and reinstall the (2) 10mm nuts using the deep socket.
7. Remove jack stands, lower car, and enjoy better shifts with your new Barton bracket.
Installation Instructions written by AmericanMuscle customer Ricardo Iglesias 3.9.12
