 FREE 1 to 3-Day Delivery on Orders $149+ Details
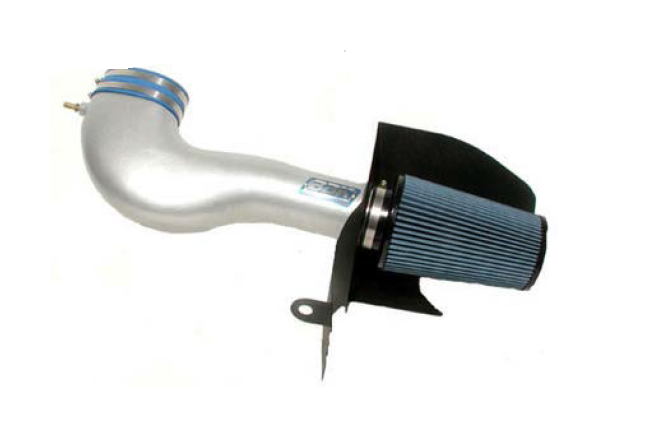
How to Install BBK Black Out Cold Air Intake on your Mustang

Shop Parts in this Guide
Follow these instructions carefully to ensure correct fitment and operation.
STEP 1
• Disconnect the negative battery terminal.
STEP 2
• Unplug the mass air meter by sliding the red colored locking clip back, and the squeezing the tab on the connector while pulling it from the mass air meter.
STEP 3
• Separate the PCV tube from the side of the inlet hose by twisting the green locking clip while pulling it away from the inlet hose.
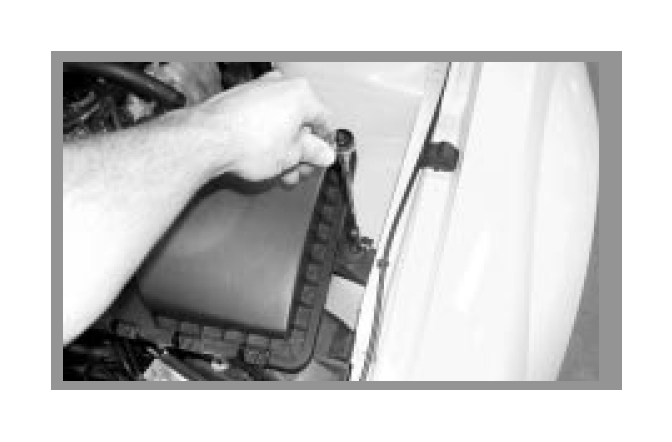
STEP 4
• Loosen the hose clamp that attaches the inlet hose to the throttle body. Remove the bolt that holds the air filter box to the driver side fender-well.
STEP 5
• Remove the stock intake hose/air box assembly from the vehicle by lifting the air box straight up and pulling the inlet hose away from the throttle body.
STEP 6
• Remove the plunger type fasteners that hold the radiator cover in place by gently prying or lifting the center (plunger) out. Remove the radiator cover and set aside. Unbolt the driver side radiator hold down plate, lift it off the radiator top post and set it aside.
STEP 7
• Place the supplied blue coupler hose over the throttle body opening and secure it with one of the supplied hose clamps.
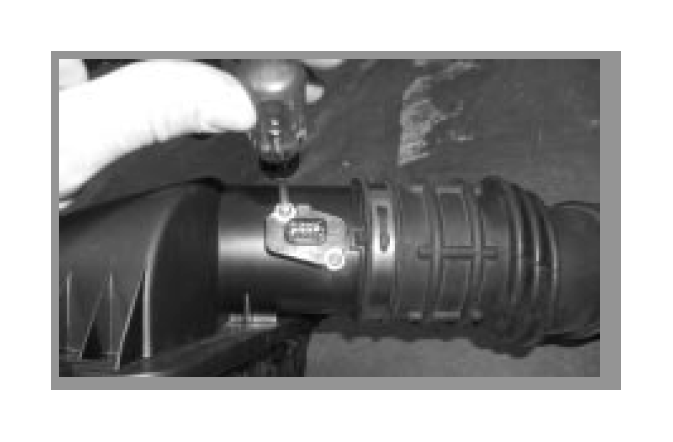
STEP 8
• Remove the 2 torx screws from the mass air meter and slide the meter out of the stock inlet hose, and then install it into the BBK inlet pipe using the supplied screws.
STEP 9
• Slip the inlet pipe/mass air meter assembly all the way through the shield. Place the BBK air filter over the end of the inlet pipe until it rests against the mass air meter bung. Secure the filter to the inlet pipe by tightening the supplied hose clamp.
NOTE!!! The end of the air filter will act as an isolator between the inlet pipe and the shield.
STEP 10
• Drop the inlet pipe/mass air meter assembly into position by placing the round hole on the front of the shield over the top post of the radiator and slipping the inlet pipe into the blue coupler hose on the throttle body.
STEP 11
• Tighten the remaining hose clamp over the blue coupler hose to secure the inlet pipe to the throttle body. Insert the original air box mounting bolt through the tab on the back of the shield and tighten it into the factory speed clip.
STEP 12
• Re-install the radiator hold down plate and tighten. Starting at the radiator hold down plate, place the supplied rubber sealant strip over the top edges of the shield. When you get to the corner, bend the stripping and continue until you reach the rear mounting tab. Press down on the stripping firmly to fully engage it’s built in clamp.
STEP 13
• Re-install the radiator cover. Be sure to guide the front lip of it under the grill before inserting the plunger fasteners. Re-connect the PCV, mass air meter, and negative battery terminal.
SPECIAL NOTE
• Due to the increased airflow and performance gains associated with this product, a slight detonation or lean condition may occur if used with low octane fuels (Regular). If this happens we recommend switching to a fuel with a higher octane rating (Premium, or Super).
• In addition, if you are installing this product on a vehicle that has been previously modified or has a “tune” other than stock, you may find it necessary to have the tune adjusted or modified to accommodate for the increase in airflow that this product supplies.

