 FREE 1 to 3-Day Delivery on Orders $149+ Details
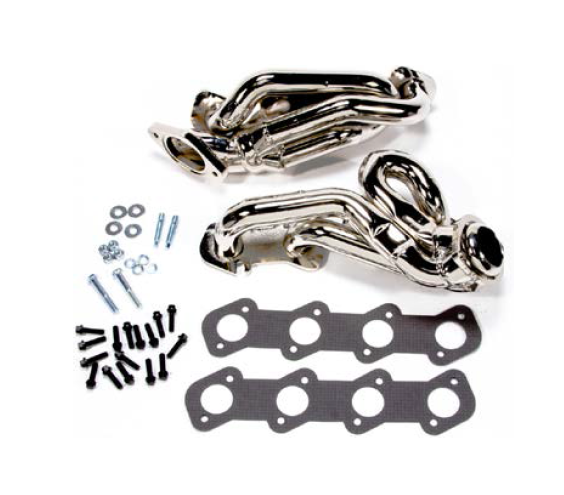
How to Install BBK Ceramic Tuned Length Shorty Headers on your Mustang

Shop Parts in this Guide
Follow these instructions carefully to ensure correct fitment and operation.
STEP 1
• Disconnect the negative battery terminal, remove the intake hose and air box, and remove the strut tower brace if applicable.
STEP 2
• Lift the vehicle as high as possible with a jack and support with jack stands.
STEP 3
• Unplug all oxygen sensors. (Removal from the H-Pipe is not necessary)
STEP 4
• Unbolt the H-Pipe from the exhaust manifolds and cat-back system and remove. Remove the motor mount to K member nuts.
STEP 5
• Carefully jack up the engine (We recommend using a solid block of wood to place under the engine) until the mounts rise out of the K member. NOTE!!! Watch for any hang-ups such as wiring harnesses or hoses while lifting engine. Safely support in this position.
STEP 6 (Driver side)
• Disconnect the EGR by-pass tube from the top of the exhaust.
STEP 7
• Remove the bolt from the steering shaft at the steering rack, and move the shaft to the side. NOTE!!! Although not necessary, you may find more working space by removing the motor mounts from the engine block.
STEP 8
• Remove the stock exhaust manifold and gasket. NOTE!!! On some vehicles it may be easier to access the upper exhaust manifold bolts from above the engine.
STEP 9
• Install the BBK Header and supplied gasket. These headers have slotted mounting holes which will allow you to start some of the header bolts before placement. NOTE!!! On some applications it may be easier to re-use some of the original stud type header bolts.
STEP 10
• Insert one collector bolt down through each of the slotted holes in the collector flange.
STEP 11
• Re-install any EGR or AIR fittings if applicable, Re-install motor mount and reassemble the steering shaft. NOTE!!! Be sure to use supplied anti seize on any metal threaded tube fittings.
STEP 12 (Passenger Side)
• Unbolt and remove starter from the bell housing. NOTE!!! Remove the motor mount from the block if needed.
STEP 13
• Remove stock exhaust manifold and gasket.
STEP 14
• Install BBK Header and supplied gasket.
STEP 15
• Insert supplied collector studs.
STEP 16
• Re-install the motor mount and starter.
STEP 17
• Lower the engine into the chassis and tighten the nuts. NOTE!!! Be sure to check if the engine is sitting all the way down and even on the motor mounts before tightening.
STEP 18
• Re-install the H-Pipe using the supplied hardware. Plug in all the oxygen sensors.
STEP 19
• Lower the vehicle and re-install the intake hose and strut tower brace (if applicable). Reconnect the negative battery terminal.
STEP 20
• Start vehicle and listen for leaks. After 500 miles of drive, check the header bolts.
