 FREE 1 to 3-Day Delivery on Orders $149+ Details
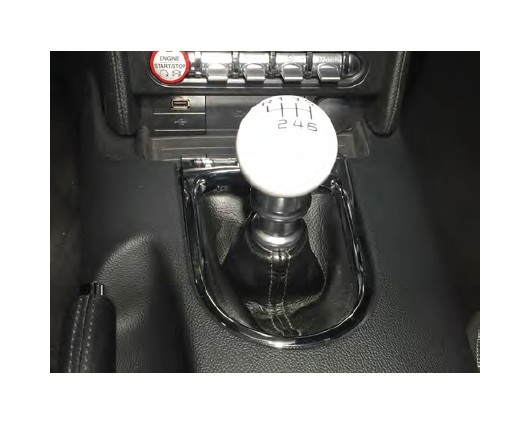
How to Install Modern Billet Retro Style 6-Speed Shift Knob - White on your Mustang

Shop Parts in this Guide
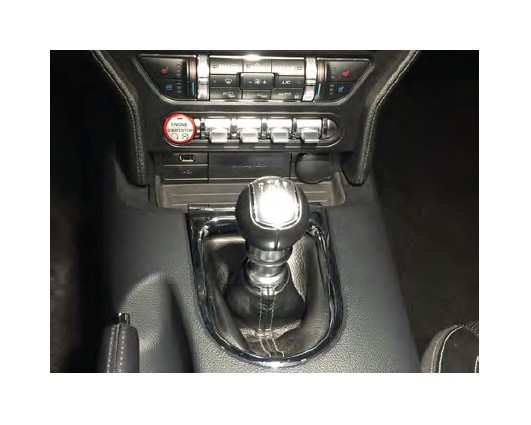
Remove the factory shift knob by rotating it counter clockwise.
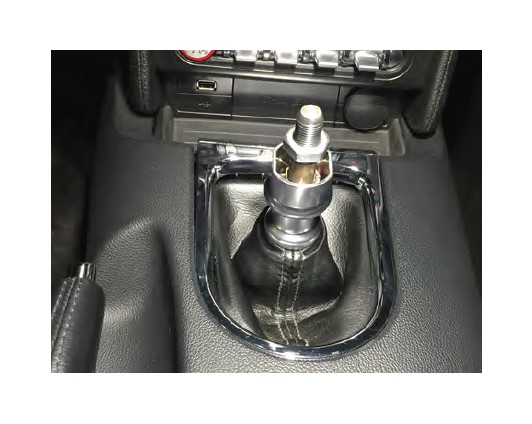
Install the supplied nut. This nut is used to align the shift pattern on the shift knob. Thread the shift knob on until it is tight against the nut. If the shift pattern does not line-up simply adjust the nut up or down until it does. **Note: Ensure the reverse lockout is still functional. If not, loosen the lock nut and knob until it does.
