


Installation Time
(approx) 4 Hours
Difficulty Level:
Mechanical expertise or professional installation required.
Installation Guides
No guide available for this part yet.
 FREE 1 to 3-Day Delivery on Orders $149+ Details

-14% $773.99 kit Was $899.99
CONFIRM THIS FITS YOUR VEHICLE!
Saved - View your saved items
We're sorry. We couldn't save this product at this time.
or use
Features, Description, Reviews, Q&A, Specs & Installation
| Brand | SR Performance |
| Front Drop Height | 3.0 |
| Rear Drop Height | 3.0 |
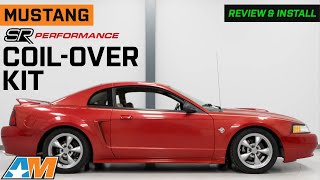
Better Track Handling. The SR Performance Sport Coil-Over Kit is a game-changer for car enthusiasts looking to improve their Mustang's handling performance. This coil-over kit is the perfect choice for both track and autocross enthusiasts, providing an unmatched level of control and handling precision.
High Performance Dampening. Featuring a mono tube coil-over design, this kit is specifically engineered to provide superior handling and performance in extreme driving conditions. With an adjustable ride height, you can customize your vehicle's stance to your liking, and the 36-way adjustable damping allows you to fine-tune your suspension to your exact specifications.
Installation. For the safety of your hardware during removal and replacement, professional installation is recommended.
Application. The SR Performance Sport Coil-Over Kit fits 1994-2004 Mustang, Excluding 1999-2004 Cobra models.
SR Performance 427731
CA Residents:  WARNING: Cancer and Reproductive Harm - www.P65Warnings.ca.gov
Installation Info
Installation Time
(approx) 4 Hours
Difficulty Level:
Mechanical expertise or professional installation required.
Installation Guides
No guide available for this part yet.
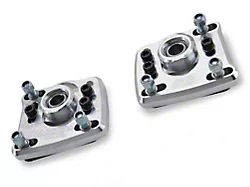
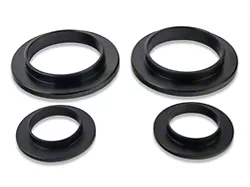
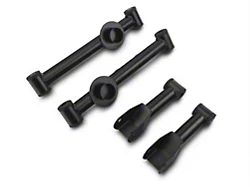
What's in the Box

