


Installation Time
(approx) 4 Hours
Difficulty Level:
Light to Moderate mechanical skill required.
Installation Guides
 FREE 1 to 3-Day Delivery on Orders $149+ Details
$149.99
CONFIRM THIS FITS YOUR VEHICLE!
Saved - View your saved items
We're sorry. We couldn't save this product at this time.
or use
Features, Description, Reviews, Q&A, Specs & Installation
| Control Arm Type | Fixed |
| Control Arm Placement | Rear Lower and Upper |
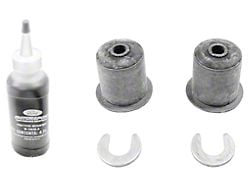
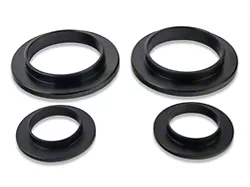
Correct Bushing Sleeves. This Rear Control Arm Kit comes complete with sleeves for bushings for both the 1979-1998 and 1999-2004 model year Mustangs. The sleeves are easy to install, just choose the correct sleeves for your model year and insert them into the control arms with the supplied lubricant, its that simple.
Quality Construction. Manufactured from tubular DOM steel for superior strength to reduce control arm flex, these upper and lower control arms are completed in a durable gloss black powder coated finish for long lasting corrosion resistance.CA Residents:  WARNING: Cancer and Reproductive Harm - www.P65Warnings.ca.gov
Installation Info
Installation Time
(approx) 4 Hours
Difficulty Level:
Light to Moderate mechanical skill required.
Installation Guides
What's in the Box
Does not fit IRS equipped Cobras

