 FREE 1 to 3-Day Delivery on Orders $149+ Details
How to Install Vogtland Sport Spring Kit - Coupe on your Mustang
Installation Time
4 hours
Tools Required
- 13 mm socket
- 15 mm socket
- 18 mm socket
- Socket Wrench
- Jack and Jack Stands
- Tie Rod Separator/Pickle Fork
- Rubber Mallet
- Torque Wrench

Shop Parts in this Guide
Installation Procedure:
Rear:
Note: This is being done on the passenger (right) side.
Step 1:
1. Jack the rear of the car up and place jack stands underneath.
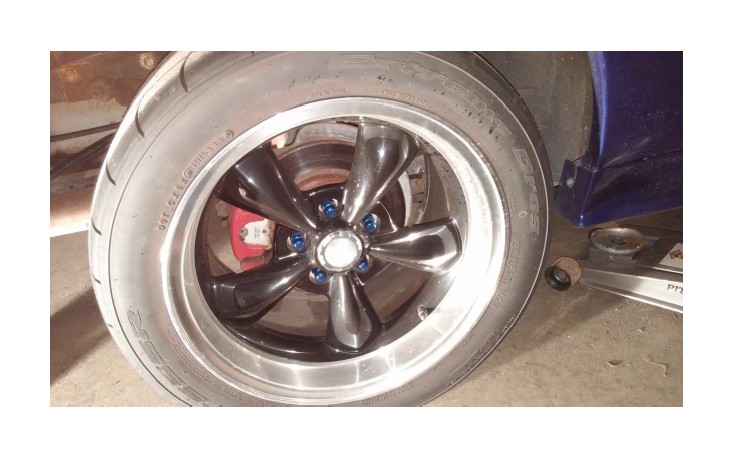
2. Remove the tire.
Note: It helps to loosen the lug nuts before raising the car fully off the ground.
Step 2:
1. Remove the two 13 mm bolts holding the sway bar.
Note: It might help to remove the sway bar bolts from both sides right away so it can be removed all together.
Step 3:
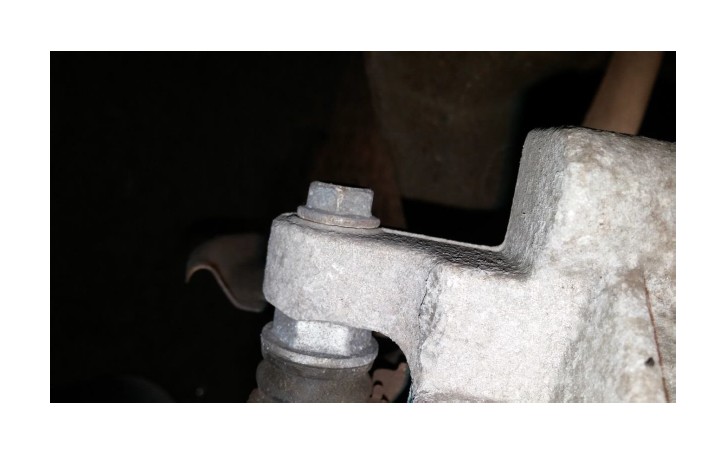
1. Place your jack under the lower control arm and remove the 18 mm bolt from the control arm.
2. VERY slowly lower the control arm until you can get the spring free.
Note: The spring has a lot of potential energy and caution should be taken while removing.
Step 4:
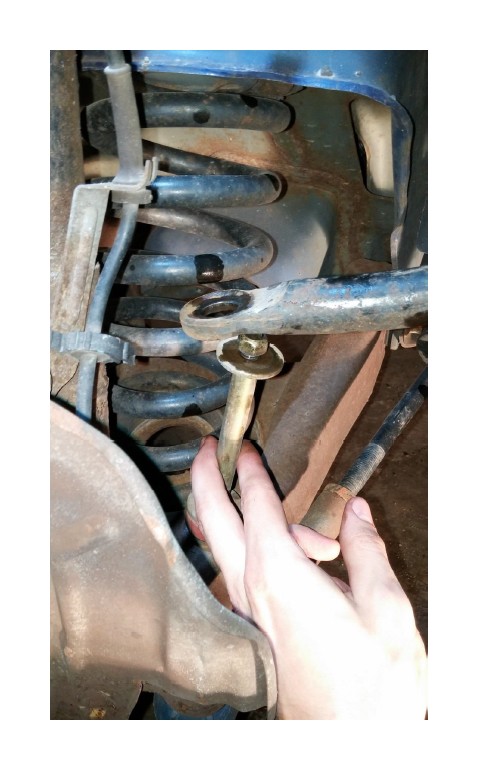
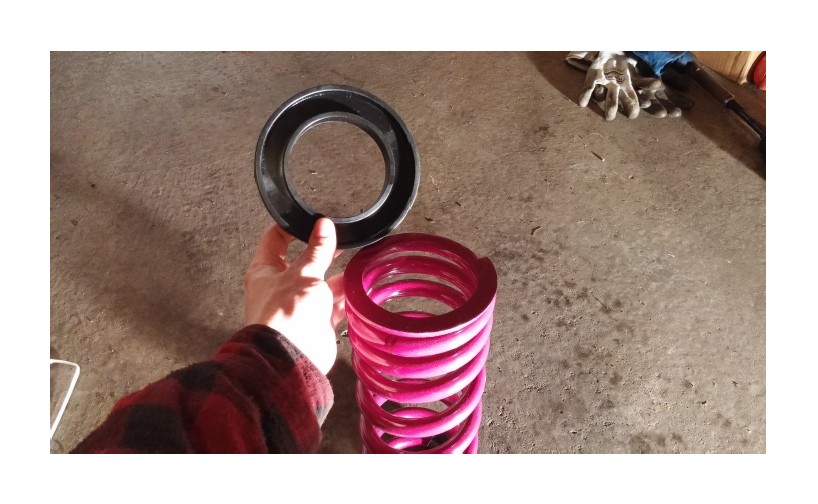
1. Place your isolators on the springs that will be going back onto your vehicle.
Note: In this installation, new isolators are being put on at the same time but are not necessary.
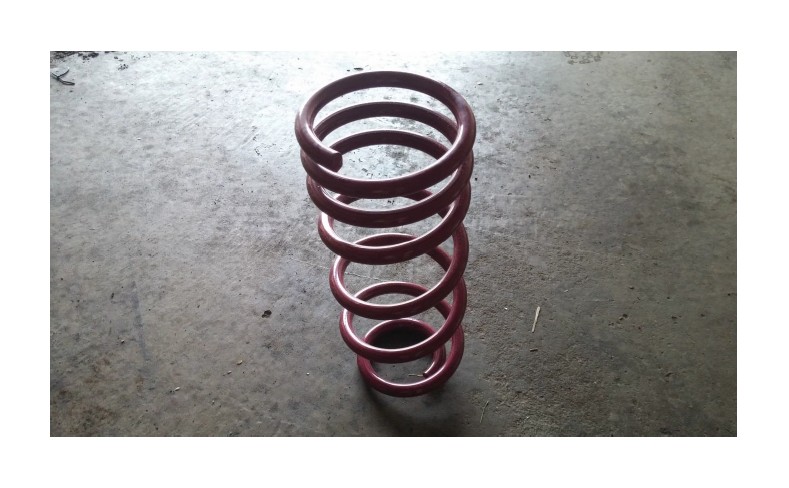
Note: There is a bottom and top to the springs and there is a front and back. See picture below for the rear spring in its installation pose.
Step 5:
1. Place the spring into its position and follow the reverse order of this guide until everything is put back together except the sway bar.
a. Lower Control Arm bolt torque: 110 ft-lbs
b. Lug Nut torque: 95 ft-lbs
2. Move on to the other side.
a. Once the whole rear is complete, torque the Sway Bar to 33 ft-lbs
Front:
Note: This is being done on the passenger (right) side.
Step 1:
1. Jack the rear of the car up and place jack stands underneath.
2. Remove the tire.
Note: It helps to loosen the lug nuts before raising the car fully off the ground.
Step 2:
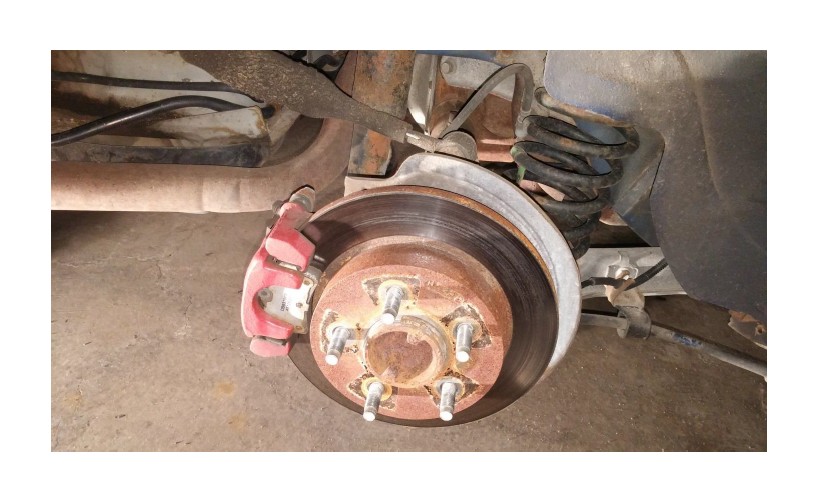
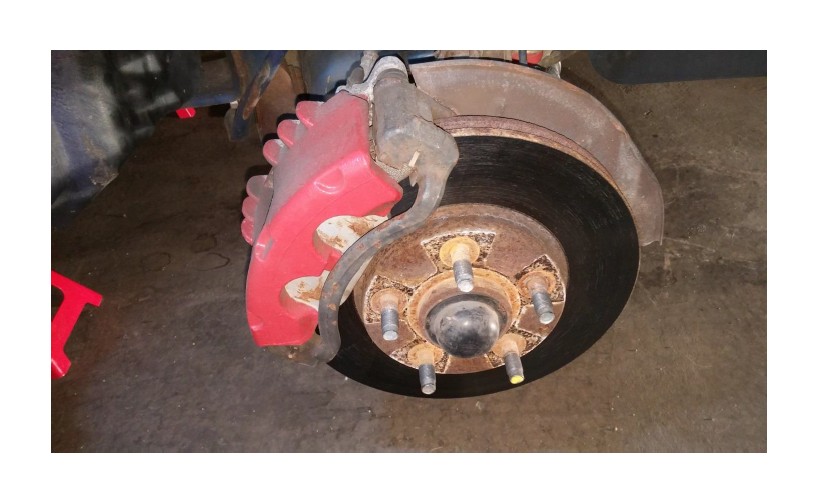
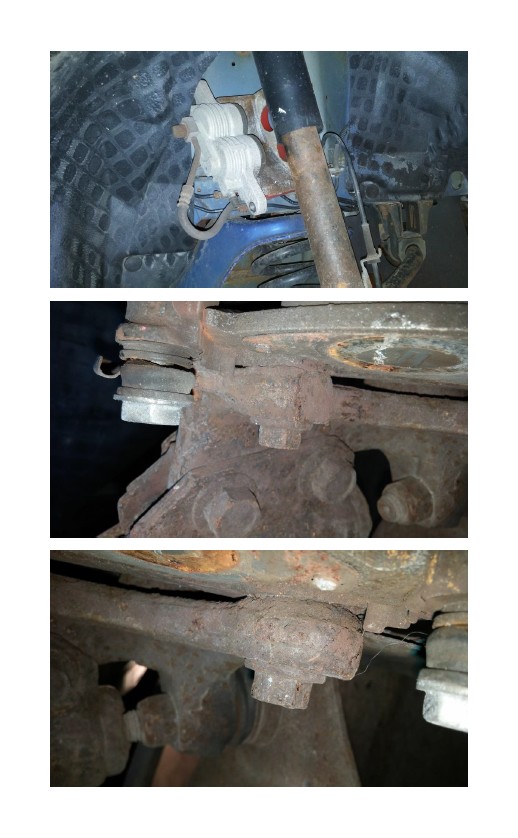
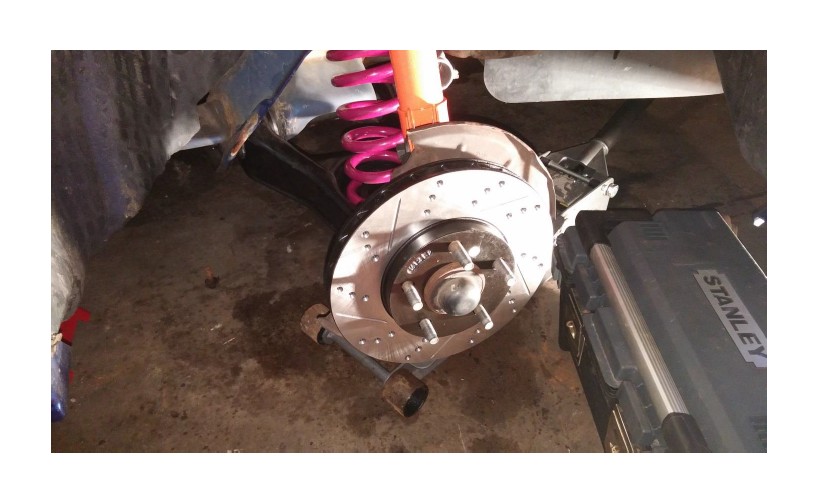
1. Remove the caliper from the caliper bracket by removing the two 13mm bolts. See the first and second pictures below.
2. Pull the brake pads out of the caliper and set them off to the side somewhere if you are going to re-use them otherwise you will be using new brake pads.
3. Place the caliper up or over somewhere safe where the brake line will not be pulled. See the third picture below.
4. Remove the caliper bracket from the spindle by removing the two 15 mm bolts. See the fourth and fifth picture below.
Step 3:
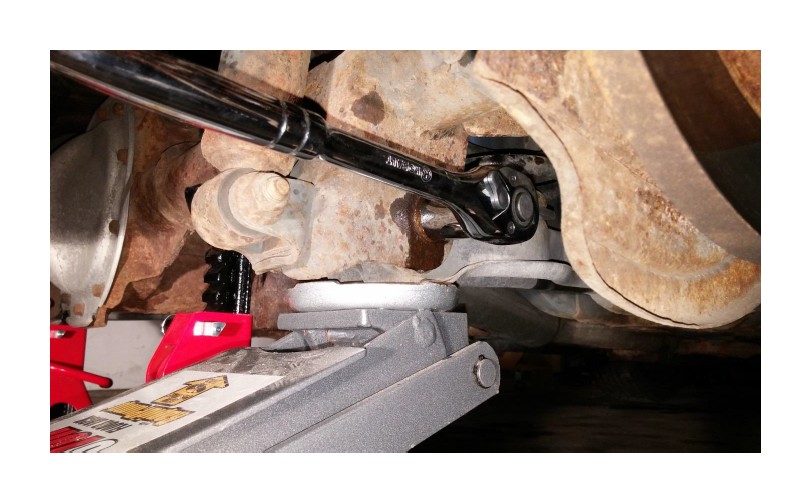
1. Remove the outer tie rod from the spindle knuckle.
Note: It can be difficult to get the tie rod free. Try not to hit the bolt too much with a metal hammer to prevent mushrooming the bolt and not being able to remove it. A pickle fork can help but sometimes ruins the rubber grommet on the tie rod.

Step 4:
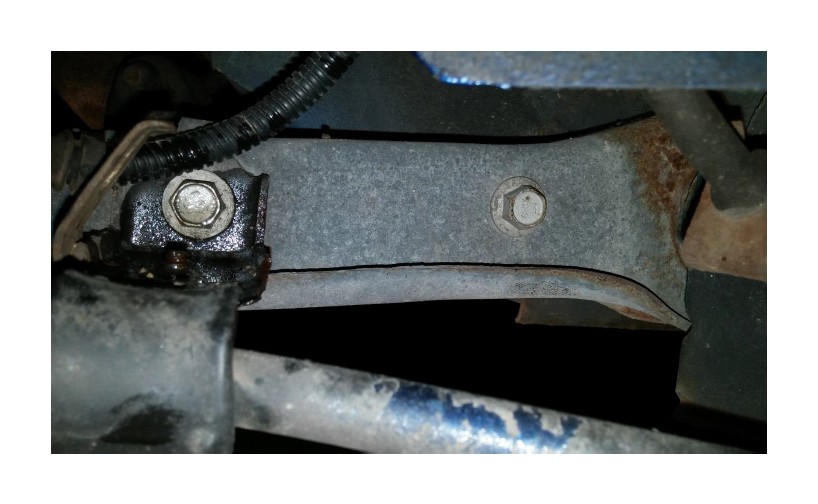
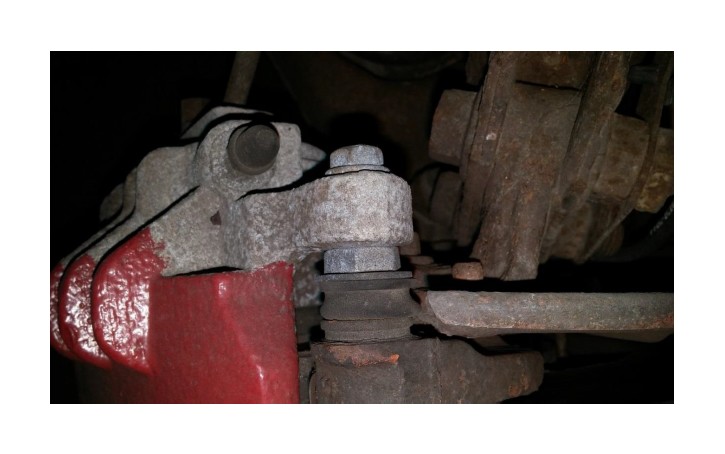
1. Remove the Anti Roll/Stabilizer Bar from the drop link.
Step 5:
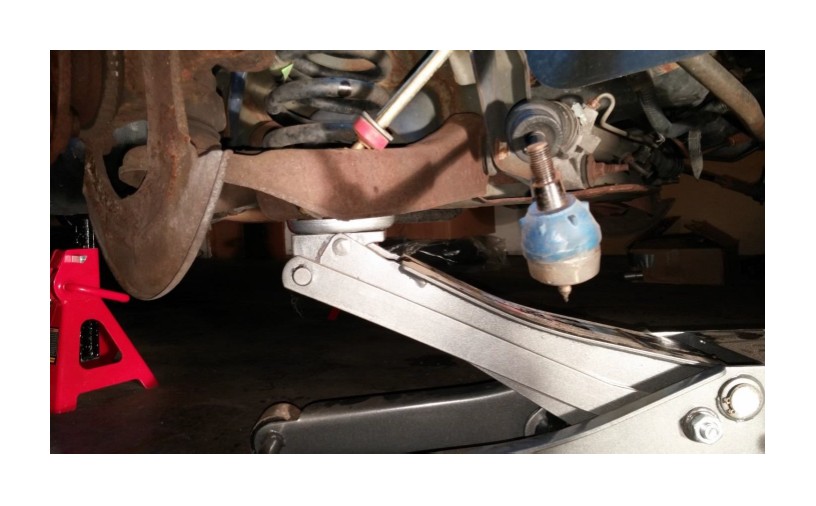
1. Place the jack under the control arm.
Step 6:
1. Remove the three 15 mm bolts from the strut inside the engine bay.
Note: Make sure you have the jack under the lower control arm before you remove all of these bolts. This is the last thing holding the control arm up

Step 7:
1. VERY slowly lower the control arm until you can get the spring free.
Note: The spring has a lot of potential energy and caution should be taken while removing.
Note: The strut will lower with the control arm through the wheel well. Make sure to keep an eye on it so it does not get caught on anything.
Step 8:
1. Place your isolators on the springs that will be going back onto your vehicle.
Note: In this installation, new isolators are being put on at the same time but are not necessary.
Note: There is a bottom and top to the springs and there is a front and back. See first picture below for the rear spring in its installation pose.
Step 9:
1. Place the spring back into its position in the control arm.
Note: The bottom tail of the spring should sit in the lower section of the control arm. You will see in the control arm the same shape as the spring’s tail that it should sit in.
2. Follow the reverse order of this guide until everything is put back together.
a. Anti Roll/Stabilizer Bar torque: 14 ft-lbs
b. Outer Tie Rod torque: 41 ft-lbs
i. Don’t forget to install a new cotter pin into the castle nut.
c. Brake Caliper Bracket torque: 85 ft-lbs
d. Strut torque: 30 ft-lbs
e. Lug Nut torque: 95 ft-lbs
3. Move on to the other side.
END
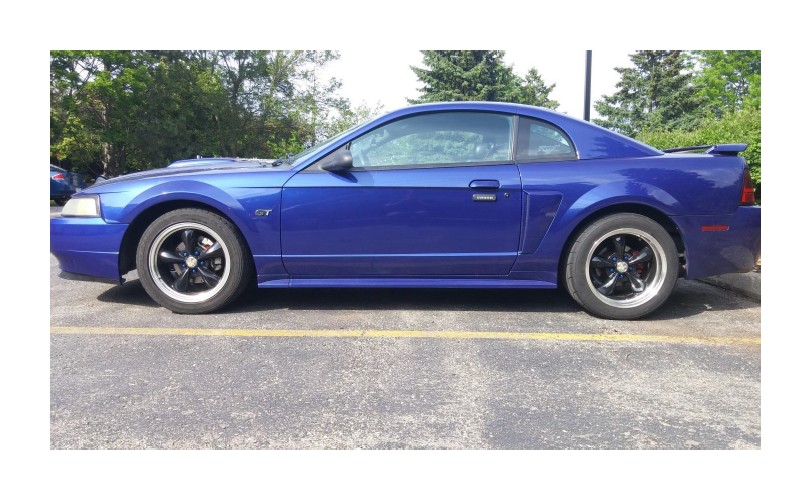
Before/After:
Note: The difference between the before and after looks of the vehicle are better seen in person than in pictures.
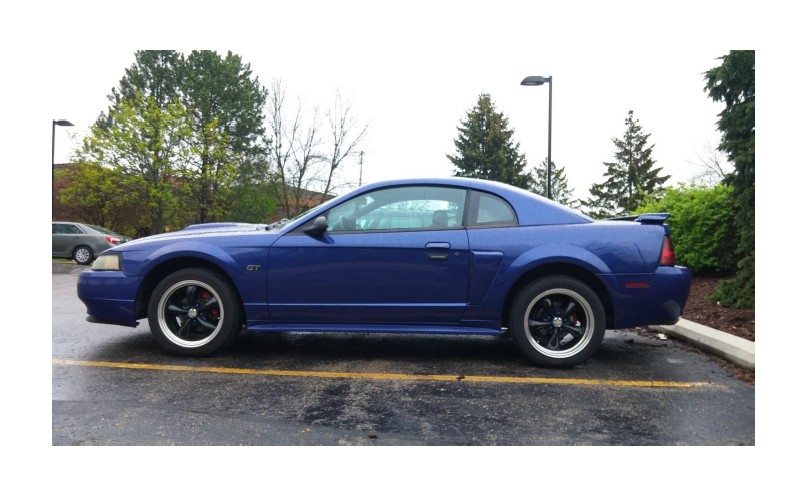
Installation Instructions Written By AmericanMuscle Customer Preston Michie 2017
