 2024-2026
 2015-2023
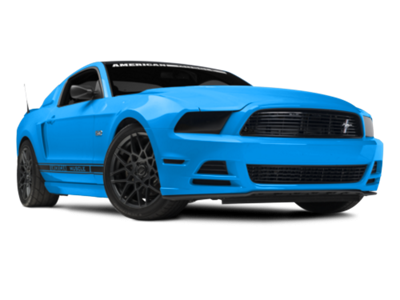 2010-2014
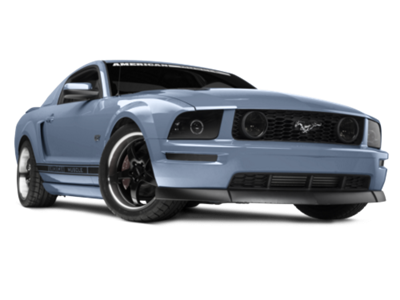 2005-2009
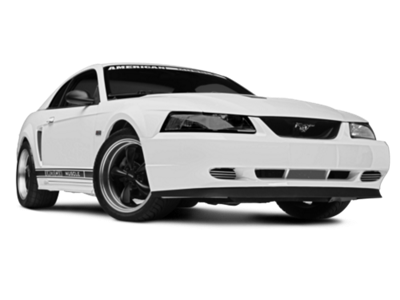 1999-2004
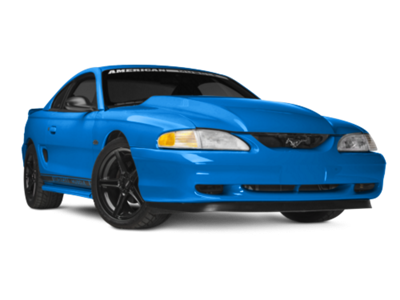 1994-1998
 1979-1993


Difficulty Level:
Simple installation for anyone.
Installation Guides
- Manufacturer:
- How to Install AmericanMuscle Wheels on Your Mustang
- Customer Submitted:
- How to Install Wheels on Your 1979-2013 Mustang
 FREE 1 to 3-Day Delivery on Orders $149+ Details
$164.99 each / $659.96 Set of 4
CONFIRM THIS FITS YOUR VEHICLE!
Saved - View your saved items
We're sorry. We couldn't save this product at this time.
Features, Description, Reviews, Q&A, Specs & Installation
| Wheel Model | 10th Anniversary Cobra Style |
| Wheel Size | 17x9 |
| Wheel Diameter | 17 Inch |
| Wheel Width | 9 Inches |
| Wheel Offset | 18mm |
| Wheel Backspacing | 5.709 Inch, 145.1mm |
| Wheel Color | Black, Black Chrome |
| Wheel Style | Cobra |
| Wheel Finish | Matte |
| Wheel Material | Aluminum |
| Wheel Placement | Front or Rear |
| Wheel Bolt Pattern | 4 x 108mm (4 x 4.25-Inch) |
American Muscle Wheels 10th Anniversary Cobra Style Black Wheel; 17x9 exudes an unparalleled aesthetic appeal that perfectly complements a range of vehicle styles. The unique design crafted by American Muscle Wheels not only accentuates the visual appeal but also seamlessly aligns with contemporary vehicle aesthetics.
The 17x9 American Muscle Wheels 10th Anniversary Cobra Style Black Wheel underwent a thorough finishing process with certain coatings providing added protection against environmental elements and daily wear. Aesthetically, this finish can significantly enhance the wheel's appearance, making it a standout feature of a vehicle.
One-Piece Cast Wheel. This wheel is manufactured using gravity casting. Gravity casting is the process of pouring molten aluminum alloy into a wheel mold or form and utilizing the earth's own gravity to help fill the mold. The result is a strong, durable wheel that has the same good looks as a more expensive wheel, at a fraction of the price.
Application. This American Muscle Wheels 10th Anniversary Cobra Style Black Wheel; 17x9 with a backspace of 5.709 Inch, 145.1mm and bolt pattern of 4 x 108mm (4 x 4.25-Inch) ensures impeccable alignment and unmatched driving stability. Specifically designed for 1987-1993 Mustang, Excluding Cobra models, each wheel is sold individually.

Mounting & Balancing: AmericanMuscle is pleased to offer mounting and balancing services on all wheel and tire combinations when purchased together in a single order. Depending on your specific wheel and tire selection, mounting and balancing may be performed by either our expert technicians at AmericanMuscle before shipping, or by one of our local-to-you installers through our hassle-free Install Connect program. Please note that depending on the combination of wheels and tires, they may need to be shipped to you separately and unmounted. When adding wheels and tires to your cart, you'll be presented with the available options for your kit.
What is TPMS? The Tire Pressure Monitoring System (TPMS for short) is a factory installed safety feature on all 2007 and newer Ford Mustangs that alerts you when your tire pressure drops to an unsafe limit.
How do I keep my TPMS feature? Aftermarket wheels do not come with TPMS sensors. However, if you select 'Add TPMS Sensor Kit' and your specific year range from the options listed above, we'll install the TPMS Sensors in your new wheels!
For more Information, check out TPMS Sensor Kits or TPMS Tool in detail.
CA Residents:  WARNING: Cancer and Reproductive Harm - www.P65Warnings.ca.gov
Installation Info
Difficulty Level:
Simple installation for anyone.
Installation Guides
What's in the Box
Tech Guides:
Does not fit 1993 SVT Cobras

Wheel & Tire Fitments For 1979-1993 Mustang with 17x9 18mm Wheels
