 2008-2023


Installation Time
(approx) 1 Hour
Difficulty Level:
Simple installation for anyone.
Installation Guides
No guide available for this part yet.
 FREE 1 to 3-Day Delivery on Orders $149+ Details

 15 Reviews
$524.99 kit
Will this fit your Vehicle?
Saved - View your saved items
We're sorry. We couldn't save this product at this time.
or use
Add Local Installation

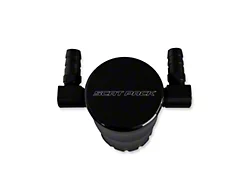
American Brothers Design Black Oil Catch Can with Scat Pack Font (09-23 5.7L HEMI, 6.4L HEMI Challenger)
 114
114
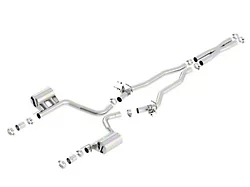
Borla ATAK Cat-Back Exhaust with Replacement MDS Valves (15-23 6.4L HEMI Challenger w/ Active Exhaust)
 500+
500+
SR Performance Skip Shift Eliminator (08-23 Challenger)
134
Features, Description, Reviews, Q&A, Specs & Installation
| Brand | K&N |
| Cold Air Intake Type | Cold Air Intake |
| Air Intake Tuning Requirements | No Tune Required |
| Cold Air Intake Filter Type | Dry |
| Cold Air Intake Tube Material | Aluminum |
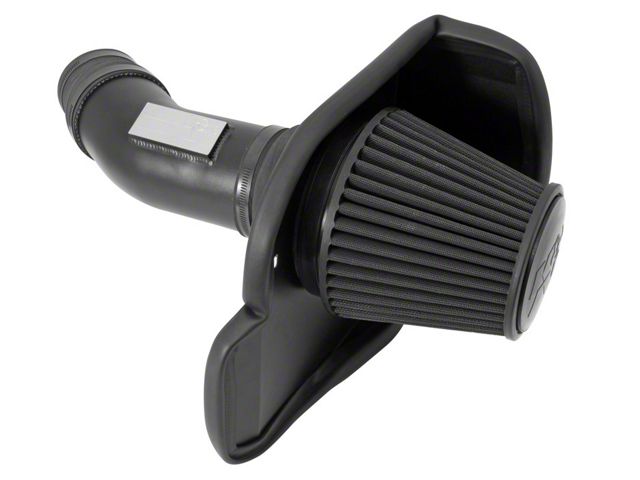
Improves Horsepower and Torque. The K&N Blackhawk Cold Air Intake is specially designed to provide more power to its application. It features mandrel-bent aluminum pipes and performance air filter that is designed to provide less restrictive airflow than stock. This increased airflow provides a significant boost to your Dodge Challenger's engine’s performance.
No Tune Required. The K&N Blackhawk Cold Air Intake is designed to work with the factory tune and doesn’t require any custom tune. However, installing custom tunes is still recommended to ensure optimum performance to the specific setup.
Performance Dry Filter. The Blackhawk utilizes a black, high-flow dry filter that is far more effective than the factory filter. Additionally, it’s reusable and can be used for 100,000 times prior to cleaning.
Durable Construction. The Blackhawk is constructed of welded aluminum to provide excellent toughness and durability. The heat shield and pipe comes with a black powder-coat finish to protect against the elements and corrosion.
Straightforward Installation. Installing the Blackhawk can be done with common garage tools. It can be installed in approximately 2 hours.
Million Mile Warranty. The Blackhawk Cold Air Intake is covered by K&N’s outstanding 10-year or 1,000,000-mile warranty. The warranty covers defects in material and workmanship. Exclusions will apply.
CARB-Certified. The Blackhawk Cold Air Intake is CARB-certified letting you enjoy a power boost that’s legal in all states for the 2011-2014 Model Years. EO Number - D-269-54/D-269-58.
Application. The K&N Blackhawk Cold Air Intake is designed to fit 2011 to 2023 6.4L Dodge Challenger models without Shaker Hoods.
K&N 71-2545
CA Residents:  WARNING: Cancer and Reproductive Harm - www.P65Warnings.ca.gov
Installation Info
Installation Time
(approx) 1 Hour
Difficulty Level:
Simple installation for anyone.
Installation Guides
No guide available for this part yet.
What's in the Box
Tech Guides:
Not Compatible with Shaker Hoods

