 FREE 1 to 3-Day Delivery on Orders $149+ Details
Mustang Hood Strut Kit ('99-'11) - Installation Instructions
Installation Time
60 minutes
Tools Required
- Power Drill with 3/16" and 5/32" Bits
- Rivet Gun Capable of 3/16" Rivets
- Ratchet and 8mm Socket
- Tape Measure
- Masking Tape
- Black Permanent Marker
Installation
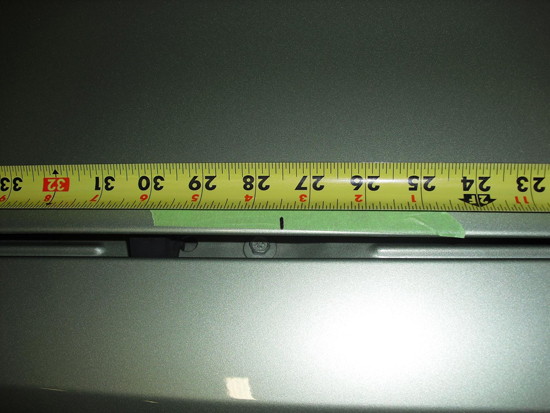
1. For 05-09 Models:Measuring from the back corner of the hood, put a piece of masking tape on hood between 25-29 inches. Using a black permanent marker, mark the masking tape at exactly 27.5 inches.
For 99-04 Models:Measuring from the front corner of the hood, put a piece of masking tape on hood between 19 and 24 inches. Using a black permanent marker, mark the masking tape at exactly 21.75 inches.
2. Put bracket up against underside of hood with the ball on the bracket lining up with your mark on the masking tape. Use the black marker to mark inside of the two holes on the bracket.


3. Using a power drill with a 3/16” bit, drill two holes on the underside of hood where you marked with the black marker.
Note:Make sure to only drill about 1/4'” into hood so as not to damage top side of hood.
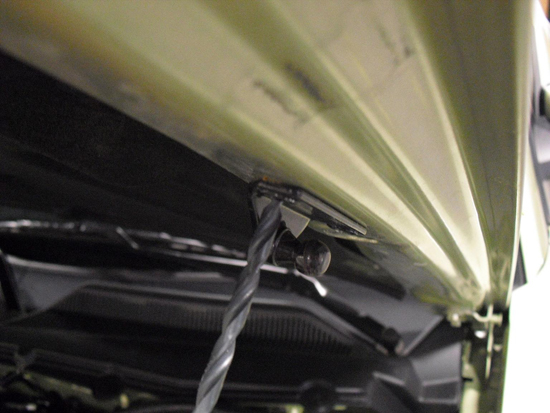
4. Place two rivets inside of the holes that you have just drilled. It will be a tight fit, so you may have to twist the rivet a bit to get it into the hole.
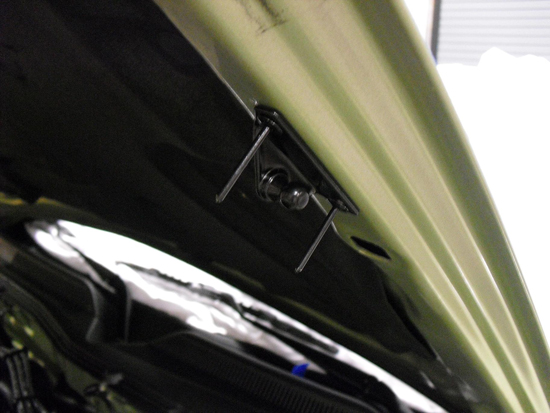
5. Slide the rivet gun over end of rivets and, using firm pressure, press the handle on the gun a few times until rivet gun pops and snaps off stem of rivet.
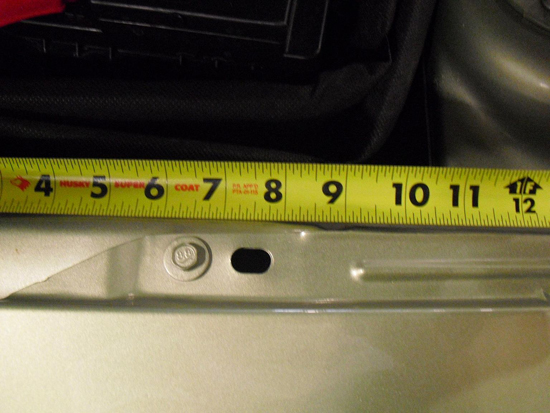
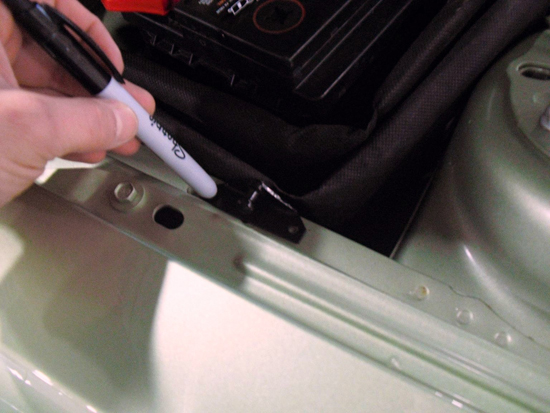
6. For 05-09 Models:Measure 8” from the rear plastic cowl and 1” away from the inner fender and mark the inner fender with the black marker. Place the bracket on the inner fender with the ball over the mark you have just made. Make sure the ball is facing away from the engine. Mark the two holes in the bracket with the black marker.
For 99-04 Models:Measure 3.75” from the rearmost fender bolt and 1” away from the inner fender and mark the inner fender with the black marker. Place the bracket on the inner fender with the ball over the mark you have just made. Make sure the ball is facing away from the engine. Mark the two holes in the bracket with the black marker.
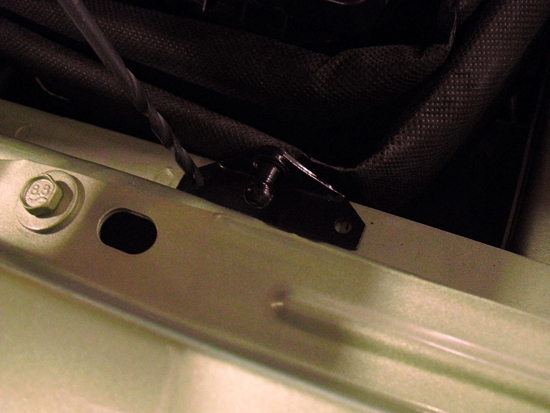
7. Drill two 5/32” holes where you marked on the inner fender.
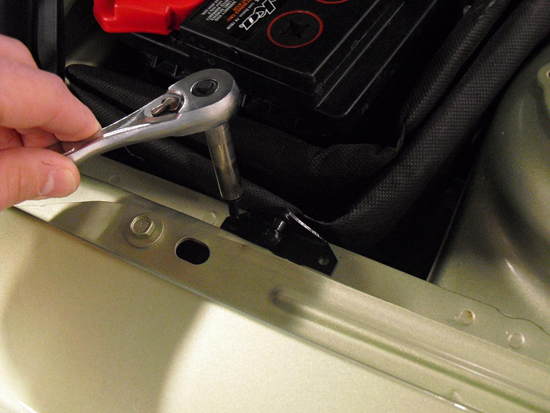
8. Use a ratchet and an 8mm socket to secure brackets to inner fender using supplied screws.
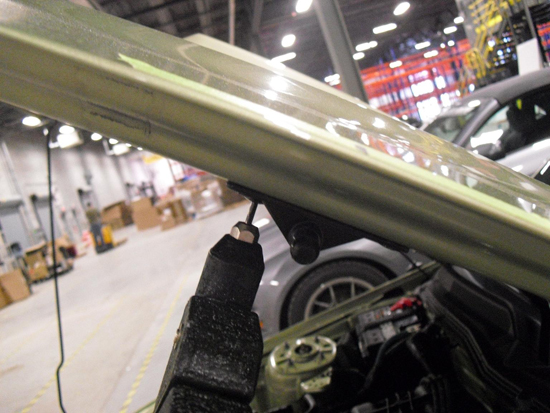
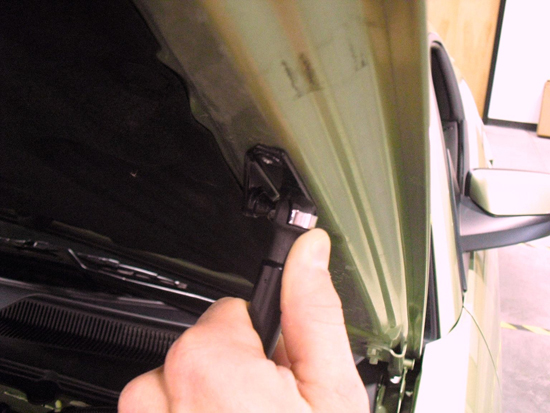
9. Before installing struts onto brackets, make sure to compress them against the ground a few times to cycle them. With the thick end facing up, firmly press the struts onto the brackets to complete the installation.
10. Repeat step 1-9 to complete installation for passenger side.
Installation instructions provided by Manufacturer
Related Guides
-
Installation
-
Installation
-
Installation
