 2024-2026
 2015-2023
 2010-2014
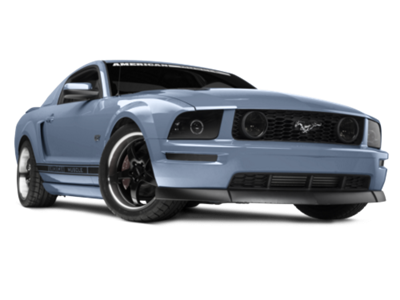 2005-2009
 1999-2004
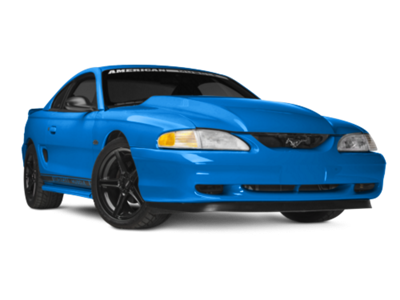 1994-1998
 1979-1993

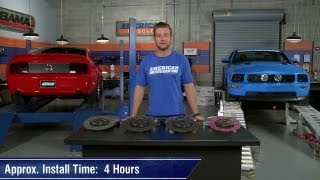


Installation Time
(approx) 4 Hours
Difficulty Level:
Mechanical expertise or professional installation required.
Installation Guides
 FREE 1 to 3-Day Delivery on Orders $149+ Details

 454 Reviews
15 Answers
454 Reviews
15 Answers
$430.08
CONFIRM THIS FITS YOUR VEHICLE!
Saved - View your saved items
We're sorry. We couldn't save this product at this time.
or use

Features, Description, Reviews, Q&A, Specs & Installation
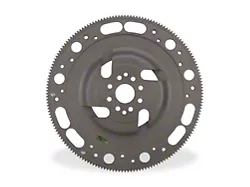
| Brand | Exedy |
| Clutch Usage | OEM Style/Street |
| Clutch Disc Material | Organic |
| Clutch Flywheel Included | No |
| Clutch Flywheel Material | N/A |
Note: Because Ford made changes to the Mustang GT and Bullitt in mid year of 2001, be sure to check and see what kind of transmission type you have before ordering. Wondering what kind of transmission you have? Click Here to find out!
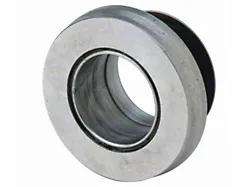
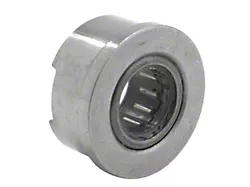
Exedy 07805
CA Residents:  WARNING: Cancer and Reproductive Harm - www.P65Warnings.ca.gov
Installation Info
Installation Time
(approx) 4 Hours
Difficulty Level:
Mechanical expertise or professional installation required.
Installation Guides
What's in the Box
Hardware included:Fits 2001 Bullitt, 2001-2004 GT, 1999-2004 Cobra, and 2003-2004 Mach 1 (with the T-45, TR-3650, or T-56 transmission)
