 2024-2026
 2015-2023
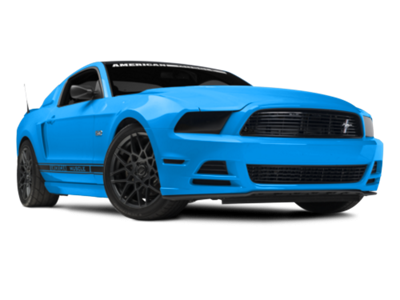 2010-2014
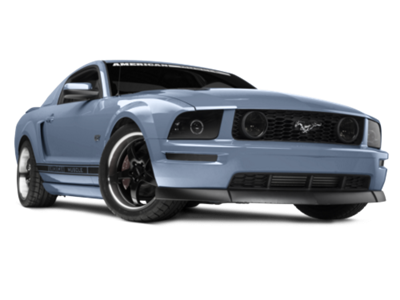 2005-2009
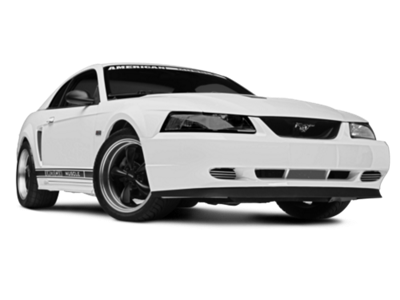 1999-2004
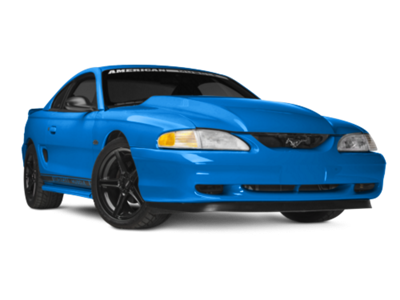 1994-1998
 1979-1993


Installation Time
(approx) 1 Hour
Difficulty Level:
Simple installation for anyone.
Installation Guides
No guide available for this part yet.
 FREE 1 to 3-Day Delivery on Orders $149+ Details
$808.99 kit
CONFIRM THIS FITS YOUR VEHICLE!
Saved - View your saved items
We're sorry. We couldn't save this product at this time.
Features, Description, Reviews, Q&A, Specs & Installation
| Cold Air Intake Type | Cold Air Intake & Tuner Kit |
| Air Intake Tuning Requirements | No Tune Required, But Recommended |
| Cold Air Intake Filter Type | Oiled |
| Cold Air Intake Tube Material | Plastic |

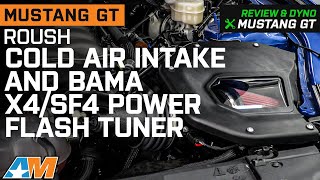
Power and Performance. Installing a Roush Cold Air Intake along with 2 Bama Custom V2 Tunes via a X4 Tuner will result in a measured increase in rear wheel horsepower, torque and overall engine performance. This combo kit is the perfect performance upgrade for 2018-2021 GT owners who crave even more power. As an added bonus, this CAI and Tuner Combo Kit will automatically enroll you into the Free Tunes for Life program with Bama Performance.
Roush Cold Air Intake. The Roush Cold Air Intake kit completely replaces your 2018-2021 GT Mustang's restrictive factory air box and paper filter element with a high flow air filter assembly. Roush designed their high flow dry air filter to be reusable. So, there is no need to go out and buy a new filter every few thousand miles, you can simply clean it. With this intake installed, you will see a measured increase in airflow for more horsepower, improved torque, and better fuel economy. See more info about this cold air intake - Here.
X4 Tuner with 2 Custom BAMA V2 Tunes. The SCT X4 Handheld Tuner allows you to re-tune your Mustang's computer for increased power and better drivability so you can take full advantage of your new Cold Air Intake. When you order this combo, you aren't just getting a tuner - you are getting the tuner and (2) Custom V2 Tunes that are written specifically for your Mustang and your particular modifications by BAMA Performance. By optimizing the air/fuel ratio, adjusting ignition timing and tweaking cam timing, a Bama Custom Tune will squeeze out the extra power Ford left on the table.
Free Tunes for Life! Every customer that purchases a BAMA Tuner is enrolled in the "Free Tunes for Life" program. Any time that you make additional mods to your Mustang, our team of SCT Certified Bama Custom Tuners will create new tunes for you. Just send us a list of the part(s) you've added and we'll email the new tune files right to you.
Not CARB Certified. While the included Cold Air Intake is Carb Certified - CARB EO Number: D-418-31, the X4 Tuner is not, therefore this Kit is not legal for use in California or any other state adopting California emission standards. Not legal for use on pollution controlled motor vehicles; not intended for highway use.
Application. This Roush Cold Air Intake and BAMA X4/SF4 Power Flash Tuner which includes (2) Custom V2 Tune Files by Bama Performance is specifically designed to fit 2018-2021 GT Mustang models equipped with the 5.0L Coyote V8 engine.
CA Residents:  WARNING: Cancer and Reproductive Harm - www.P65Warnings.ca.gov
Installation Info
Installation Time
(approx) 1 Hour
Difficulty Level:
Simple installation for anyone.
Installation Guides
No guide available for this part yet.
What's in the Box
Tech Guides:
