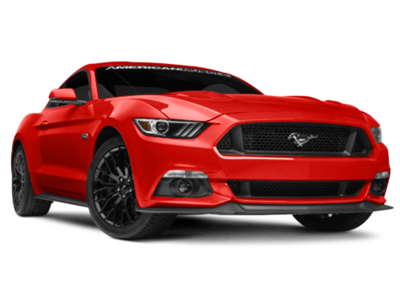
 2024-2026
 2015-2023
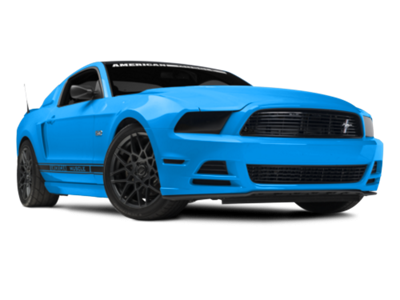 2010-2014
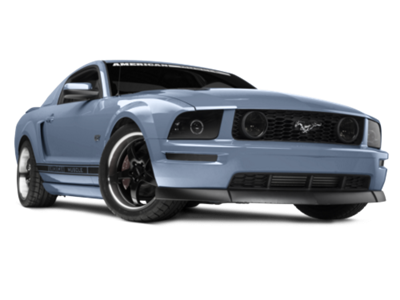 2005-2009
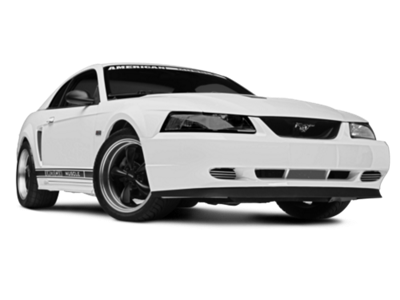 1999-2004
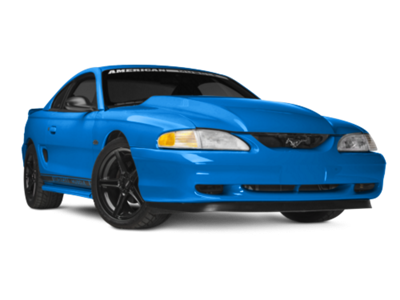 1994-1998
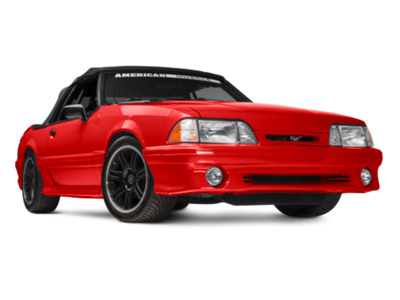 1979-1993


Installation Time
(approx) 1 Hour
Difficulty Level:
Light to Moderate mechanical skill required.
Installation Guides
 FREE 1 to 3-Day Delivery on Orders $149+ Details

$699.99
CONFIRM THIS FITS YOUR VEHICLE!
Saved - View your saved items
We're sorry. We couldn't save this product at this time.
or use
Features, Description, Reviews, Q&A, Specs & Installation
| Brand | Borla |
| Exhaust System Type | Axle-Back System |
| Exhaust System Material | Stainless Steel |
| Exhaust System Tip Finish | Chrome, Polished |
| Exhaust System Tubing Diameter | 2.50 Inch |
| Exhaust Loudness | Moderate |
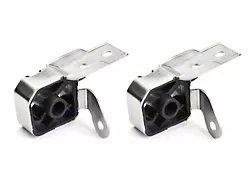
Technical Note. Americanmuscle recommends adding the 2005+ Mustang 304 Stainless Steel Exhaust Hanger Kit from the drop down option above, to provide more strength, stability and a cleaner installed appearance. If you have a 2007 Mustang you may need the kit for correct installation.
Borla 11750
CA Residents:  WARNING: Cancer and Reproductive Harm - www.P65Warnings.ca.gov
Installation Info
Installation Time
(approx) 1 Hour
Difficulty Level:
Light to Moderate mechanical skill required.
Installation Guides
What's in the Box
Hardware included:Tech Guides:
